I want to create a hands-on experience for users to monitor the growth of a virtual plant on their computer screen by interacting with a physical soil sensor using Arduino and p5 js. The Interactive Plant Growth Monitor provides a basic yet engaging experience where users can observe the impact of watering on a virtual plant. This project aims to introduce the concept of real-time data exchange between physical sensors and digital simulations in a user-friendly manner.
Components: Physical Soil Sensor, Digital Plant Simulation, Real-time Data Exchange, User Interaction, Feedback System
Arduino-powered soil moisture sensor to measure the soil’s moisture level. P5.js for a simple and visually appealing digital plant simulation on the computer screen. Arduino collects real-time soil moisture data and sends it to the P5.js environment. Users water the virtual plant by physically adding water to the soil sensor. Visual feedback in the P5.js simulation reflects the plant’s growth based on the soil moisture level.
According to Charles Eames, design depends largely on constraints. The sequence of events challenges the so-called trickle down effect whereby advances in mainstream design are expected to eventually find their way into specialist products for people with disabilities, smaller markets that could not have supported cost of their development. Flow in the opposite direction is just as interesting. When the issues around disability catalyze new design thinking and influence a broader design culture in return.
Initially, closed captioning was introduced in the 1970s as a response to the needs of the deaf and hard-of-hearing community. However, its impact has expanded beyond its original purpose. Nowadays, closed captioning is commonly used by people who are not deaf or hard of hearing but find it helpful in various situations, such as when watching videos in noisy environments or in situations where audio is not desirable. The inclusive design principles that emerged from addressing the needs of the deaf and hard-of-hearing community have influenced the broader design culture. Designers now recognize the importance of creating products and services that are accessible to diverse user groups. This shift in mindset has led to the integration of accessibility features in various technologies, ranging from mobile applications to online platforms, making them more user-friendly for everyone.
The evolution of closed captioning illustrates how addressing specific disability-related challenges can lead to innovative design solutions that, in turn, benefit a much larger and diverse audience. This example underscores the idea that inclusive design, inspired by considerations for people with disabilities, can have a positive ripple effect throughout the design landscape.
It has been a while since I considered glasses as a medical necessity, I have also thought of it as someone’s style. I remember there being some associations or connotations with wearing glasses in school, but it was never viewed in the same way as something like a hearing aid. I currently have perfect vision (at least for now :p), but I’ve always seen glasses as something that adds character to a person and how they present themselves. In fact, I’ve even wanted to try wearing glasses (not sunglasses) because they just look cool. The John Lennon glasses, in particular, still seem timeless to me.
This made me wonder why the same hasn’t been done for other devices like hearing aids, and even if they have, why they aren’t as popular as eyewear. I remember an aunt back home who sometimes refused to wear her hearing aid because she didn’t want to be seen as using a “medical apparatus.” Reading about the history of how spectacles shifted from being seen as a “medical necessity” to eyewear was truly eye-opening. It really comes down to perception – how these devices are designed, marketed, and sold to the public.
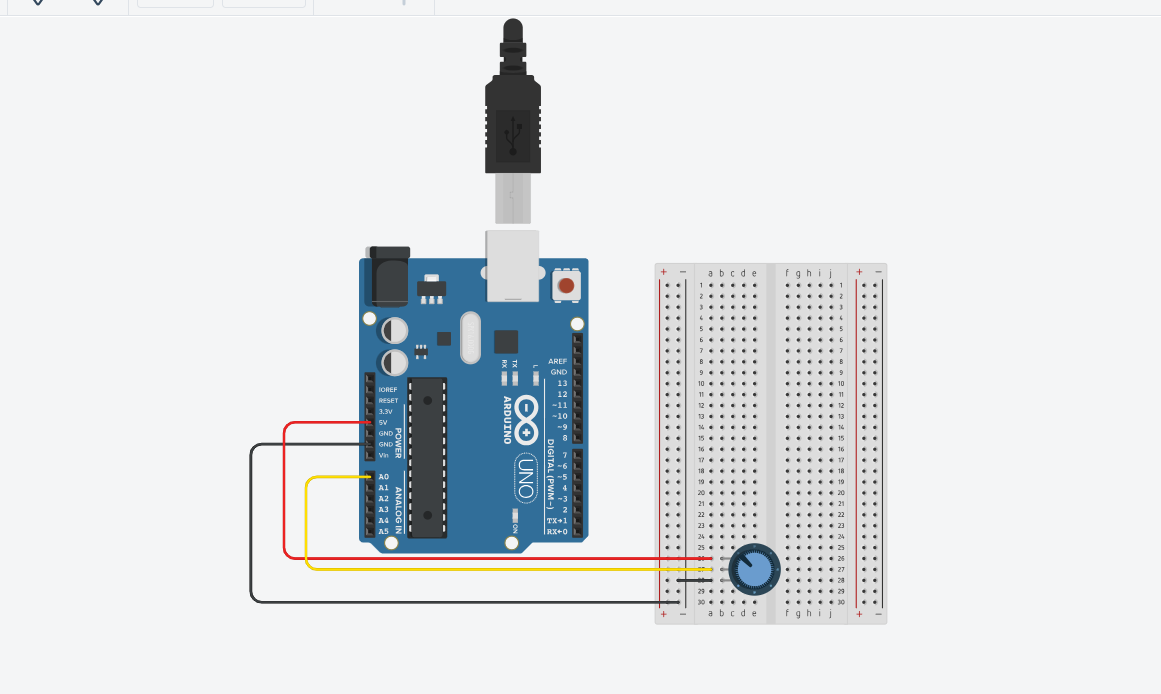
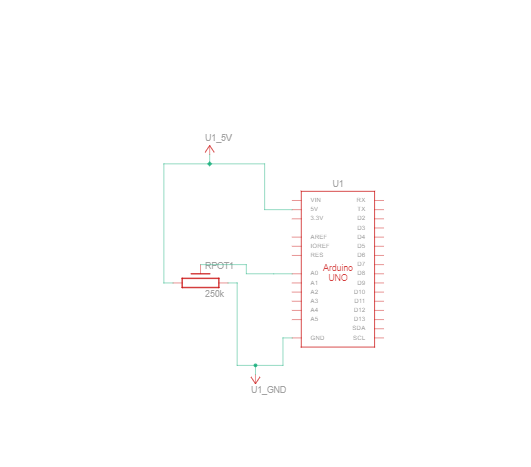
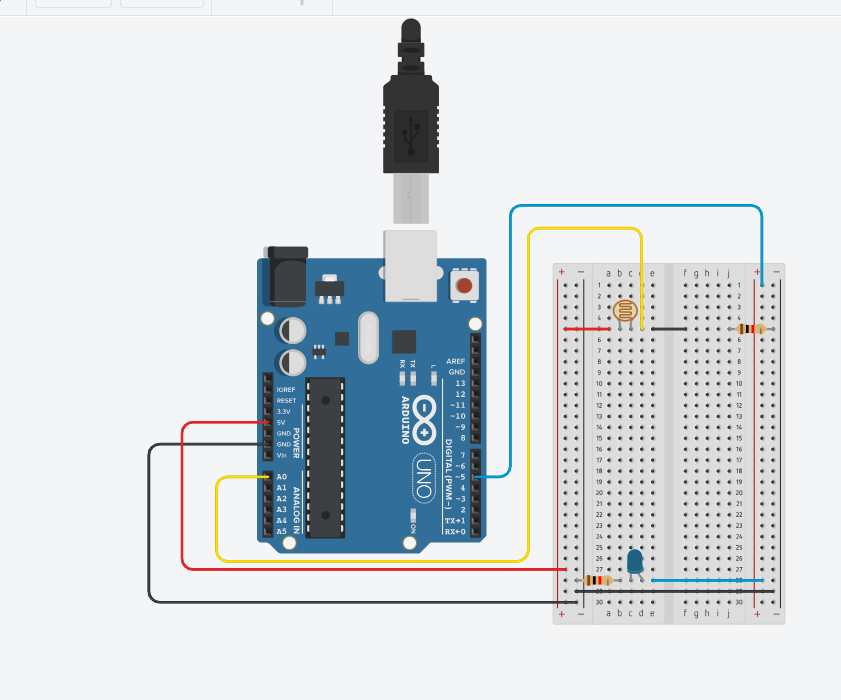
make something that uses only one sensor on Arduino and makes the ellipse in p5 move on the horizontal axis, in the middle of the screen, and nothing on Arduino is controlled by p5
For Arduino, I used a potentiometer to change the position of the ellipse in the p5js sketch. The ellipse starts from the left of the canvas, and it moves horizontally as the values from the potentiometer increase. The values from the potentiometer are mapped to the x coordinates of the ellipse, moving it across the horizontal axis in the middle of the screen.
//// Arduino Code


//void setup() {
  // put your setup code here, to run once:
  Serial.begin(9600);

//}

//void loop() {
  // put your main code here, to run repeatedly:
  int sensor = analogRead(A0);
  delay(5);
  Serial.println(sensor);

//}


let left = 0;

function setup() {
  createCanvas(400, 400);
}

function draw() {
  background(220,110,250);
  fill("green");
  ellipse(left, 50, 50, 50);
}

function keyPressed() {
  if (key == " ") {
    // important to have in order to start the serial connection!!
    setUpSerial();
  }
}

function readSerial(data) {
  left = map(data, 0, 1023, 0, 400);
}
Exercise 2:
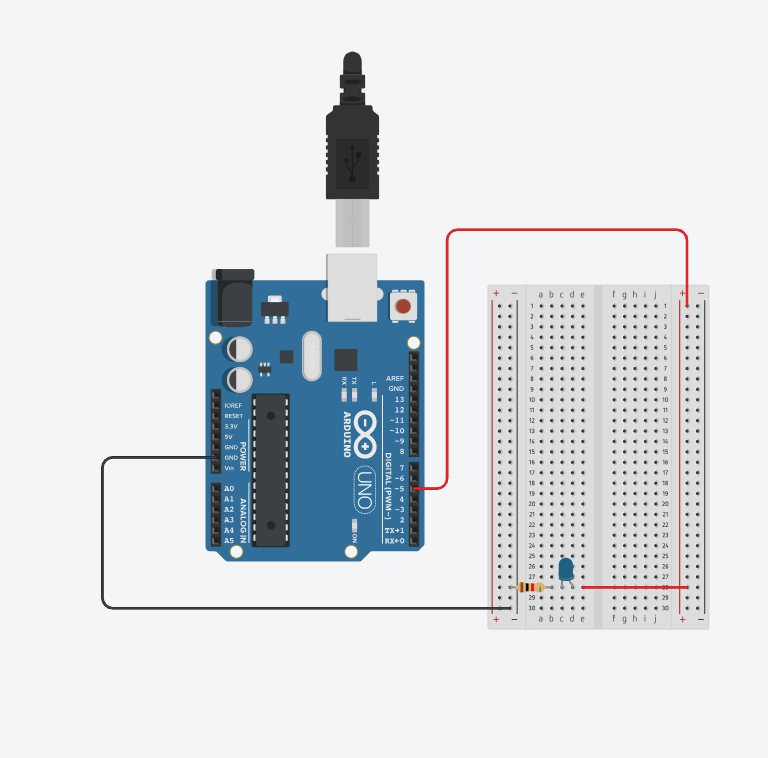
make something that controls the LED brightness from p5
In this p5.js sketch, moving the mouse horizontally controls the brightness of an LED, represented by the variable `mybrightness`. The canvas background changes in shades of blue with the mouse’s x-position. Pressing the space bar initiates a serial connection to the Arduino, enabling real-time communication. The `readSerial` function reads data from the Arduino, and the current brightness value is sent back by appending a new line character. This simple interaction allows the LED brightness to respond in real time to the horizontal mouse movement on the canvas.
Arduino Code:
// - 5 - LED
int ledpin=5;//pin for led to be used

void setup() {
  // Start serial communication so we can send data
  // over the USB connection to our p5js sketch
  Serial.begin(9600);

  pinMode(5,OUTPUT);//setting mode as output
  pinMode(LED_BUILTIN, OUTPUT);
}

void loop() {
  // wait for data from p5 before doing something
  while (Serial.available()) {//while we read from serial
    digitalWrite(LED_BUILTIN, HIGH); // led on while receiving data
    int brightness=Serial.parseInt();//the brightness is gotten from data from p5
    if (Serial.read() == '\n') {//if we read \n,
      analogWrite(ledpin, brightness);//turn on the led based on the intensity gotten from p5
      Serial.println();//send \n
    }
  }
  digitalWrite(LED_BUILTIN, LOW);//if it is not reading, turn of checker light
}
P5 js Code:
let mybrightness=0;
function setup() {
  createCanvas(255,255);//make the canvas size 255 by 255
  textSize(18);//set text size to 18
}

function draw() {

  background(0,0,mouseX);//background be shades of blue
  fill(255);//text be white

  if (!serialActive) {
    text("Press Space Bar to select Serial Port", 20, 30);
  } else {
    text("Connected", 20, 30);

  }
  mybrightness=mouseX;//equate the mouseX to mybrightness
}

function keyPressed() {
  if (key == " ") {
    // important to have in order to start the serial connection!!
    setUpSerial();//when space is pressed connect to arduino
  }
}

// This function will be called by the web-serial library
// with each new line of data. The serial library reads
// the data until the newline and then gives it to us through
// this callback function

function readSerial(data) {
    let sendToArduino = mybrightness+'\n';
    writeSerial(sendToArduino);//send mybrightness to arduino
}
Exercise 3:
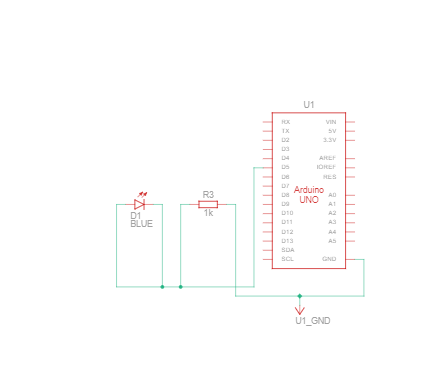
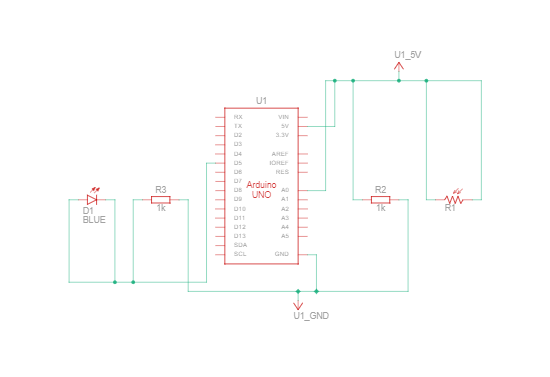
take the gravity wind example and make it so every time the ball bounces one led lights up and then turns off, and you can control the wind from one analog sensor
The p5.js sketch features a blue ball that bounces on the canvas, and a corresponding LED turns on whenever the ball hits the floor. The wind effect on the ball’s movement is controlled by an analog sensor connected to the Arduino. When a ‘d’ key is pressed, a serial connection is established between p5.js and the Arduino. Pressing the space bar creates a new bouncing ball with a random mass and resets its position. The Arduino reads the wind intensity from an analog light sensor, and the LED is turned on or off based on the received brightness value from p5.js. The wind strength is then sent back to p5.js, completing the real-time interaction between the bouncing ball simulation and the Arduino-controlled LED.
Arduino Code:
int LedPin = 5;//pin to display light

void setup() {
  // Start serial communication so we can send data
  // over the USB connection to our p5js sketch
  Serial.begin(9600);

  // We'll use the builtin LED as a status output.
  // We can't use the serial monitor since the serial connection is
  // used to communicate to p5js and only one application on the computer
  // can use a serial port at once.
  pinMode(LED_BUILTIN, OUTPUT);

  // Outputs on these pins
  pinMode(LedPin, OUTPUT);//set pin as output

}

void loop() {
  // wait for data from p5 before doing something
  while (Serial.available()) {//while we read from serial
    digitalWrite(LED_BUILTIN, HIGH); // led on while receiving data for checker
    int bright = Serial.parseInt();//read data from p5 and store in bright
    if (Serial.read() == '\n') {//if the serial read is \n,
      digitalWrite(LedPin, bright);//turn on or off led depending on the value of bright
      int windsens=analogRead(A0);//read the windspeed from lightsensor
      delay(5);//wait small to get reading
      Serial.println(windsens);//send windspeed to p5
    }
  }
  digitalWrite(LED_BUILTIN, LOW);//if not active turn checker led off
}
P5 js Code:
let velocity;
let gravity;
let position;
let acceleration;
let wind;
let drag = 0.99;
let mass = 50;
let led=0;//variable controlling the led

function setup() {
  createCanvas(640, 360);
  fill(0,0,255);//ball to be blue
  position = createVector(width/2, 0);
  velocity = createVector(0,0);
  acceleration = createVector(0,0);
  gravity = createVector(0, 0.5*mass);
  wind = createVector(0,0);
}

function draw() {
  background(0,50);//background black with transperacy 50
  applyForce(wind);
  applyForce(gravity);
  velocity.add(acceleration);
  velocity.mult(drag);
  position.add(velocity);
  acceleration.mult(0);
  ellipse(position.x,position.y,mass,mass);
  if (position.y > height-mass/2) {
      velocity.y *= -0.9;  // A little dampening when hitting the bottom
      position.y = height-mass/2;
    }
  if(position.y==height-mass/2){led=1;}//if the ball touches the floor, turn on led
  else{led=0;}//otherwise turn led off
}

function applyForce(force){
  // Newton's 2nd law: F = M * A
  // or A = F / M
  let f = p5.Vector.div(force, mass);
  acceleration.add(f);
}

function keyPressed() {
  if (key == "d") {//when d is pressed create connection
    // important to have in order to start the serial connection!!
    setUpSerial();
  }
  if (key==' '){//when space is pressed create new ball and call bounce effect
    mass=random(15,80);
    position.y=-mass;
    velocity.mult(0);
  }
}
function readSerial(data) {
    wind.x=map(int(data),0,1023,-2,2);//map the value gotten from the arduino to wind.x
    let sendToArduino = led+'\n';
    writeSerial(sendToArduino);//send the value of led to the srduino
}
In this text, the author asks the question: How often do we excuse the design of things that cater to disabled people because of the market for which it is intended? The design of such objects, it seems, mostly tries not to portray a positive image but no image at all, as if to hide disability or to regard it as shameful. We’ve come from an era where it wasn’t outrageous to say things like “medical products should not be styled” [p. 16] when talking about glasses to an era where glasses are stylized and in some contexts even considered fashionable. It is interesting how we’re slowly progressing with some disabilities to make the design of aiding instruments more “acceptable” to abled people instead of trying to hide the disability through design. For example, contact lenses could make bad eyesight invisible to the observer, but most people still choose to wear glasses over lenses, in part because of the accessibility of their design. Even then, there are disabilities where advancement in aiding technology is constrained by the need for invisibility (like with hearing aids), which I think is a shame. The author wants such instruments to also follow the blueprint of glasses, so that advancement is favored over discretion. However, at the same time, the pressure of making the design of aiding instruments universal means there is a serious risk of designers going too far as to sacrifice functionality over design. The first priority, I think, should be functionality, and then design, in the case of such instruments, so the overall user experience is better.
For my final project, I’m initially thinking about expanding my midterm project’s functionality physically, so that you’ll be able to control the music player through components of the arduino kit (next, previous, volume control, slider, shuffle), and the music player will communicate back with the arduino with maybe a light show or something to go with the music. I’ll have to look into a cool physical design as well along with code design to make it realer. That’s the idea for now, anyway!
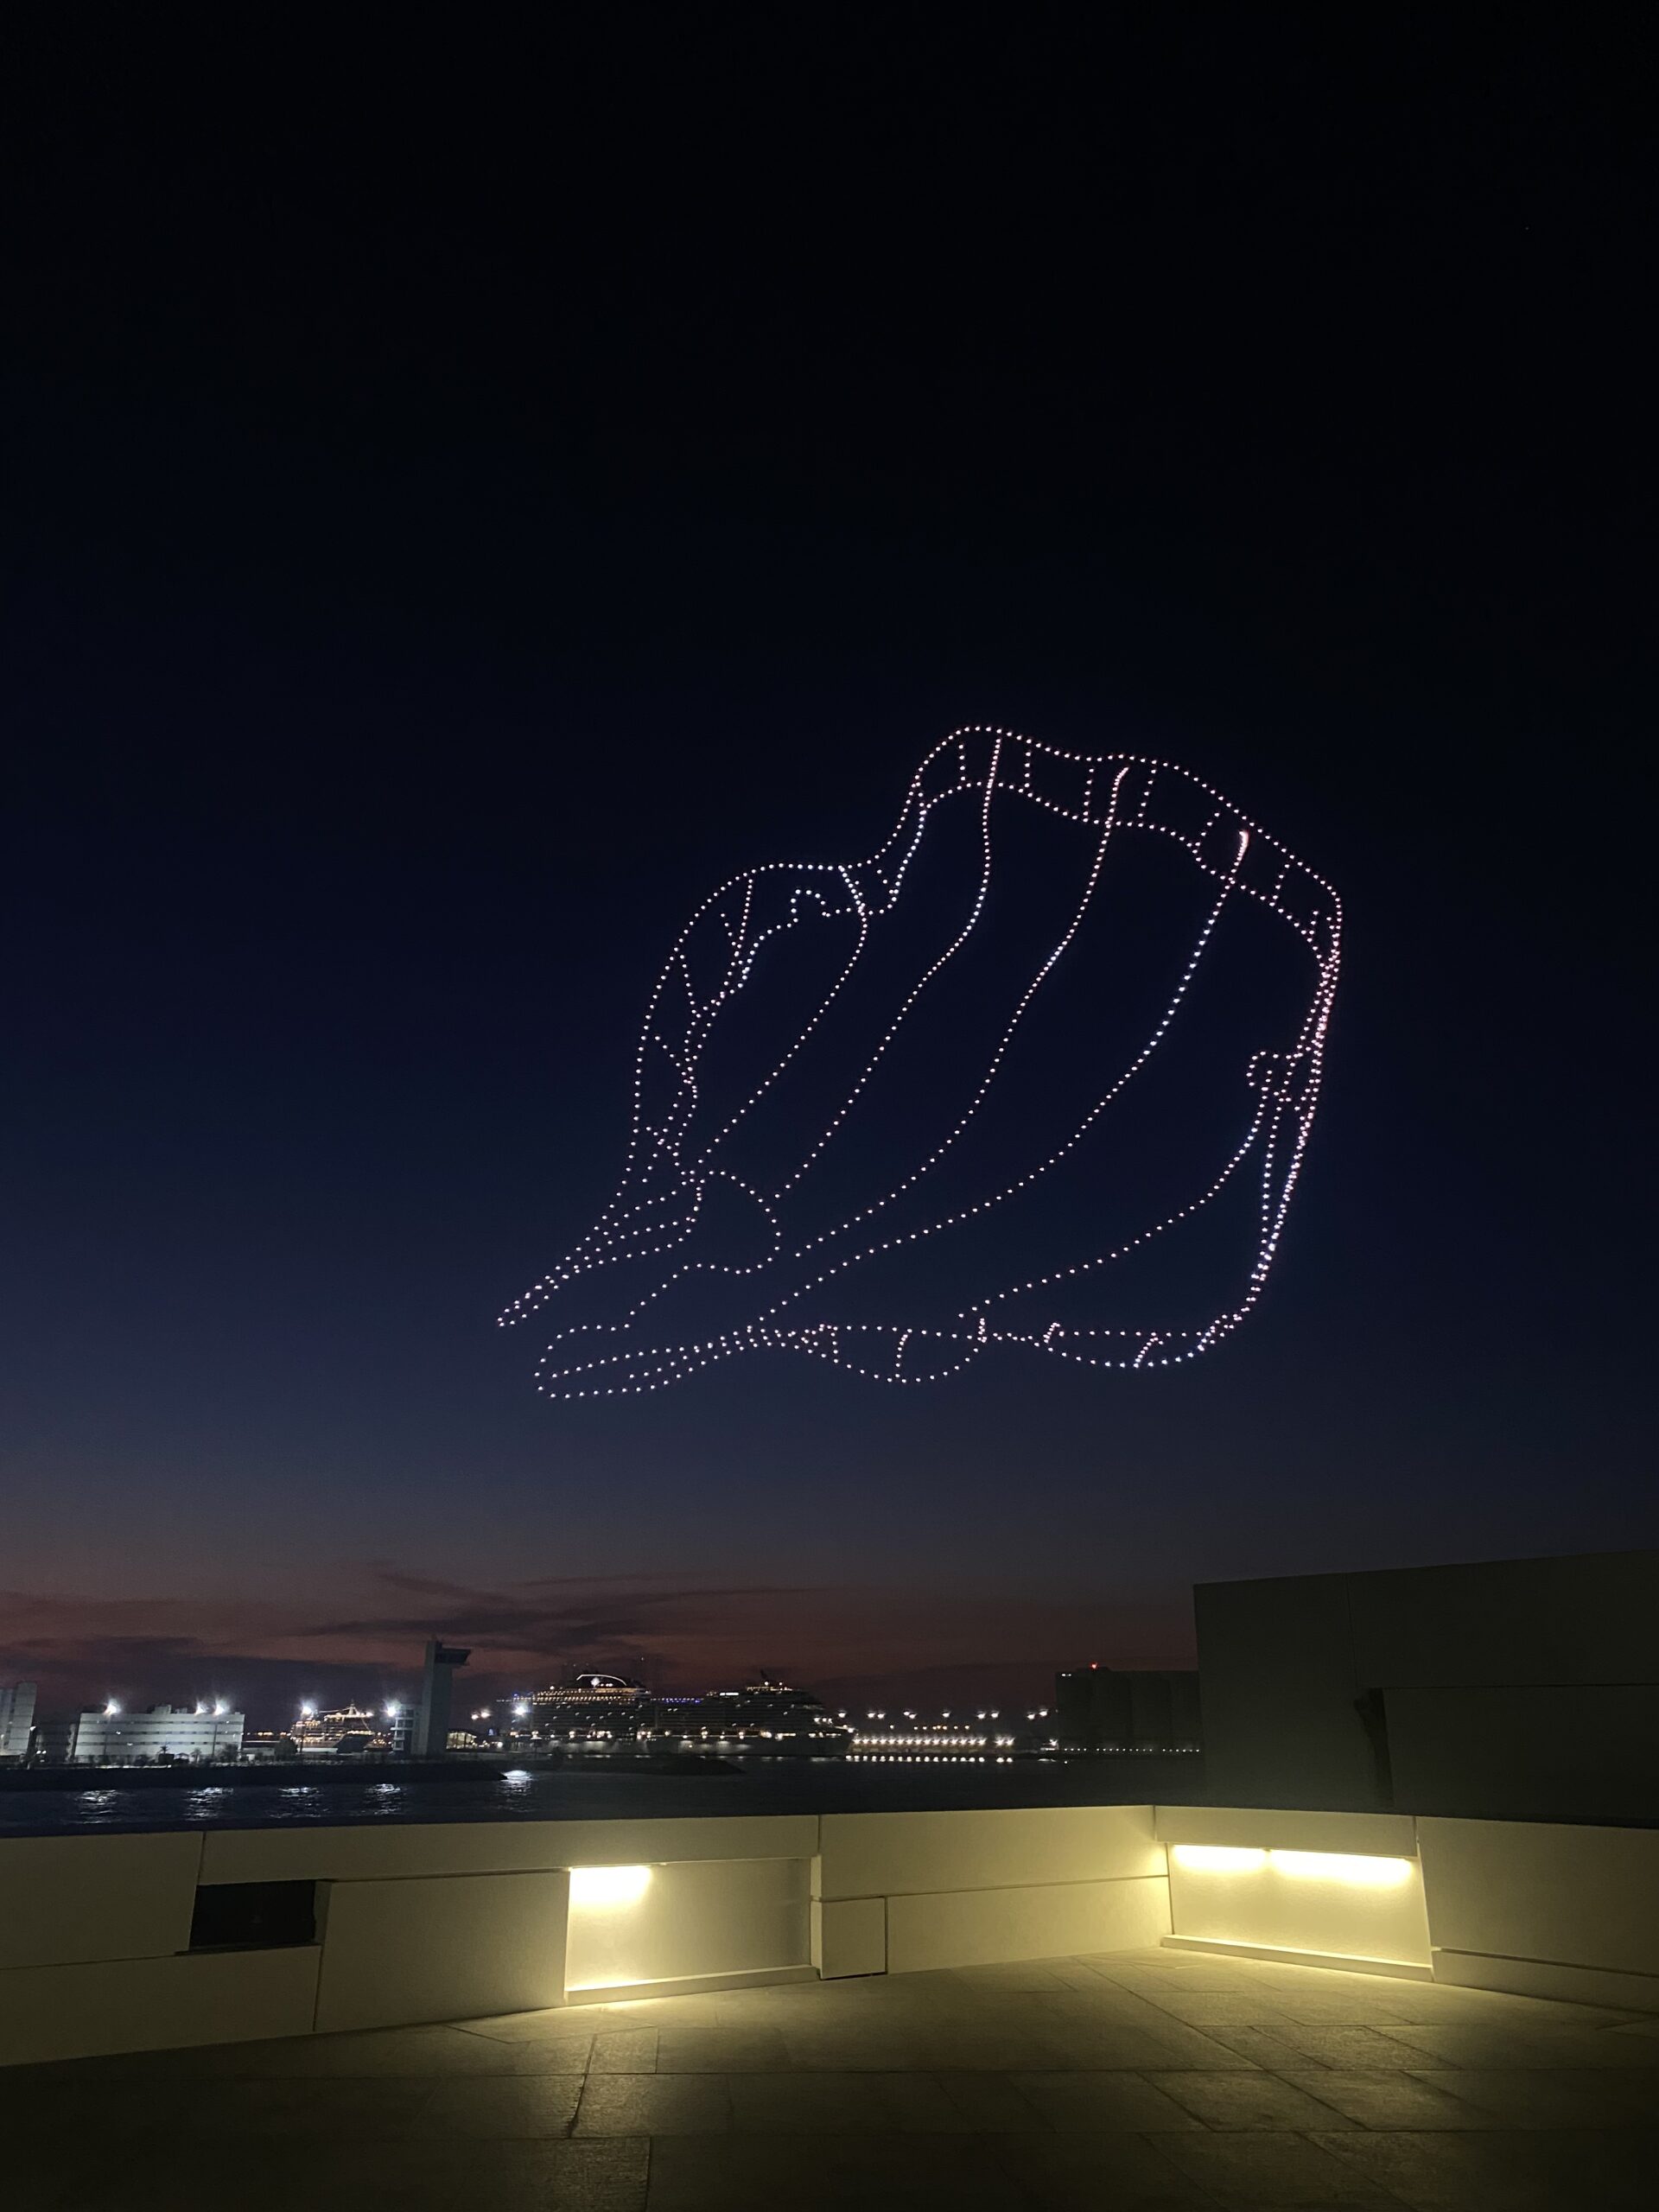
My friend and I visited the Louvre Museum in Abu Dhabi on Sunday. Every night for the entire month, I would see objects lighting up the sky in patterns when I went out late. Upon closer inspection, I quickly discovered that these were drones operating a drone show at the Louvre. But on this specific day, we were positioned on the Louvre terrace, which provided us with the ideal height from which to watch the drone show. After giving it some thought, I’ve decided that this is the theme I want to explore for my final project because we were so close that we could even hear the drones whirring. I’m not sure how I’m going to do it, but I’d like to incorporate this into P5 and have a physical component on Arduino.
Setup:
Your touches on the joystick will translate into a language that the drones can understand thanks to an Arduino Uno and a joystick module. Your motion serves as a cue to them, influencing their formations and flight patterns. The drones will use P5.js as their gateway. The drones would receive commands from Arduino that would essentially give them life and allow their movements to be seen on screen. As the drones fly, every tilt and every movement of the joystick will be reflected in real time.
Interaction:
The user will be interacting with the drones by taking on the role of the conductor and essentially controlling their rhythm, motion, patterns, and position. I want it to feel more like an interactive art experience where you can use P5.js as a canvas and your gestures as the brush, rather than like operating a remote-control car.
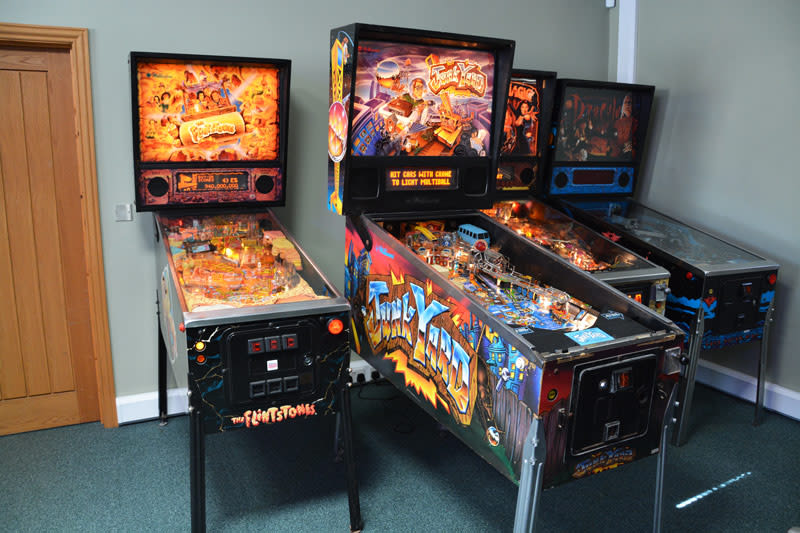
Growing up, I used to love playing with pinball machines in malls and carnival parks, so I would like to recreate the same fun that I had as a kid in my final project. My concept revolves around replicating a traditional pinball machine using Arduino and P5.js. By combining the power of Arduino and P5.js, I will be able to create a physically and digitally interactive pinball game, and I hope to bring the joy and challenge of playing pinball into a more modern and unique setting.
Through switches that control the flippers on P5.js, users will have the objective of scoring as many points as possible before losing the ball, just like in a classic arcade setting, being able to mimic the experience of playing a pinball machine. Many dynamics could be added to the game, and I am excited to explore sensors that I could potentially use.
I visited Manar Abu Dhabi last week. My favorite installation was a field of lights that pulsed with the audience’s heartbeat. When I saw it, I felt like I was in Elysium. It stole all the wind from me. Here’s a video of it here. I know I want to create an installation that involves a heartbeat, using sensors, and that’s the Arduino component. As to what detecting the heartbeat will do, I’m still iffy.
I’ve been having a lot of conversations with my dad these days about how disconnected we are from each other and from ourselves. I want to create a project that brings people more in tune with their inner selves and surroundings, using the heartbeat, which is, naturally, already a very intimate thing.
My first idea is maybe when two people’s hearts get in sync, something appears on P5JS screen. And when they’re not in sync, images appear that represent the dissonance that is happening. Or, instead of going that route, everyone’s individual heartbeat draws a unique picture that is added to a larger picture of everyone’s similar but different looking heartbeats. I’ve also been trying to come up with ways I could add poetry/words into this installation the way Andrew Schneider did with his. He did it perfectly.
Or, I’m seeing a circle that pulses on the screen with your heartbeat in something that looks like a universe (like what Pierre did). Something that gets the message of being a pulse in the universe across, and as steps are went through, new poems/words pop up.
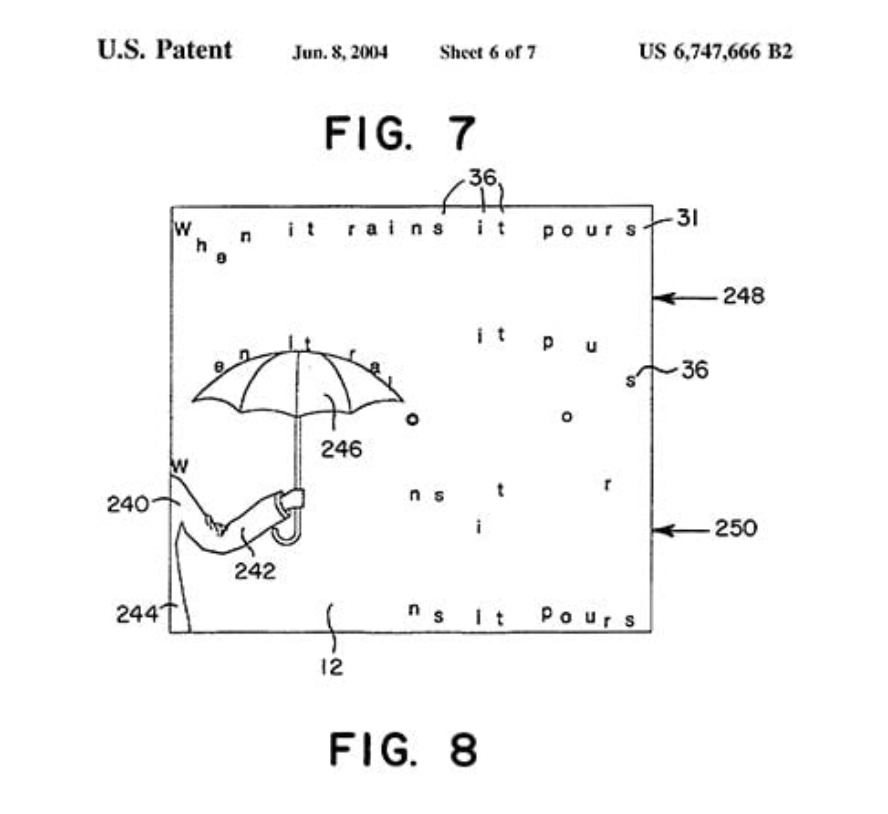
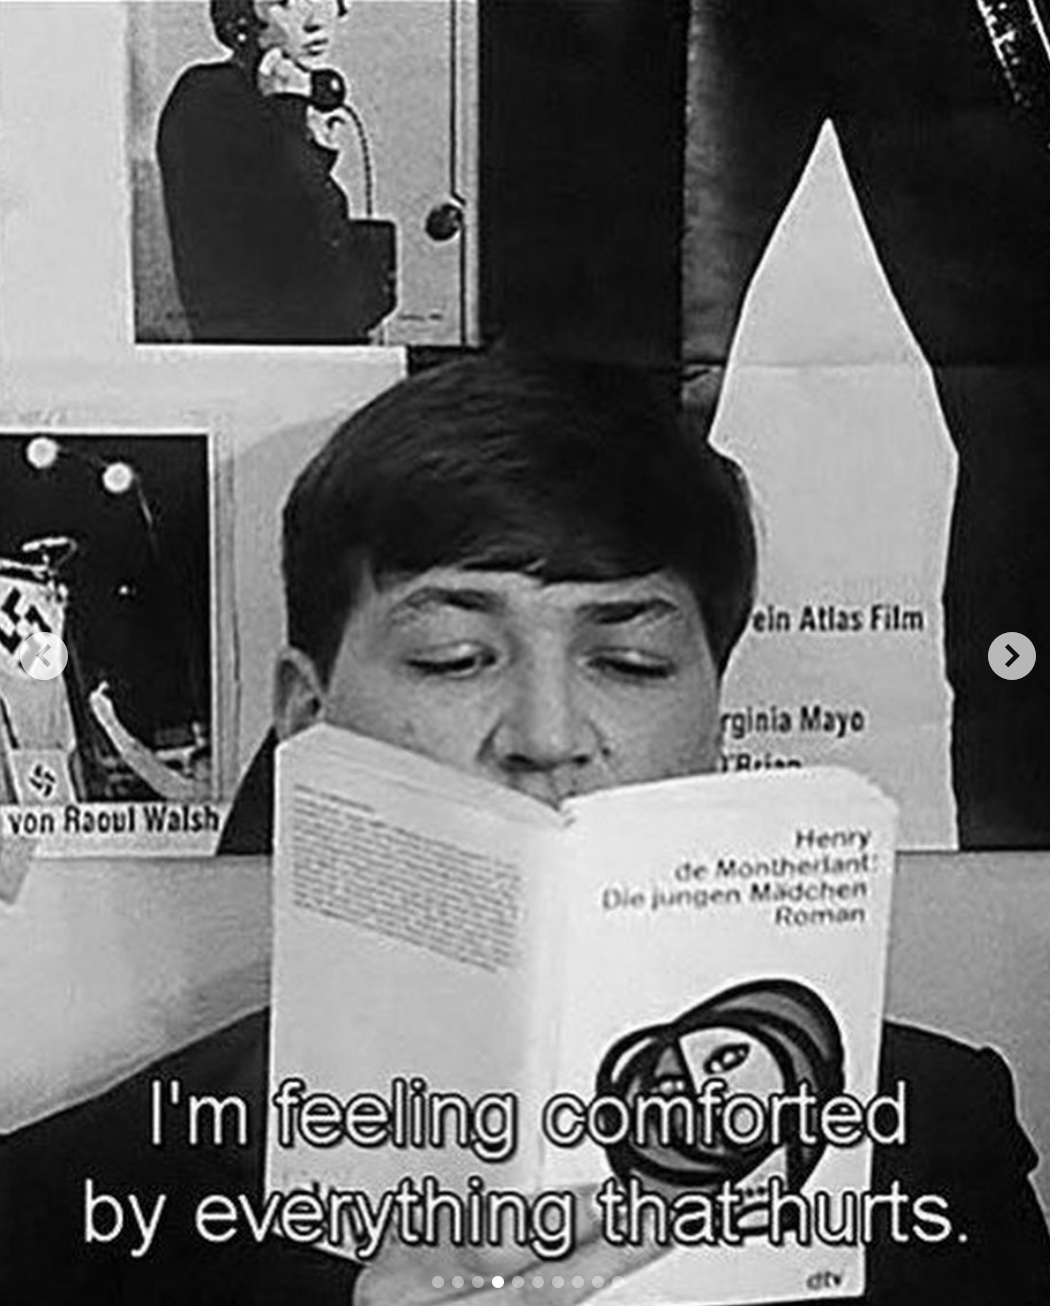
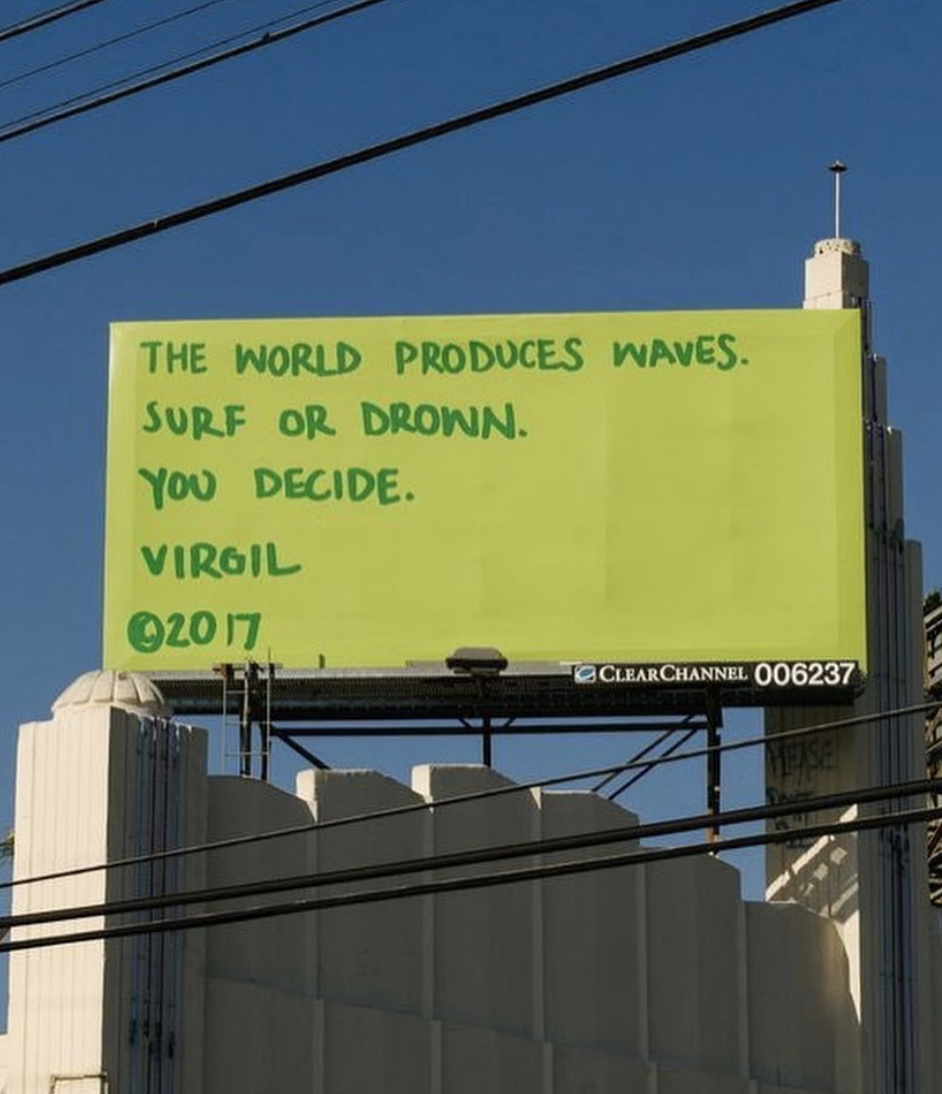
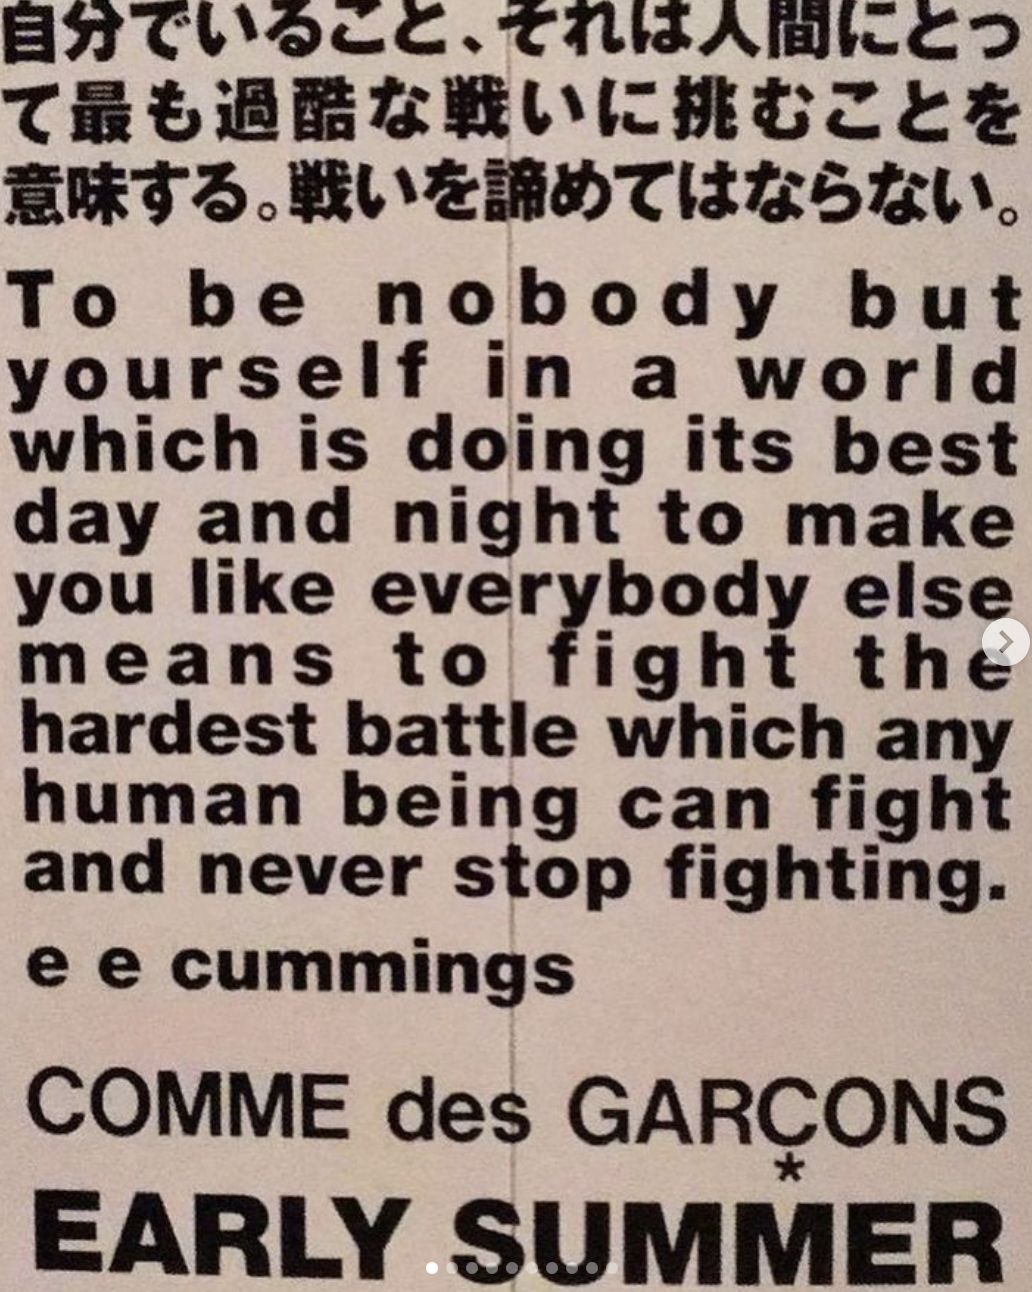
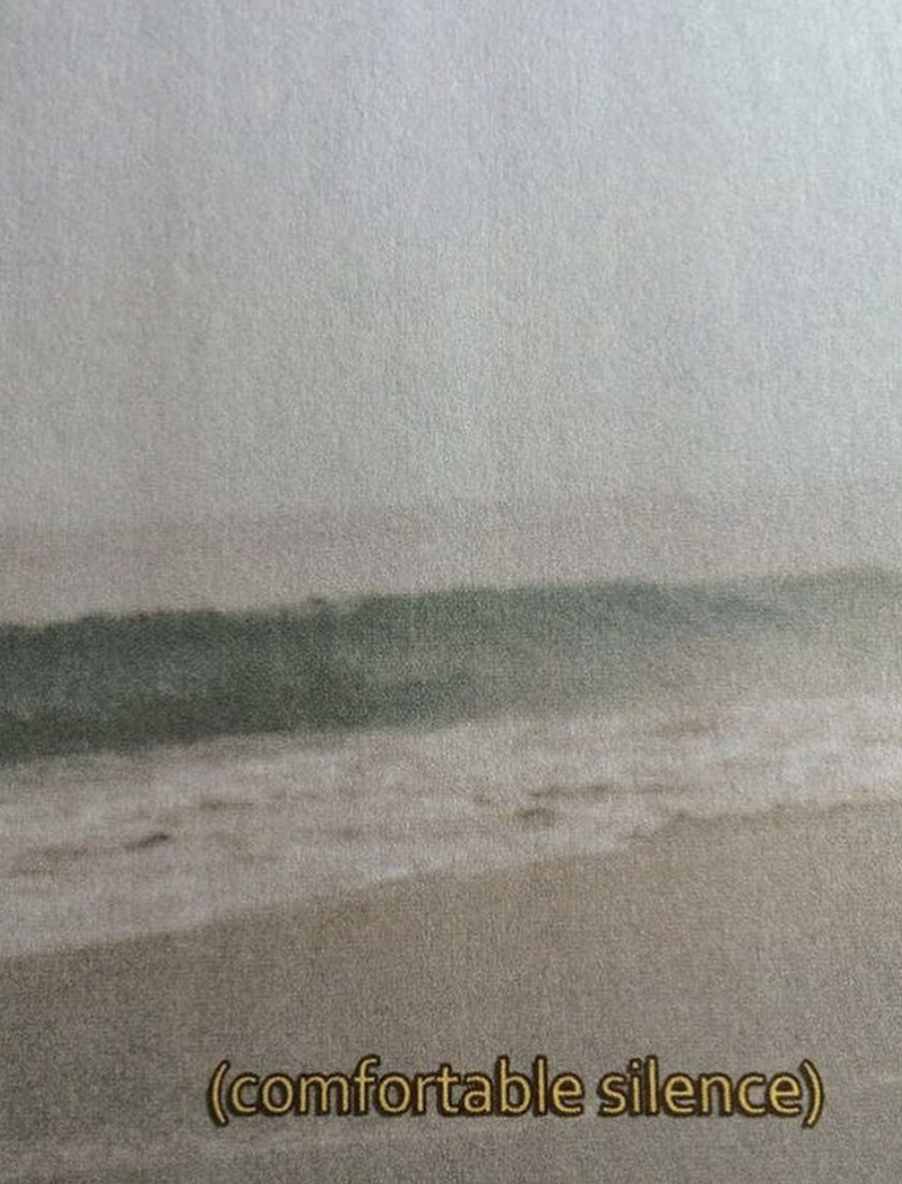
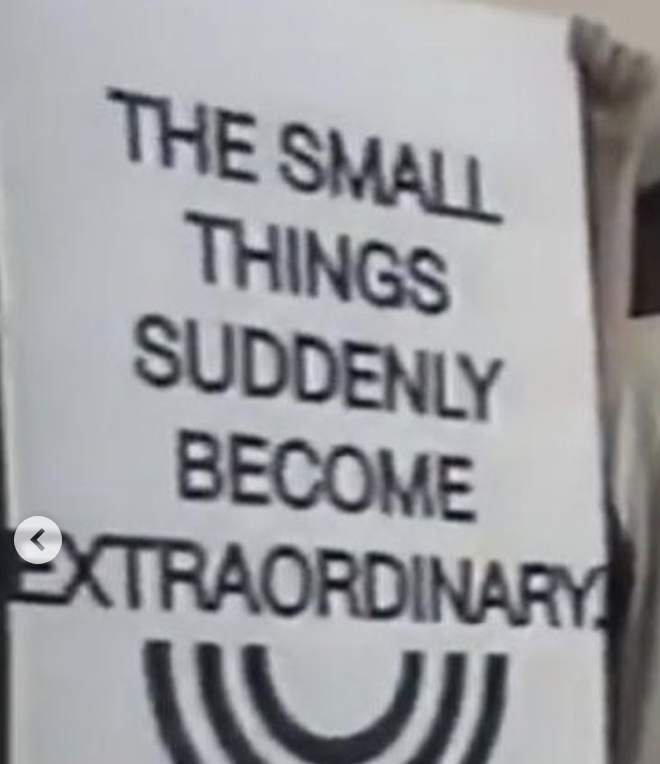
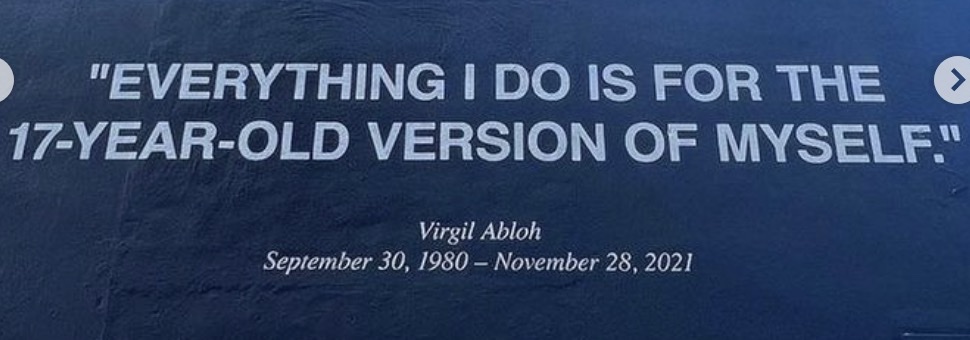
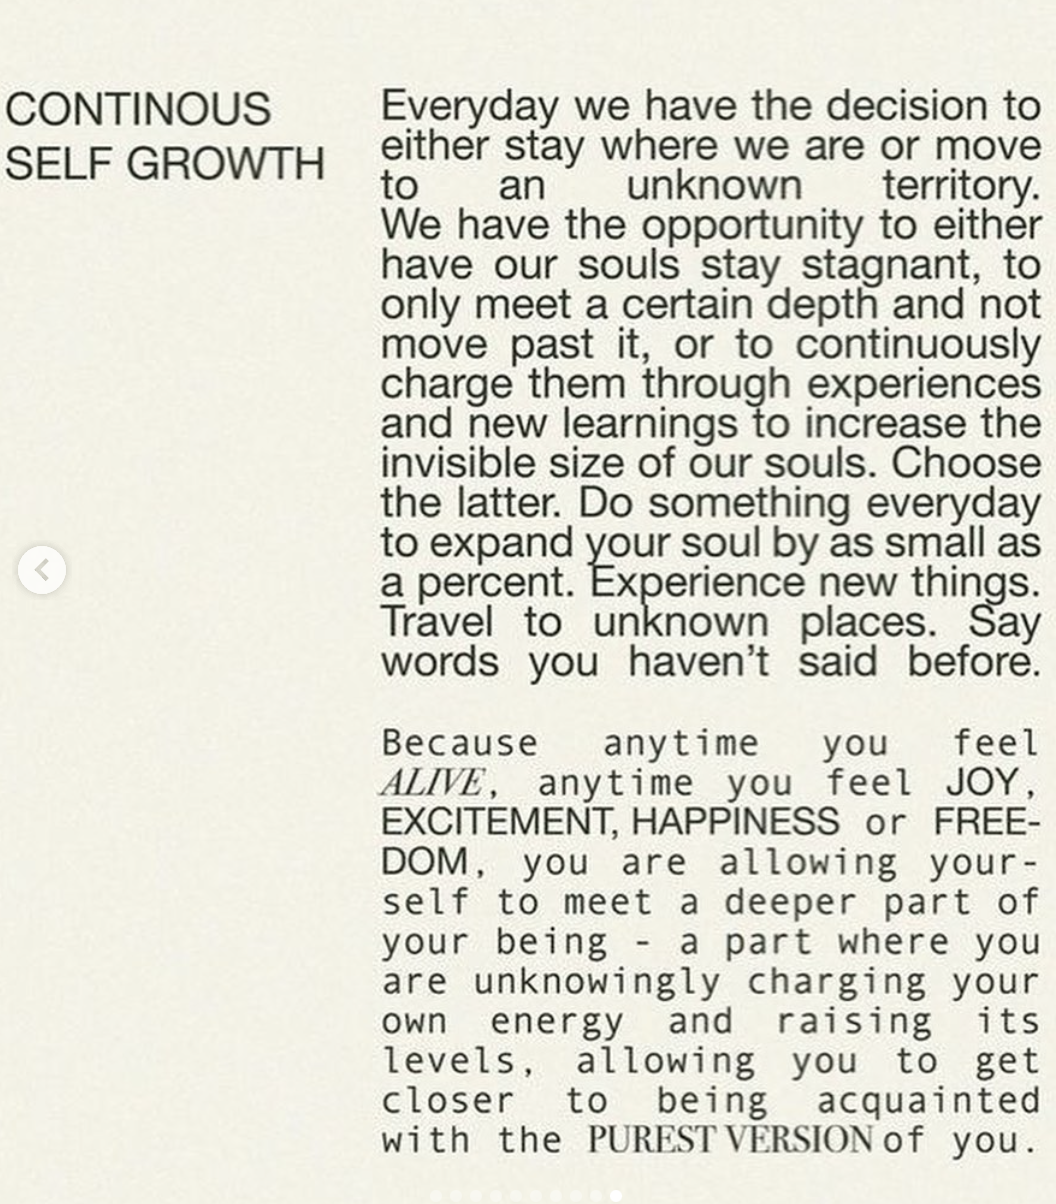
Here’s a project called “Text Rain.” I could incorporate words this way, perhaps. Maybe every time the circle pulses, words pop out, but how to make it more interactive so that it’s the audience’s words instead of my own…still unsure. Either way, I’m gonna put a moldboard below. I love Instagram archive pages. Because they have text like this. I want to capture the feeling these images evoke:
It’s a lot. But there’s a vibe. It should be more fleshed out but, things must come together eventually.
This week’s reading, titled “Design meets disability,” intrigued me with its exploration of the intersection between design and the needs of individuals with disabilities. Prior to this, I hadn’t given much thought to the design aspects of products catering to the disabled community. My initial perspective was primarily focused on functionality, deeming it sufficient. However, the author emphasizes that functionality alone may not be the sole consideration. The incorporation of aesthetic appeal in design plays a crucial role in enhancing the user’s self-image.
The author delves into the analysis of various items such as spectacles (now referred to as eyewear), prosthetics, and other adaptive “equipment” designed for individuals with different abilities. It made me reflect on the challenges of introducing fashion into this realm, especially considering the diversity of needs. Unlike spectacles, which serve users regardless of eyesight effectiveness, prosthetics and hearing aids pose unique challenges. How can someone without amputation use a prosthetic, or how can individuals without hearing impairment benefit from hearing aids?
The transformation of spectacles into trendy “eyewear” appears to have been a successful evolution, but I question whether similar success is feasible for other assistive devices tailored for individuals with special needs. The reading has prompted me to consider the intricacies and complexities involved in merging design and functionality, particularly in the context of products meant to aid those with disabilities.