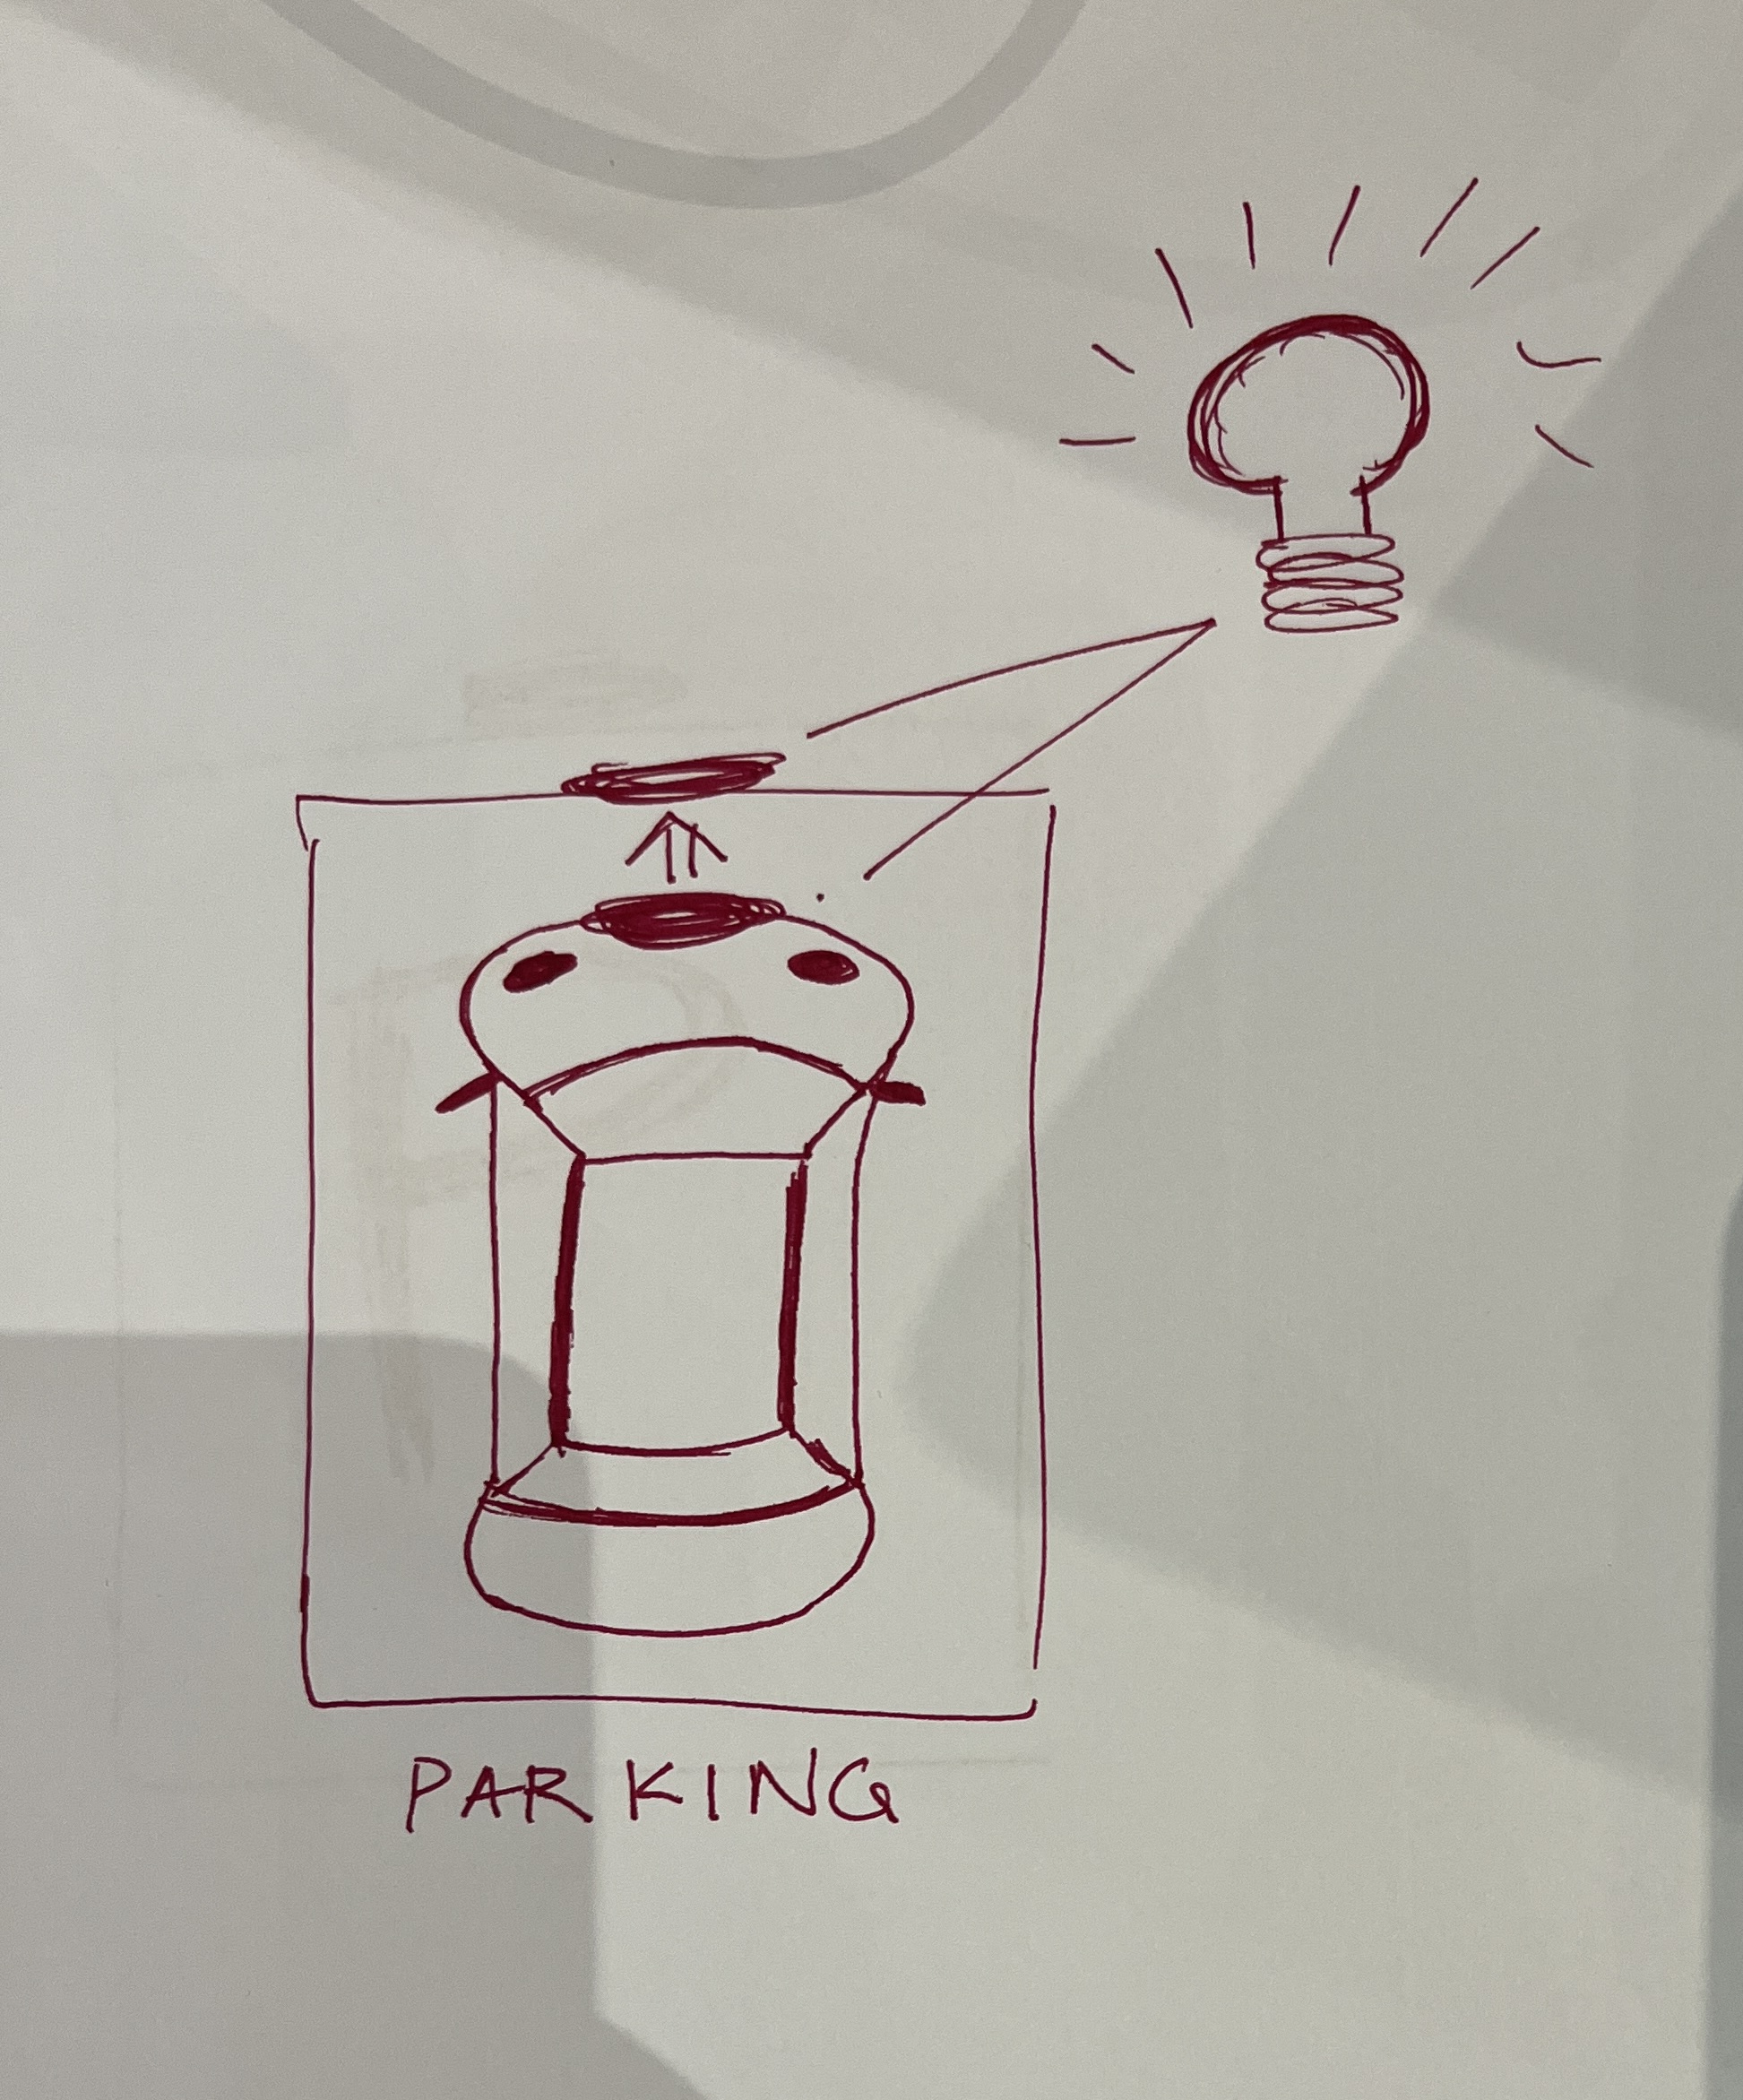
Week 8: unusual switch

Concept: 

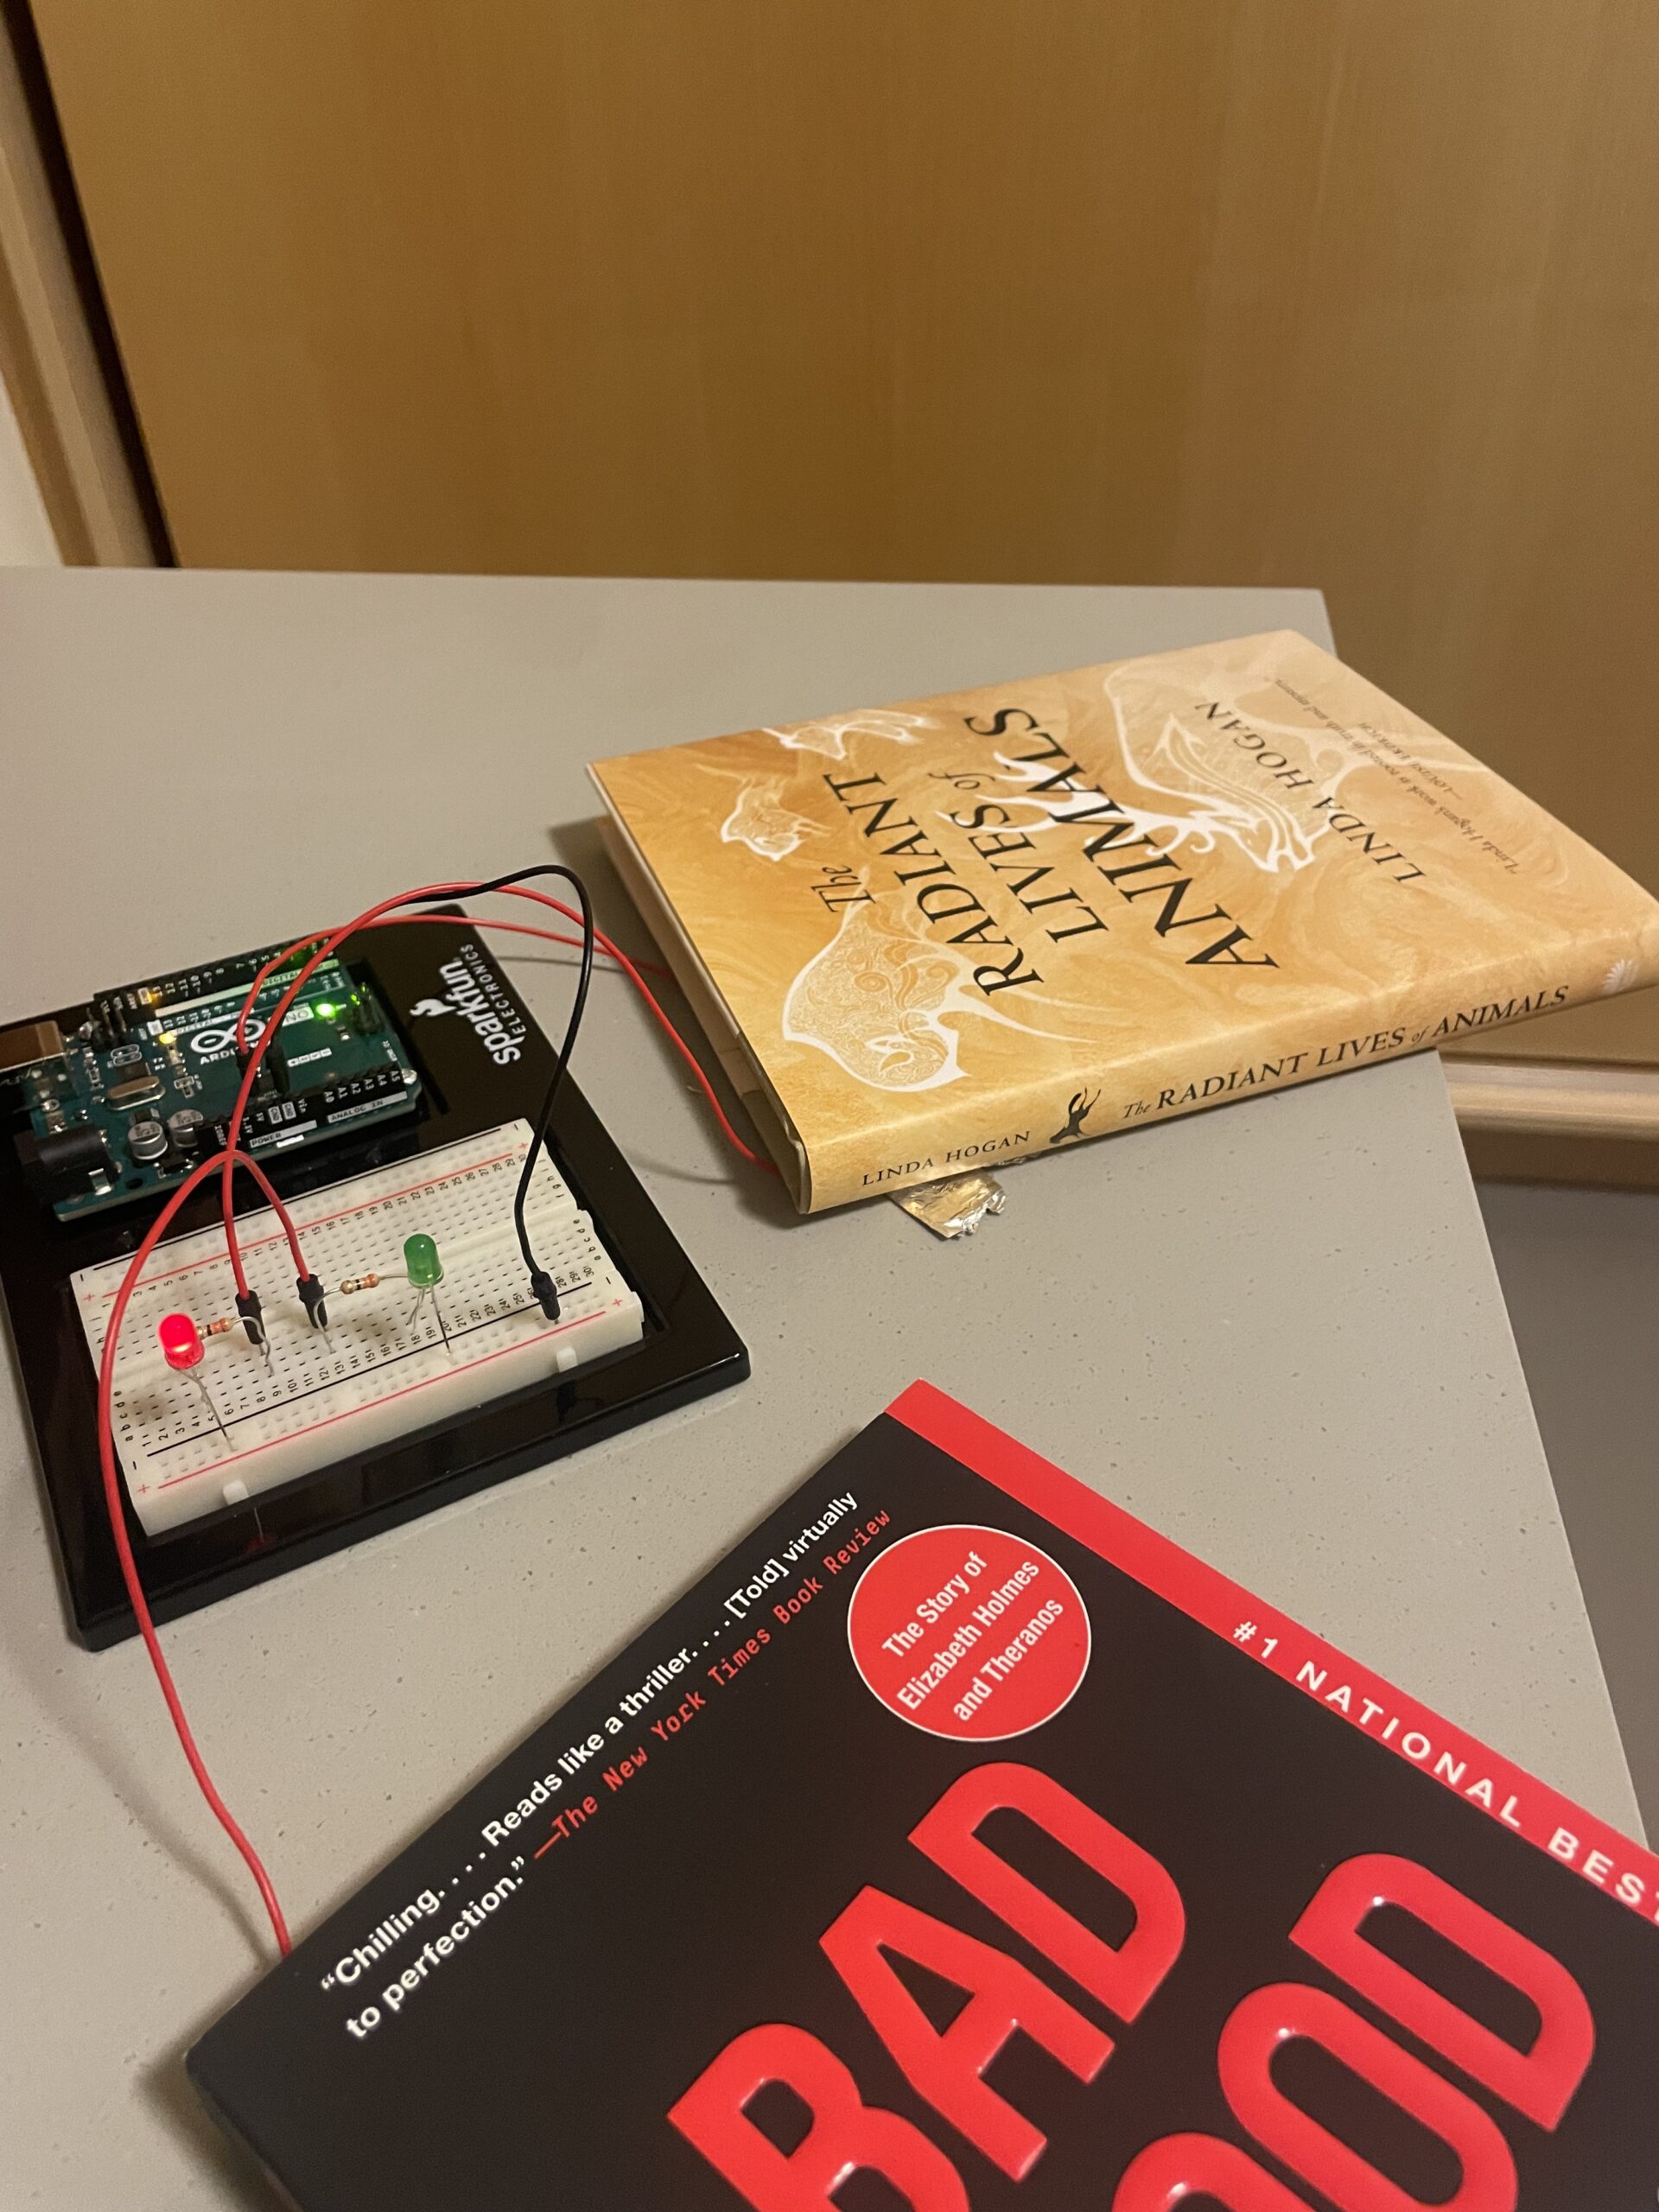
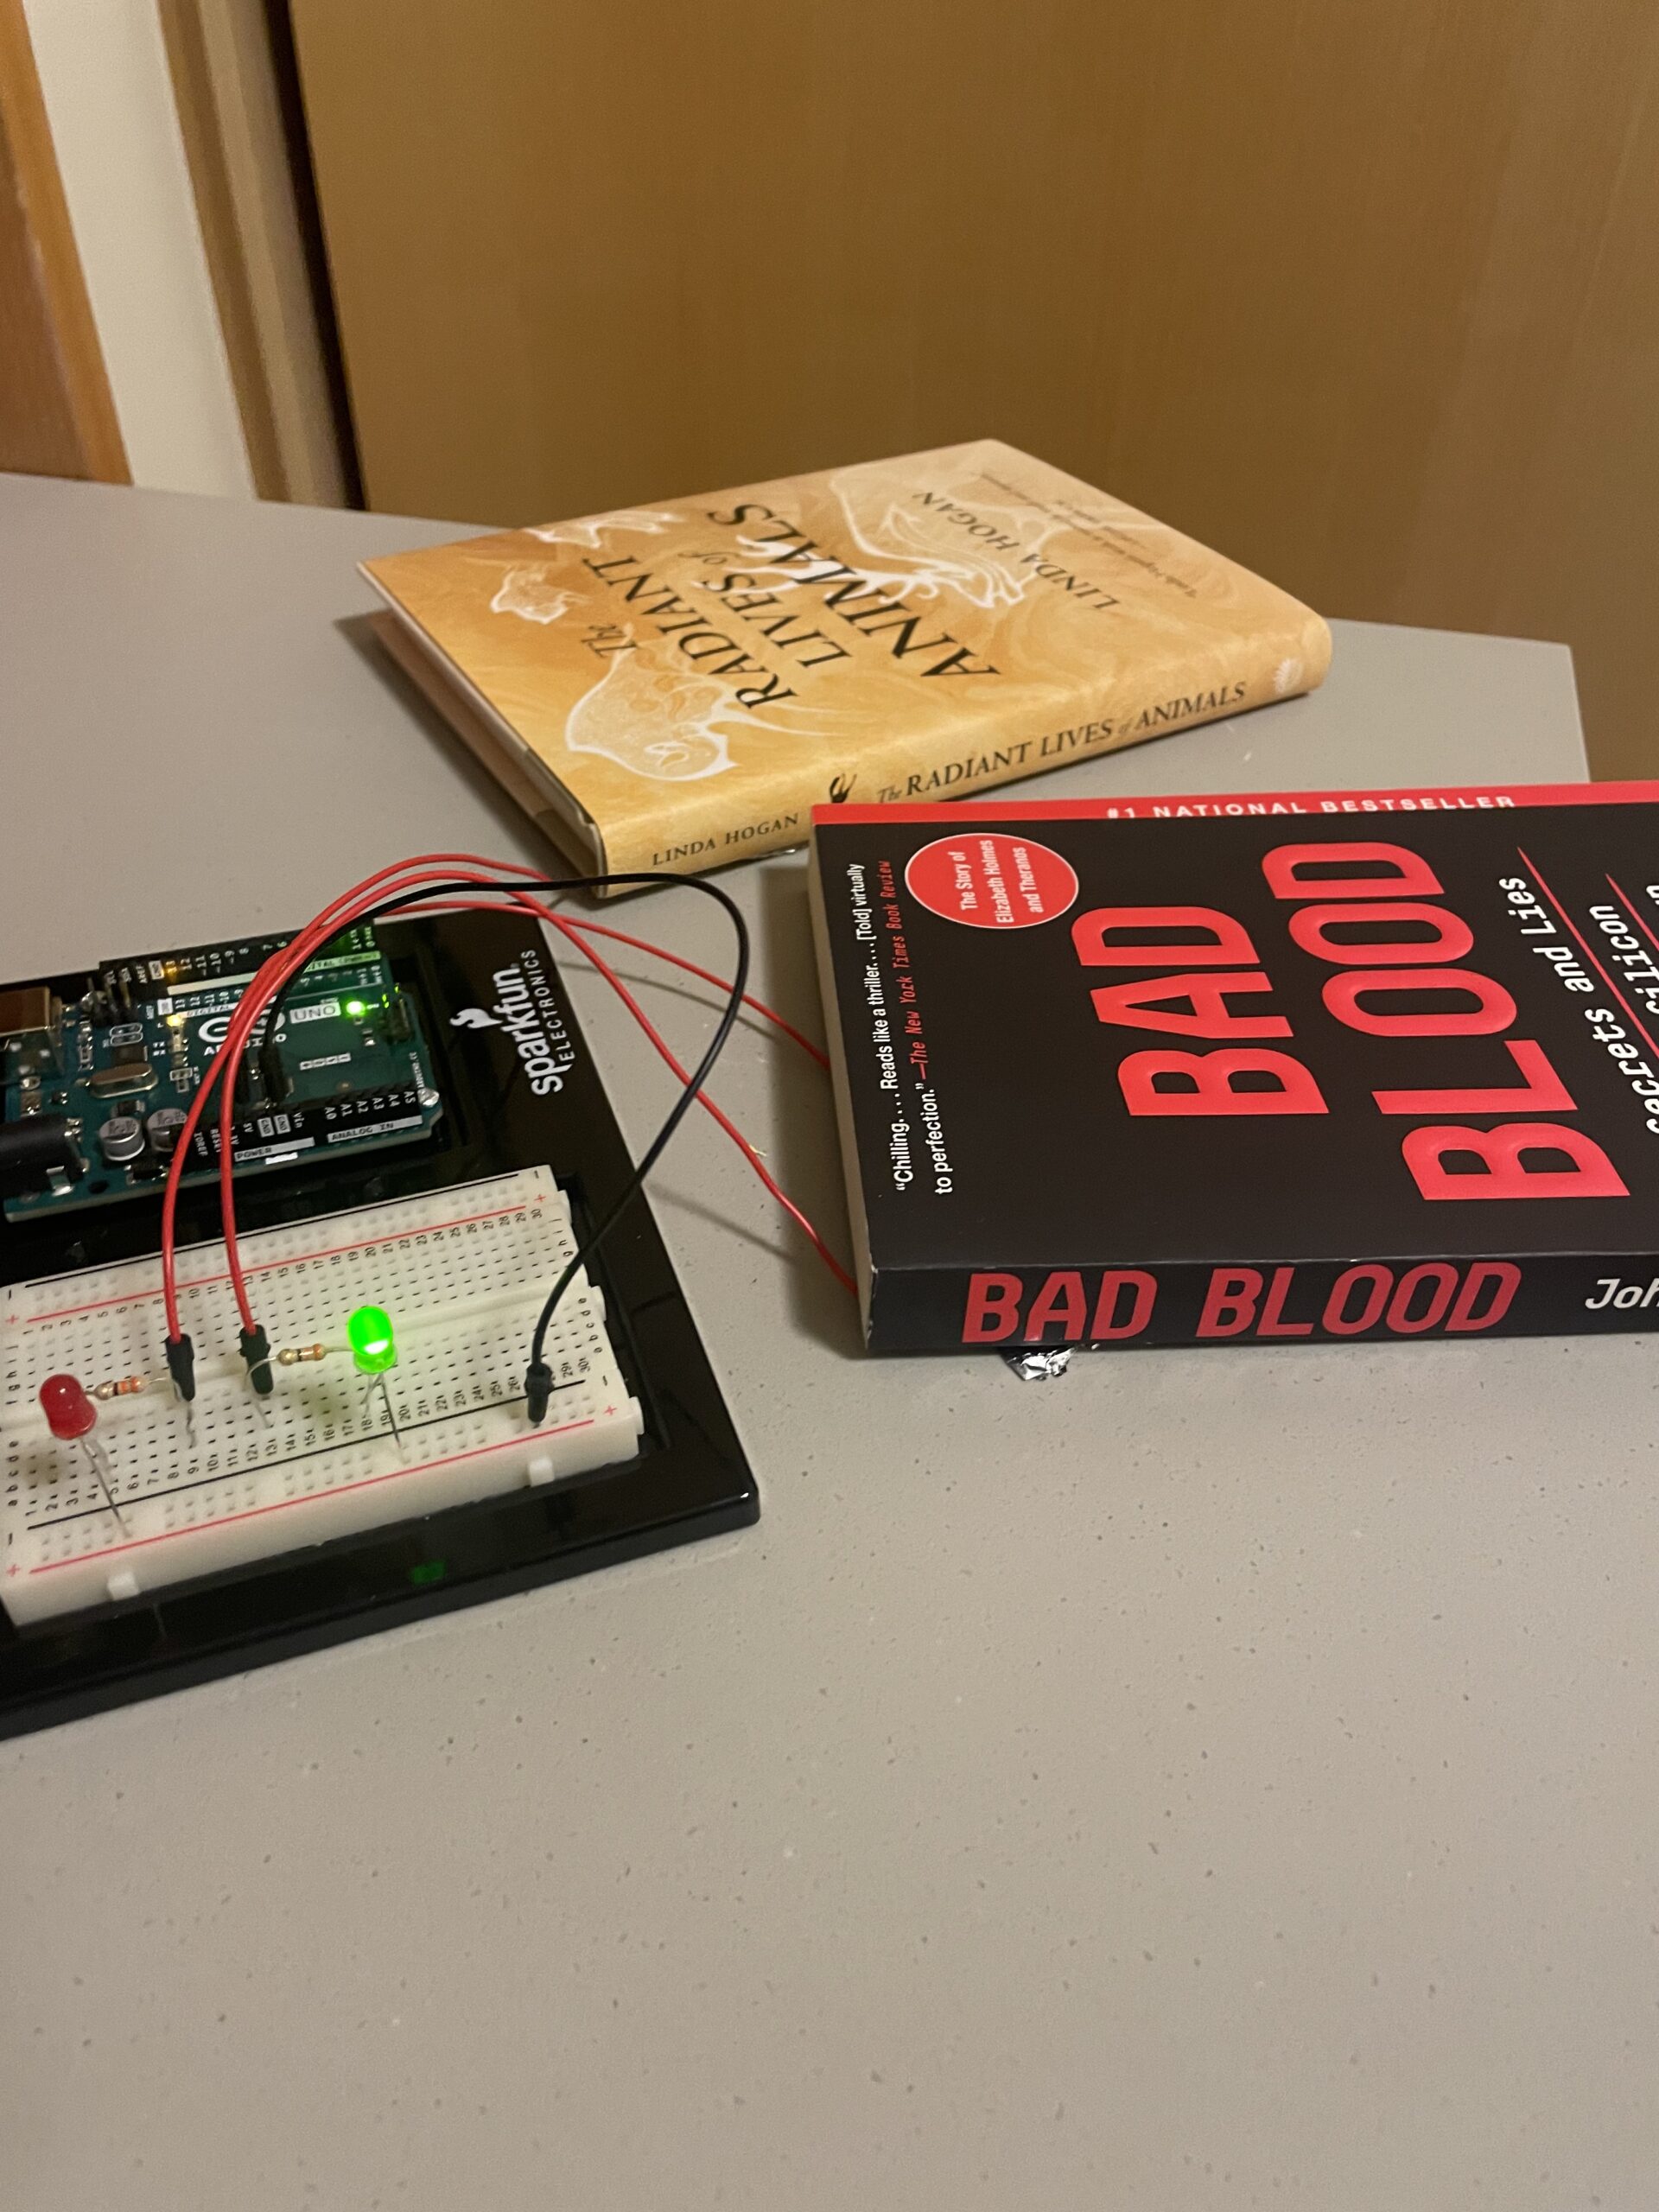
The concept of the switch is pretty straightforward, you place a book on the designated part of the desk and if I had read this book already the Red LED turns on indicating that this book has already been read. If I hadn’t read that book yet then the Green LED would turn on indicating that this book is new. 

Process & Highlights:

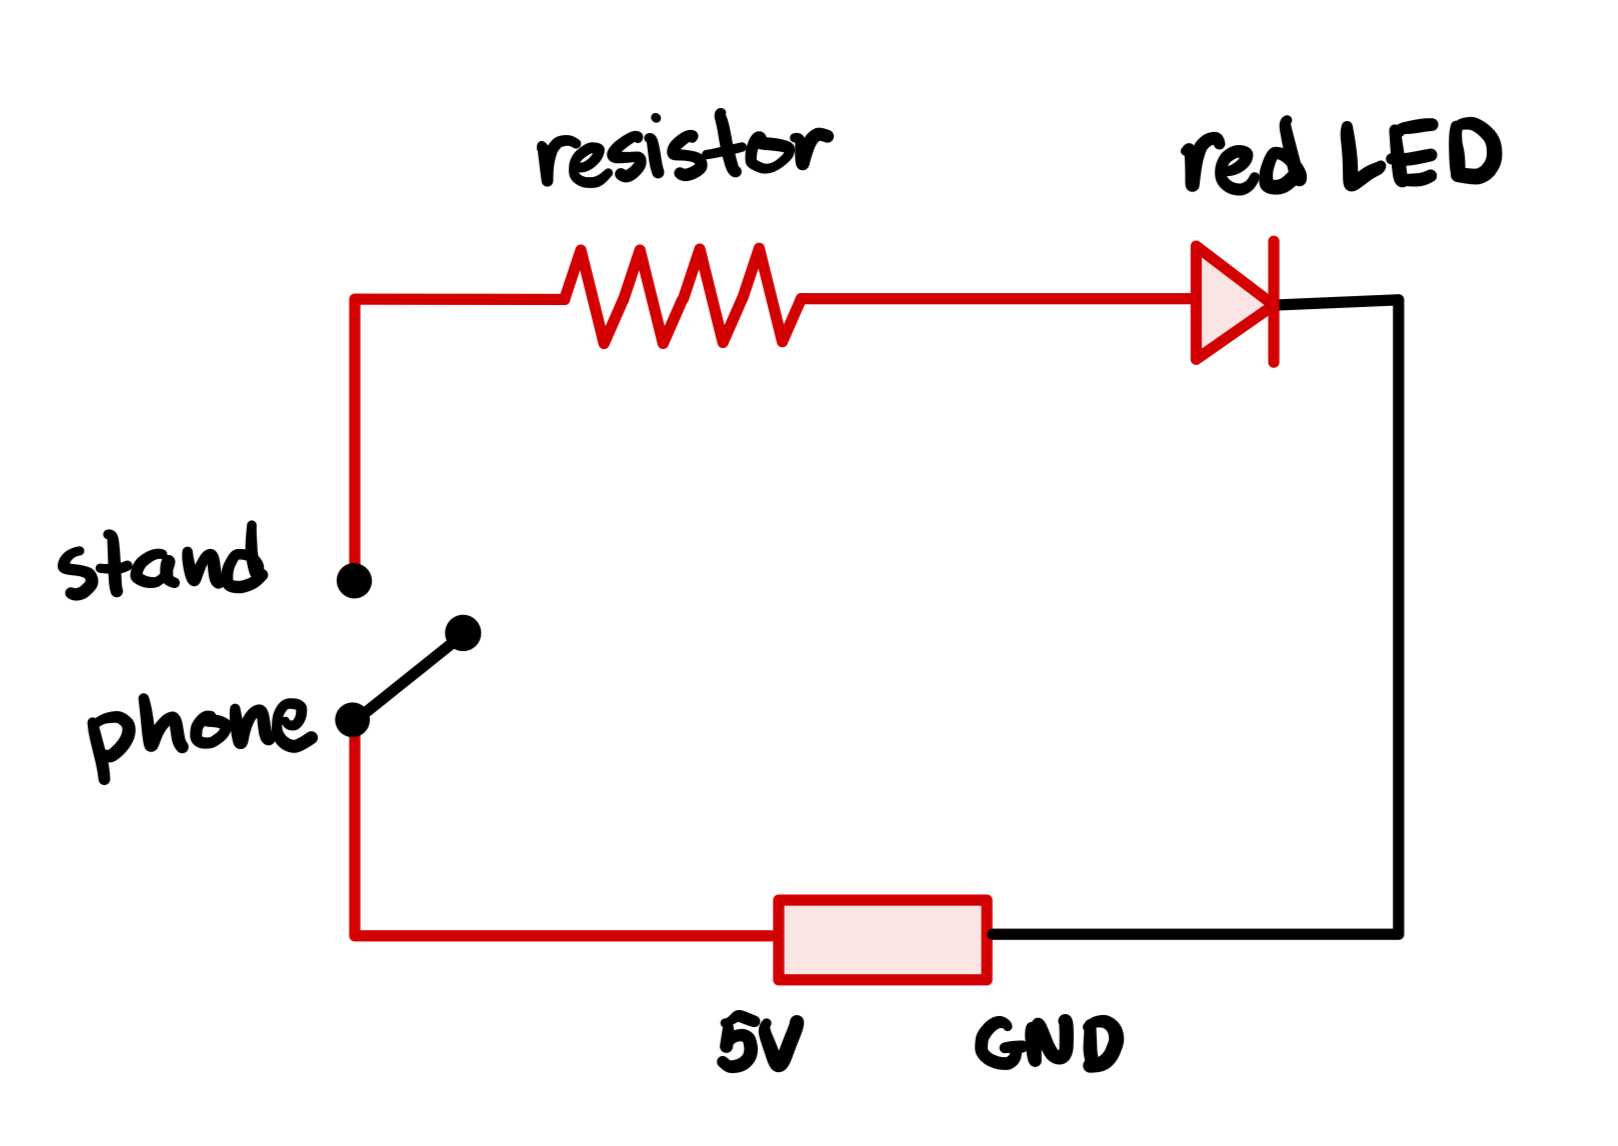
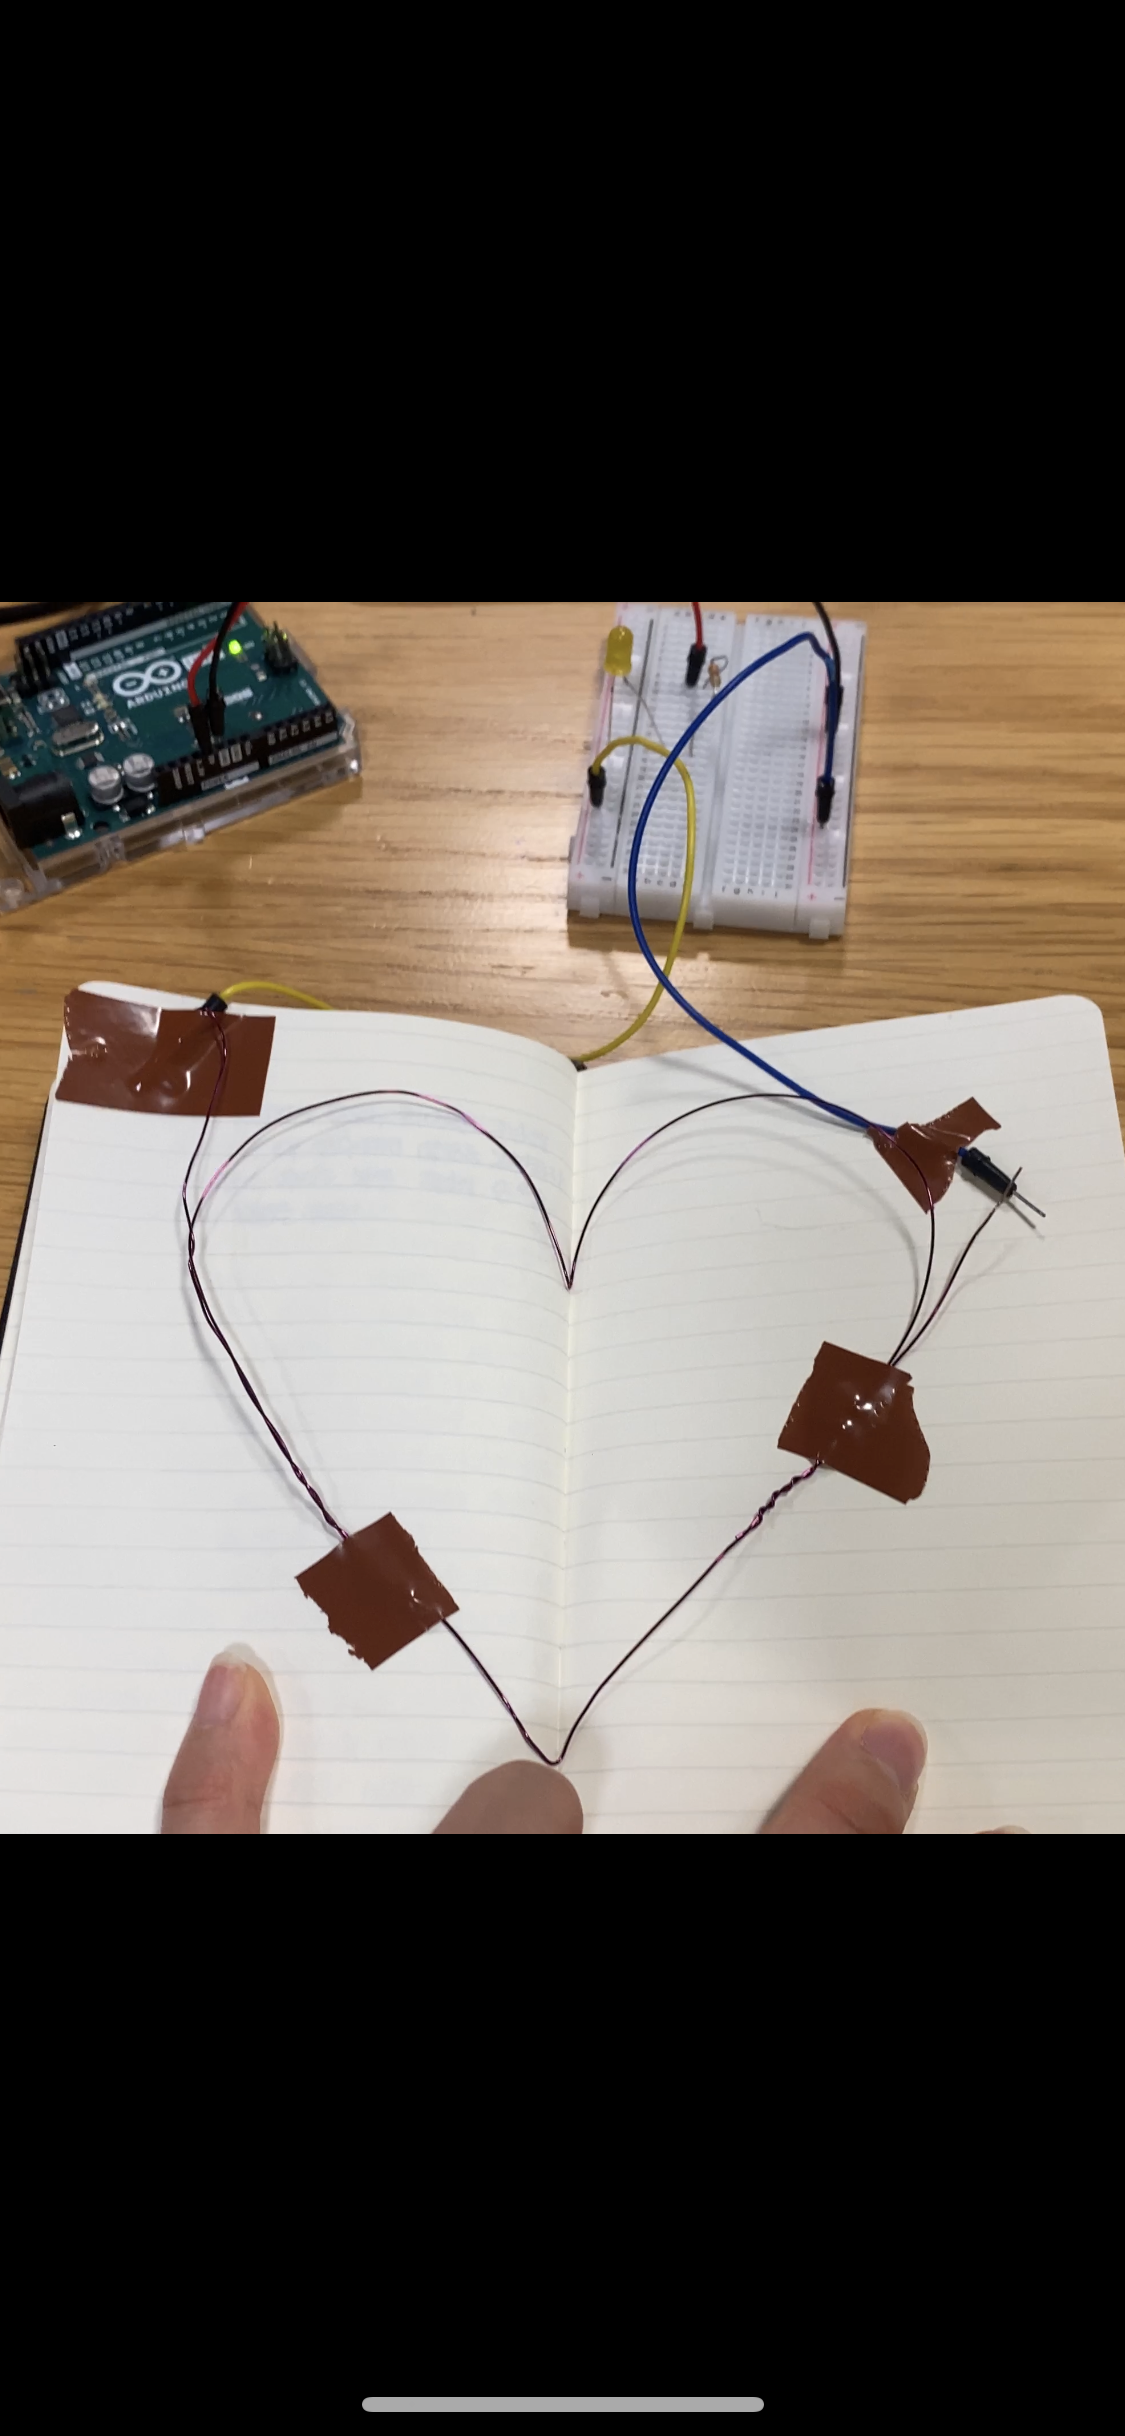
I created the following circuit that has two LEDs in parallel and the switch determines which, if any, is turned on:

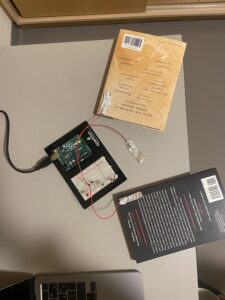
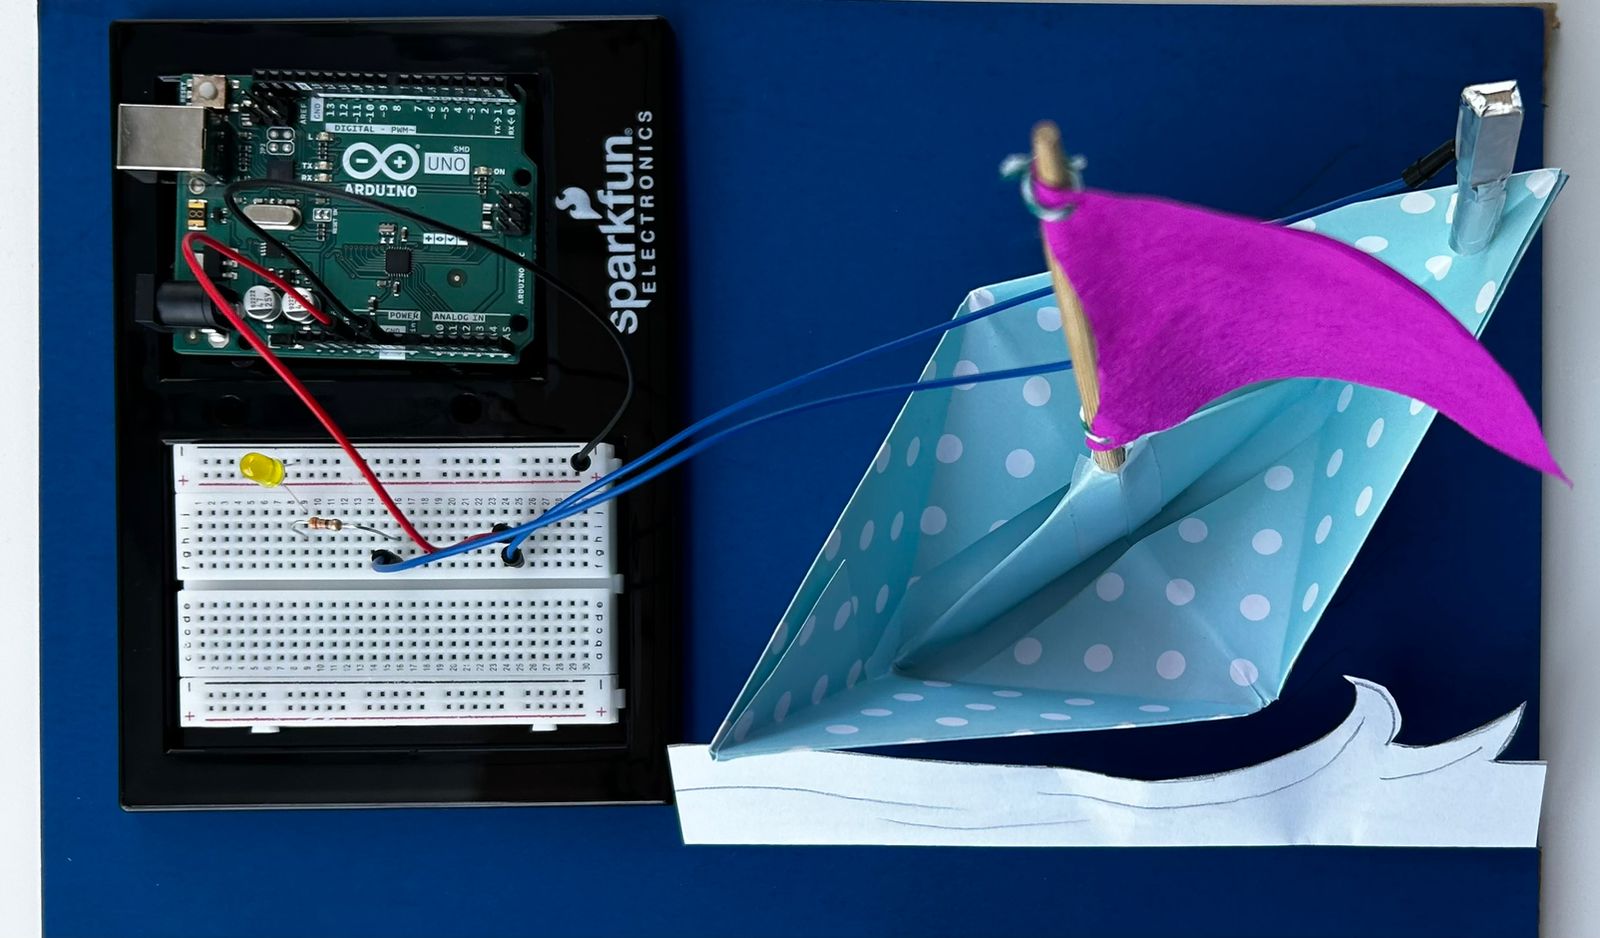
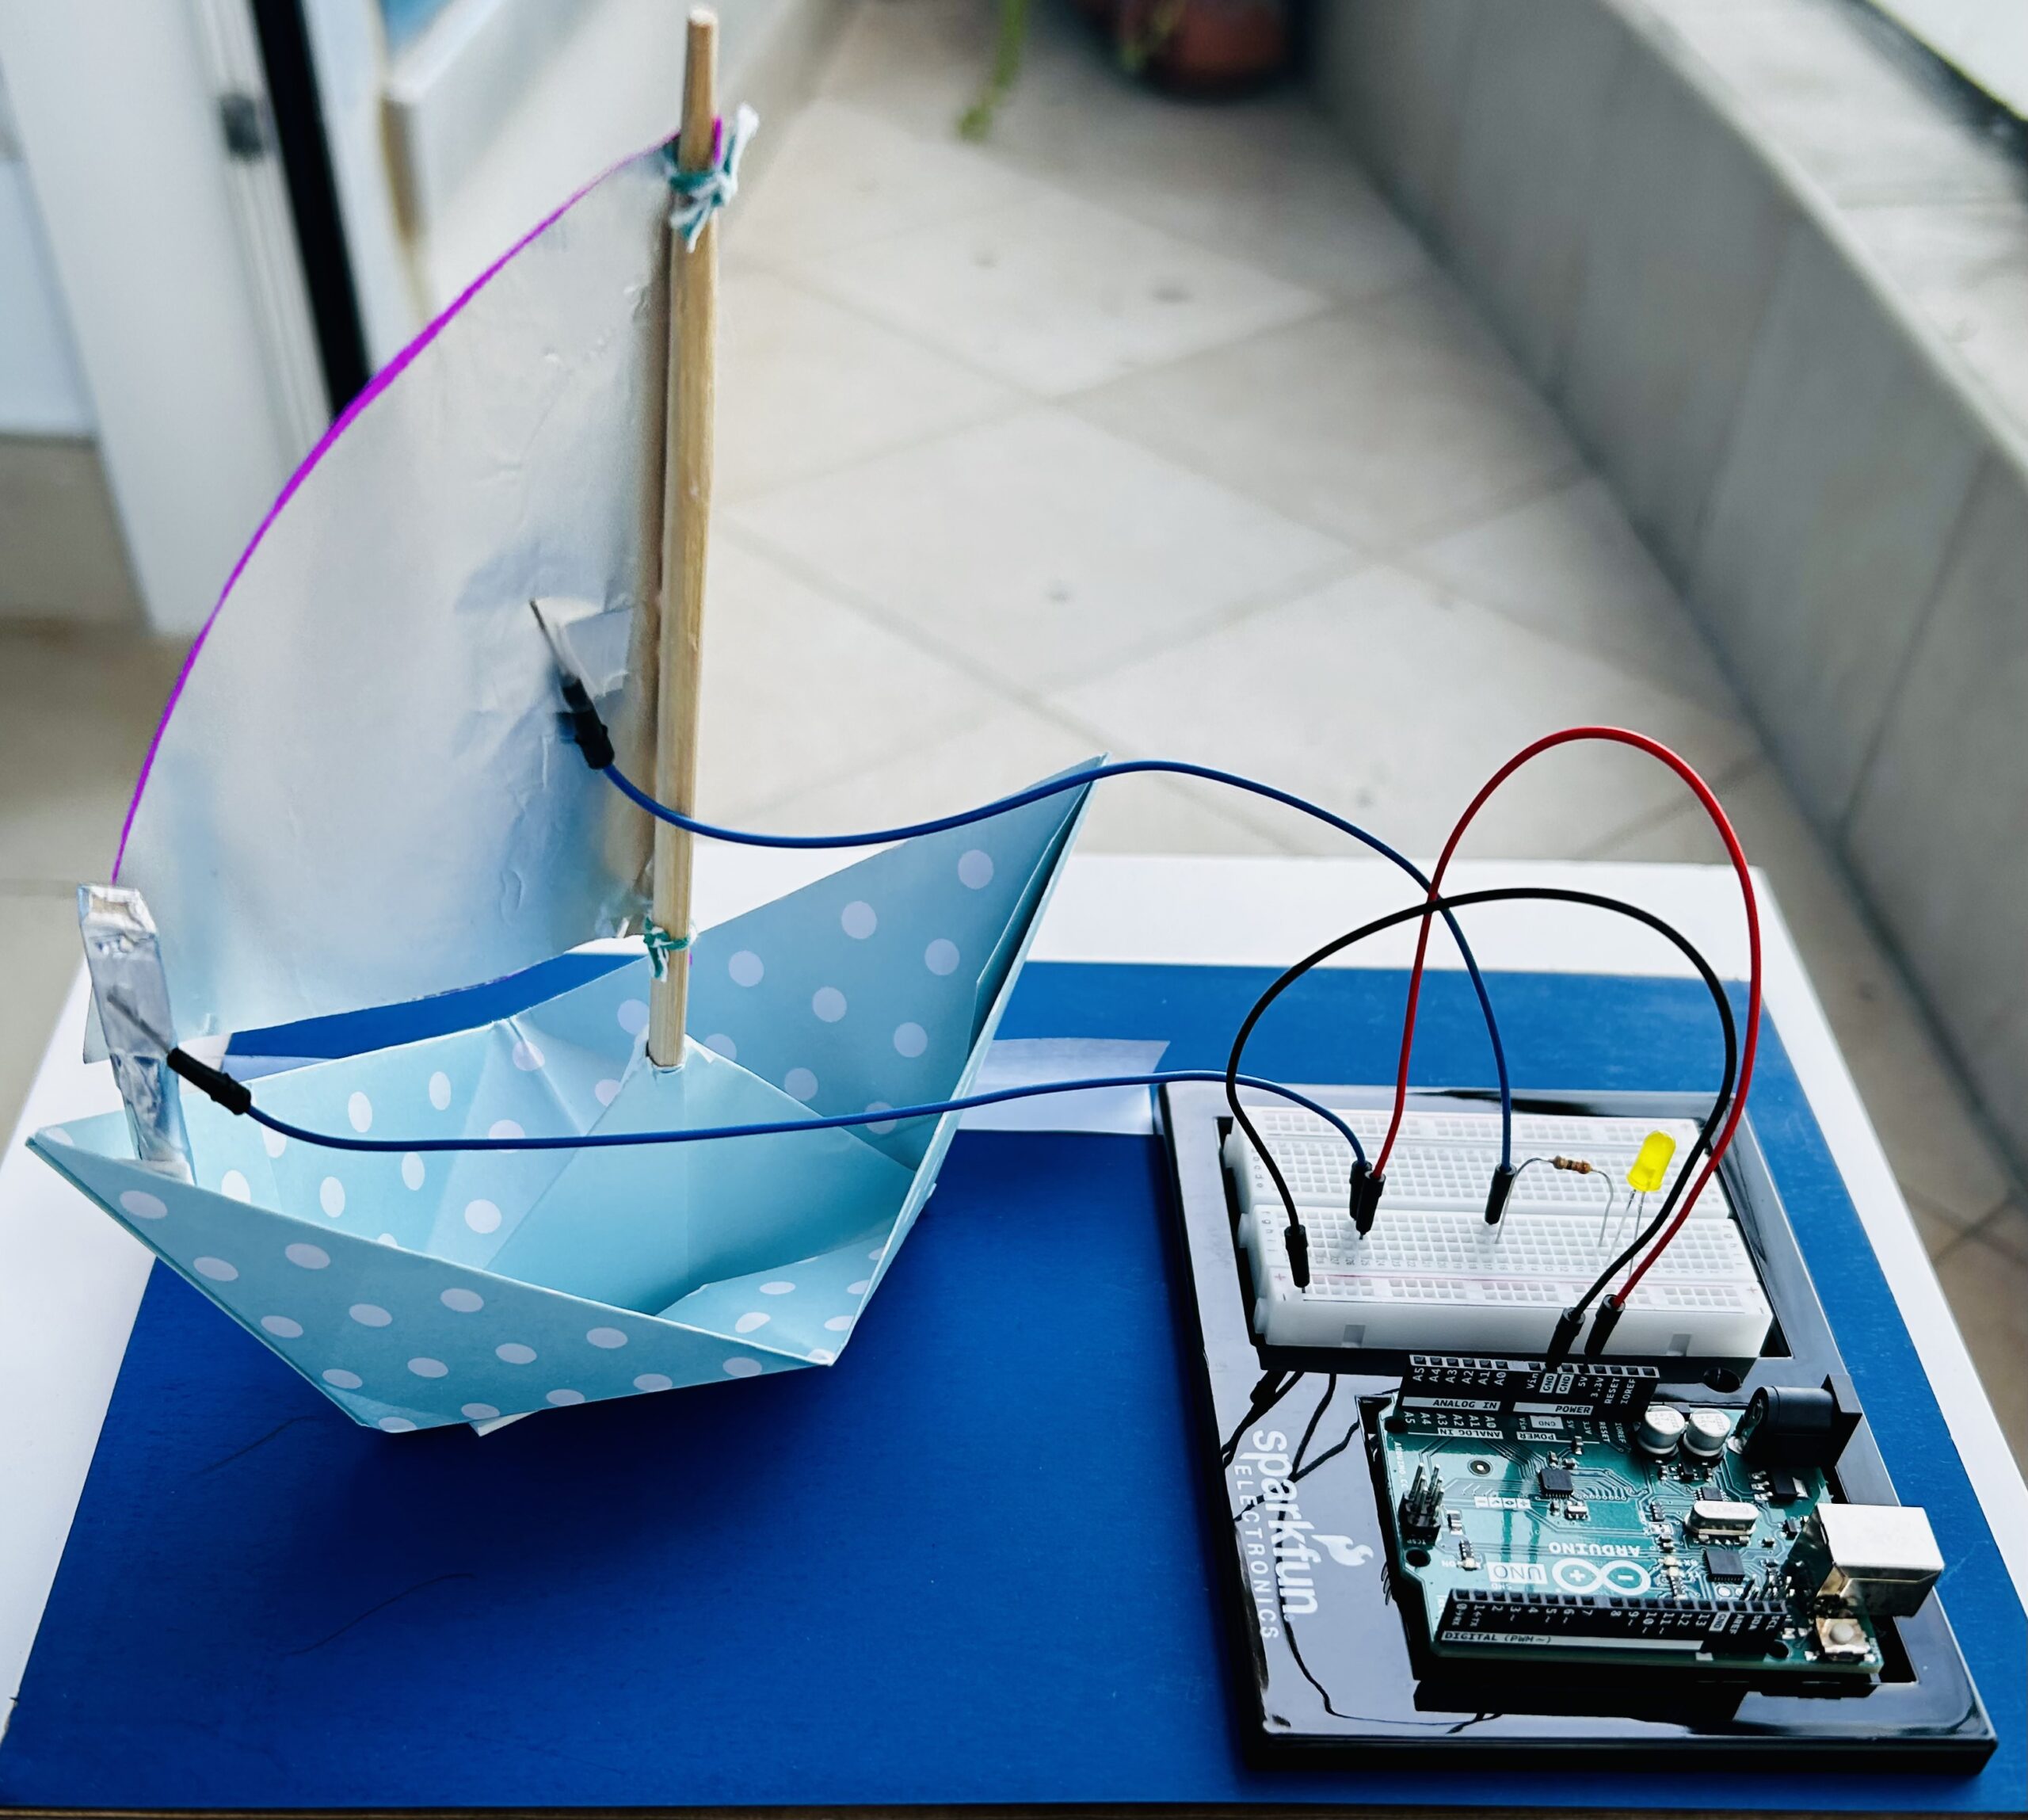
Then I connected the aluminum foil ends to each of the books and on the desk by glue pads and that was it. Whenever I place one of the books on the desk, it shows whether I have read it or not!


Here is a video demo of the switch:

https://youtu.be/2xE2YWdkiFQ

Reflections:

I found this exercise pretty easy and fun to implement. I would love to create more advanced switches in the future and find a way to incorporate more creativity within.

Week 8: Unusual Switch

Concept: For this assignment, I wanted to develop a concept related to car parking. As a driver, I often find parking to be the most challenging part of the process. I spend a lot of time trying to gauge if I’m at the right distance, whether my car is perfectly within the parking space, and whether I’m about to bump into the front wall. To address these concerns, I came up with a model that incorporates a simple solution: when your car is properly within the parking boundaries, a light starts blinking, indicating that you’ve successfully parked your car.

Demonstration

Process:

Materials and components used: LED lights, Cardboard box, Resistor, Wire, Aluminum foil, tape, Breadboard, and Arduino board. By using these elements, I created a parking lot, and a simple series connection, connected with aluminum foil. Two wired are attached with aluminum foil, when they are in contact, the LED lit up which indicates that the car is parked rightly.

Reflection:

I am content with my work, yet I would like improve it by adding some sound element if parked wrongly. And also I would like to improve the setup as well.

unusual switch

I made a simple “switch” which completes the circuit when there’s a conductive fluid in between the ground and live wire. It’s a simple circuit, and there’s not much to it really. Water is not supposed to be conductive, but the tap water on campus has added minerals, so that works for this purpose. I just used the LEDs and jumper wires in the Arduino kit, and borrowed some solid core wires from the IM Lab to put in the liquid container.

I had the most fun making the demo film with my friend, though. Here’s the demo:

When my friend pees in the container with the two exposed wires which were initially not touching, the circuit is completed, and the LED lights up.

Week 8: The Sims Green Crystal Connection

^Video of how it works!

I decided on concept for this no-hands switch inspired by the Sims costume my friends did for Halloween. They had made these green crystals (they call it the Plumbob in the games) which we tied to a headband so it stays up on their heads.

Some images for reference:

I basically attached some aluminum foil to 3 sides of the crystal and that acted as the switch. Whenever 2 crystals touch each other, the LED starts lighting up.

Overall, I found it really fun to play around with the circuits. Maybe next time, instead of paper, I could use aluminium crumples to make the crystal and color it green so it is conductive from all sides and it would also look shiny as a bonus!

Week 8: Creative Switch

Concept:

The inspiration for this assignment came from a common problem: phone distractions while studying. I wanted to create a practical solution to keep my phone away during study sessions. To achieve this, I decided to make a phone stand with a built-in switch. When my phone is placed on the stand, the switch activates, turning on a red LED. This serves as a visual cue to remind me that it’s time to concentrate on my studies.

Process & Highlights:

  1. Materials Used: I gathered a few basic materials for this project, including a resistor, a red LED, foil paper and copper tape.
  2. Circuit Design: I sketched a simple circuit with a switch schema using these components. Then, I have made a simple circuit without a switch as we have done in class. And then, I have added my phone stand switch to the circuit.
  3. Switch Mechanism: To implement the switch, I used foil paper and copper tape. I used foil paper on the phone stand, connecting it to the circuit board. Copper tape was used to connect arduino UNO board and my phone. When I set my phone on the stand, the foil paper came into contact with the copper tape, effectively closing the circuit.

Reflection:

This assignment was a practical learning experience that reinforced my understanding of circuit and switch mechanisms. I think my implementation provided an effective solution to the issue of phone distractions during study sessions by using a simple LED cue.


Week 8: Reading Response

In Norman’s text, “Emotion & Design: Attractive Things Work Better,” the author explores the importance of aesthetics and first impressions in website design. He emphasizes that users tend to judge a website based on its initial look and feel, which significantly influences their perception of its quality and trustworthiness. The concept of the three cognitive stages (visceral, behavioral, and reflective) sheds light on the fact that aesthetics often take precedence over content. The reference to the connection between affect and cognition highlights that our emotions and cognitive processes are intertwined, and designers should consider both aspects to create truly effective and user-friendly designs. One excellent example of interactive media that highlights the importance of both usability and aesthetics is a mobile app. Mobile apps are prevalent in our daily lives and encompass various categories, from social media and productivity tools to games and entertainment. The visual design of the app, including color schemes, typography, and overall layout, significantly affects the aesthetics. A visually appealing app with a well-thought-out design can make users more likely to engage with it and spend more time on it.

Furthermore, Hamilton’s text provides the early days of the Apollo program and her pioneering contributions to computer science and software engineering. She defied societal expectations for women at the time and played a pivotal role in the coding of Apollo missions. Her meticulous attention to detail, evidenced by cautionary notes like ‘Do not touch P01,’ ensured the astronauts’ safety. Hamilton faced challenges and made mistakes during her journey, but her deep passion for her work never wavered. Her lasting commitment, combined with her remarkable contributions, portrays her as a pioneer who left a significant mark on the tech world. I greatly admire Margaret Hamilton and her influence on software engineering. Her story inspires everyone, demonstrating the endless potential that comes from dedicating yourself to your craft with innovation and genuine love.

Week 8 – Switch

For the unusual switch assignment, I have decided to utilize a keychain and a shot glass to create an unusual switch. The idea is that you signify that you are done drinking by closing the shot glass with the sombrero keychain on top. Because both items have conductive materials, the LED turns on after the shot glass that is connected with a jumper wire touches the keychain that also has another jumper wire attached to it. The result can be seen in the video:

Although that is an extremely simple concept, I had fun brainstorming until I came up with this. The visuals are also not the most pleasing since only tape was used, but my main concern was with the concept itself.

Week 8 – Assignment – Unusual switch – Sailboat

As we begin exploring physical computing, I find it extremely interesting to create simple circuits in replicating mechanisms. This week’s assignment to create an unusual switch provided me the opportunity to get creative. After a lot of contemplation to come up with an idea, I finally decided to create a boat using origami with a sail that flutters with the wind. The idea is inspired from the scenic view of sailboats along Abu Dhabi Corniche. The working of the project is such that when the sail comes in contact with the pole at the back, the circuit is completed and the LED bulb glows.


To implement the simple circuit, I have used a resistor, an LED, a breadboard, the Arduino and connecting jumper wires. The pole and the sail have been covered with Aluminium foil to serve as conductors. The model was tested outdoors, and was observed to successfully work with the wind.

I found this assignment to be particularly interesting, as it involved more ideation than implementation of the concept. I am satisfied with the end result of achieving a switch without the use of hands.

Week 8: Arduino Project | Don’t open the diary!

IMG_9625

(You can watch the video here)

When the diary is closed, it will complete an electrical circuit, allowing current to flow, and turning the switch “on.”  The yellow
LED light should be on when the diary is closed because usually, we should not read someone’s diary. So, in this project, I am using a diary as a privacy indicator. When the diary is closed, a tiny LED on its cover lights up, signaling that it’s off-limits and private. The light is a visual reminder to respect personal boundaries and not read someone’s personal thoughts. It’s a straightforward way to encourage privacy and uphold the tradition of keeping diaries safe from prying eyes.

During the project, there were some challenges. Attaching jumper wires to the diary’s pages was a bit tricky, and electric tape was used to help keep the copper wire in place, even though it may not look very clean. Another challenge was dealing with the copper wire – its insulation had to be removed to ensure the electrical circuit worked. Sometimes, the LED didn’t light up consistently when the diary was closed, likely due to difficulties in securing the copper wire in the notebook. Despite these challenges, the project successfully turned a diary into a privacy reminder.

Week 8 – Unusual Switch – Wi-Fi switch

Preface: I realize that my idea ended up being more of a tech demo than a cool idea. Sorry!

Concept


My project was inspired off this tweet I saw. They were using a Wemos D1 Mini microchip which has a Wi-Fi module on it and can act as an access point ( other devices can connect to it ), and using the Wi-Fi capture portal to display a message/article/book/image/video ( up to 4MB ) to anyone who connects to it. I thought it was fascinating so I ordered the chip from Amazon and was playing with it, when I thought I could rig it up to the Arduino and use it as an unusual switch.

It ended up being more of a technical exploration than a artistic exploration, as I found that using microchips outside of the Arduino UNO we were provided was a little more challenging as not everything is available out of the box.

Implementation


Video Demo

My implementation was pretty simple — when you connect to the network, it will toggle the state of the LED between on and off, and the webpage that you see reflects that. There could have been more interesting applications of the switch, for example adding a Wi-Fi password so that the switch is only usable by certain users, or adding some HTML inputs to the webpage so that the LED is controllable from the webpage without having to disconnect/reconnect. Even if you’re in a receptionless area, this switch will still work ( as the chip is hosting it’s own Wi-Fi network, you do not need a network connection to use it ).

Reflections

Will try to do less tech-demo-ey projects for my future physical computing projects sorry!!!