Concept:
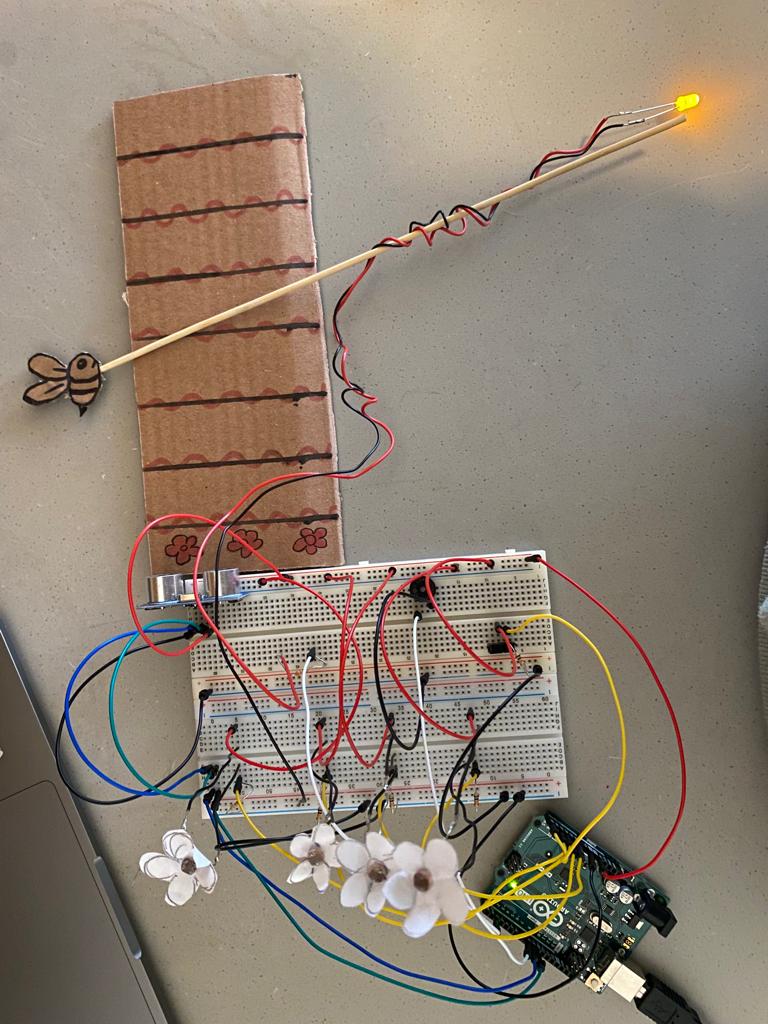
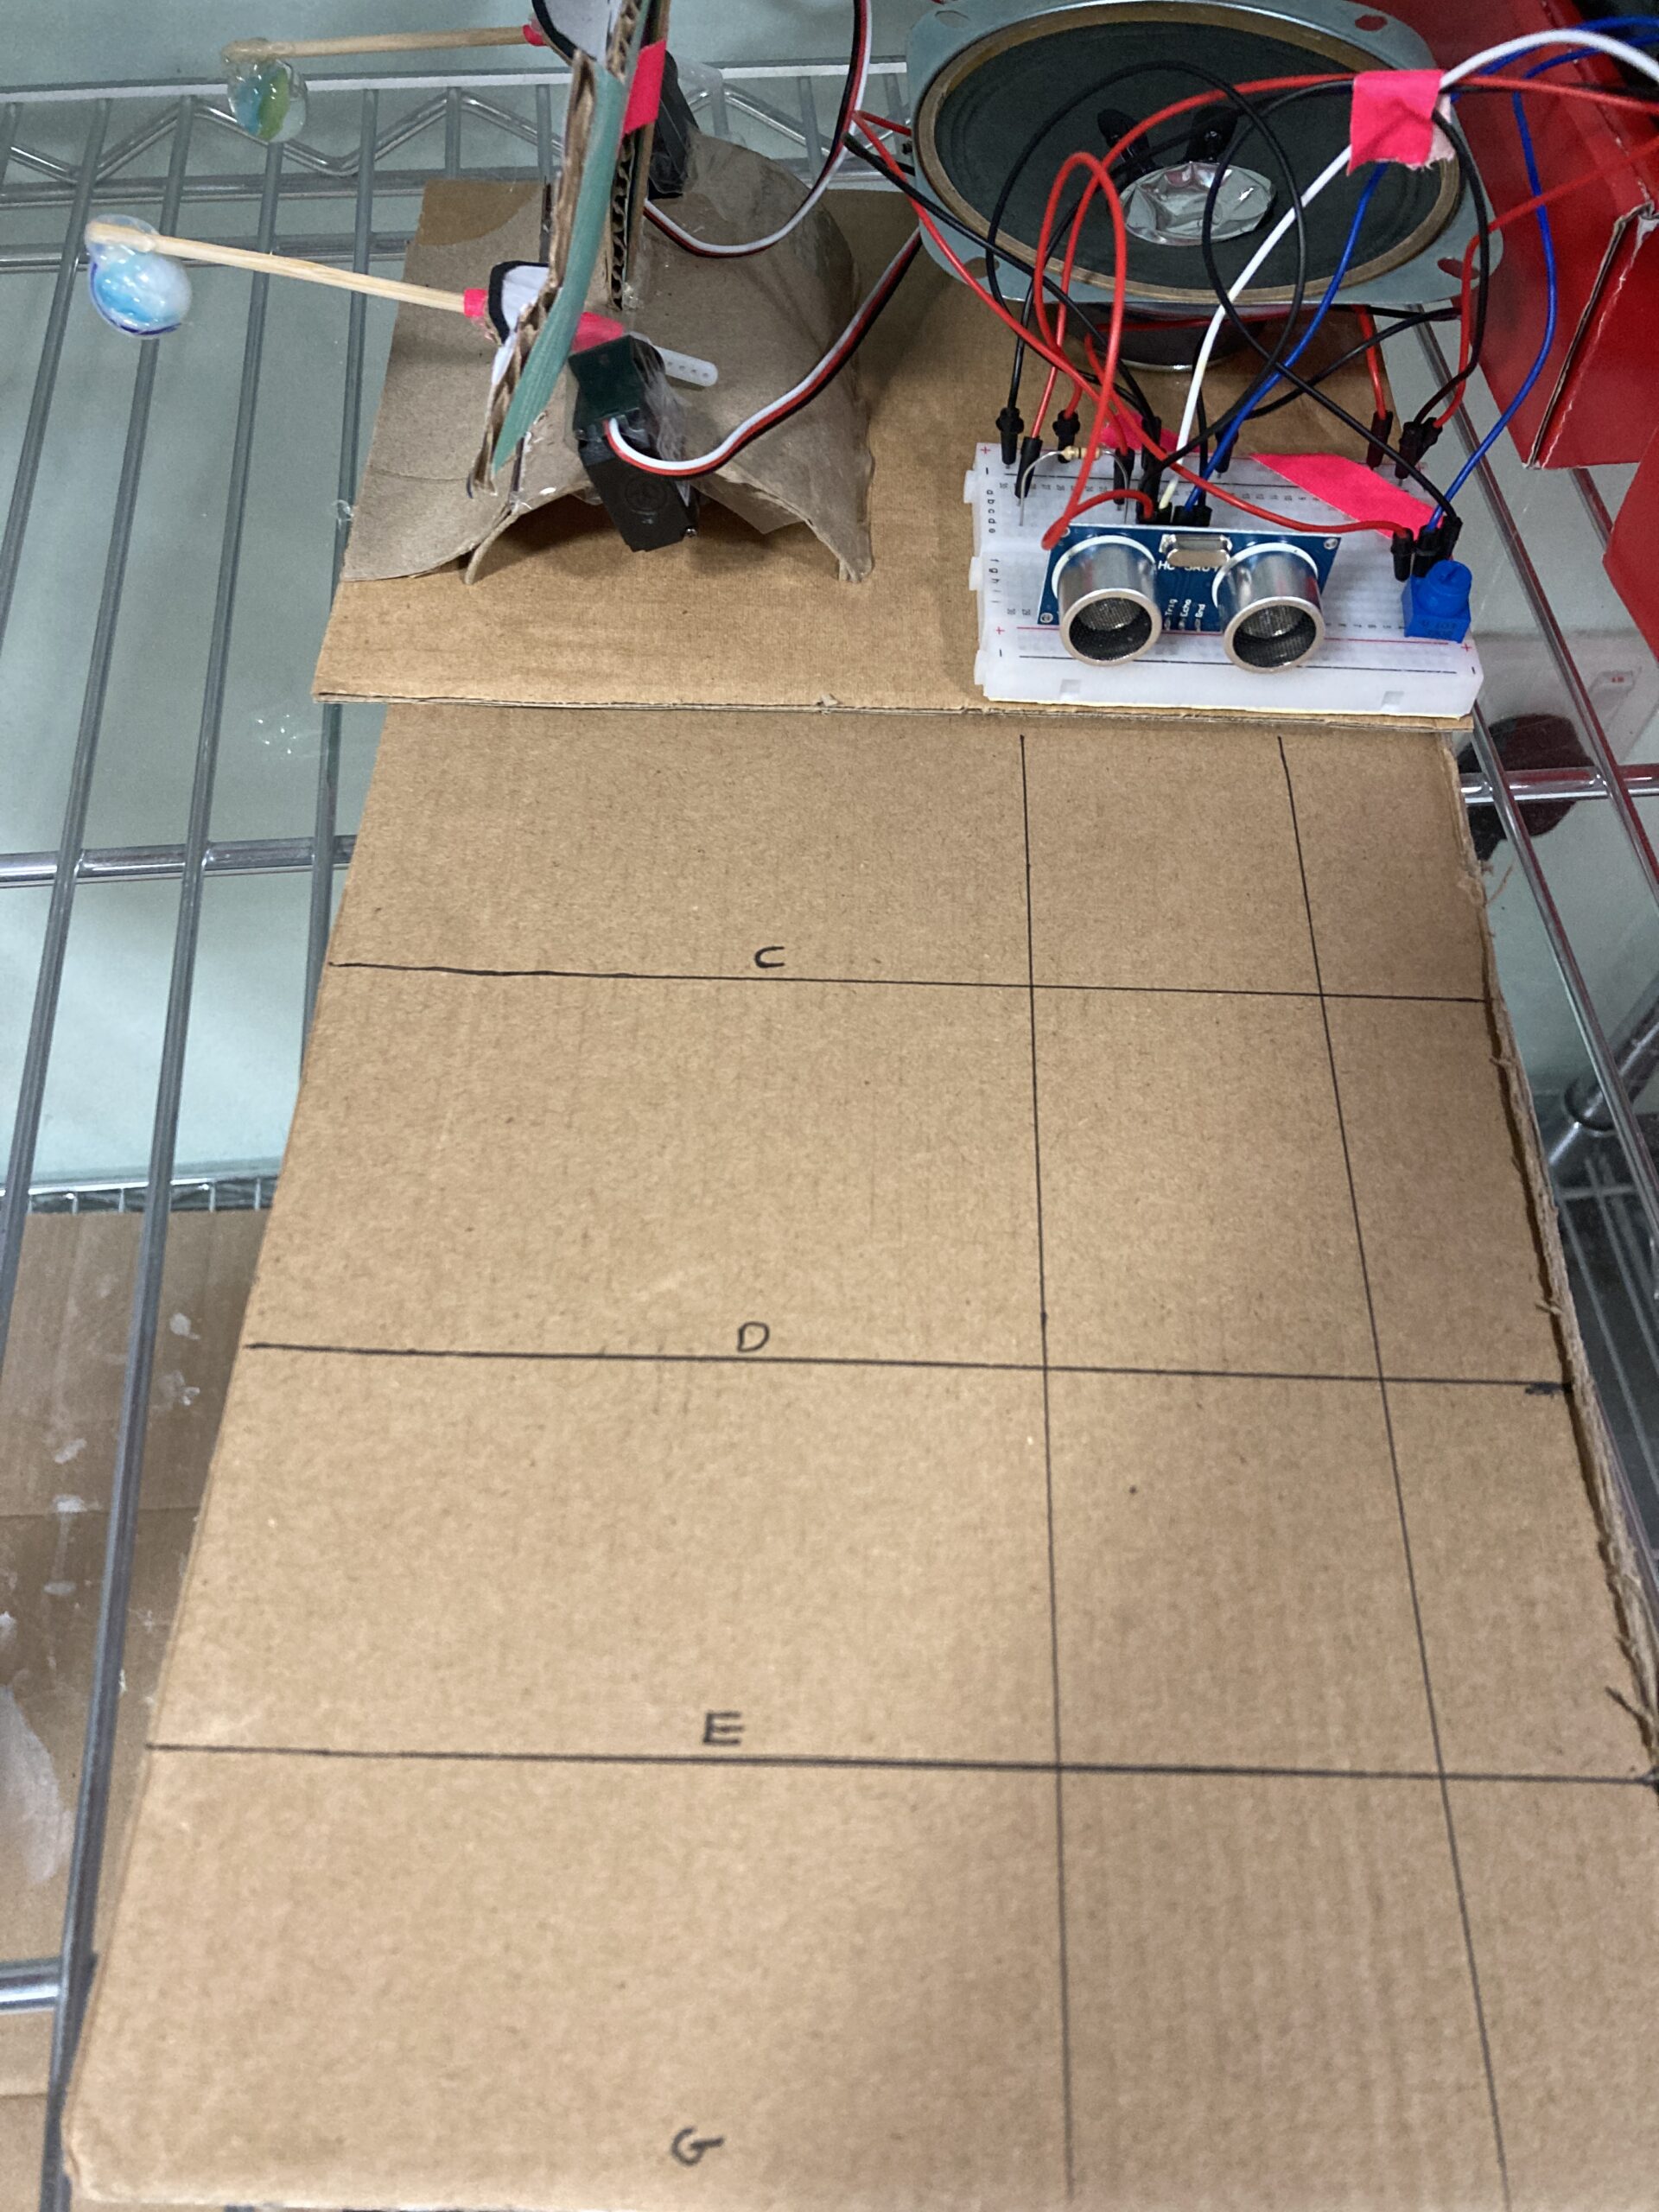
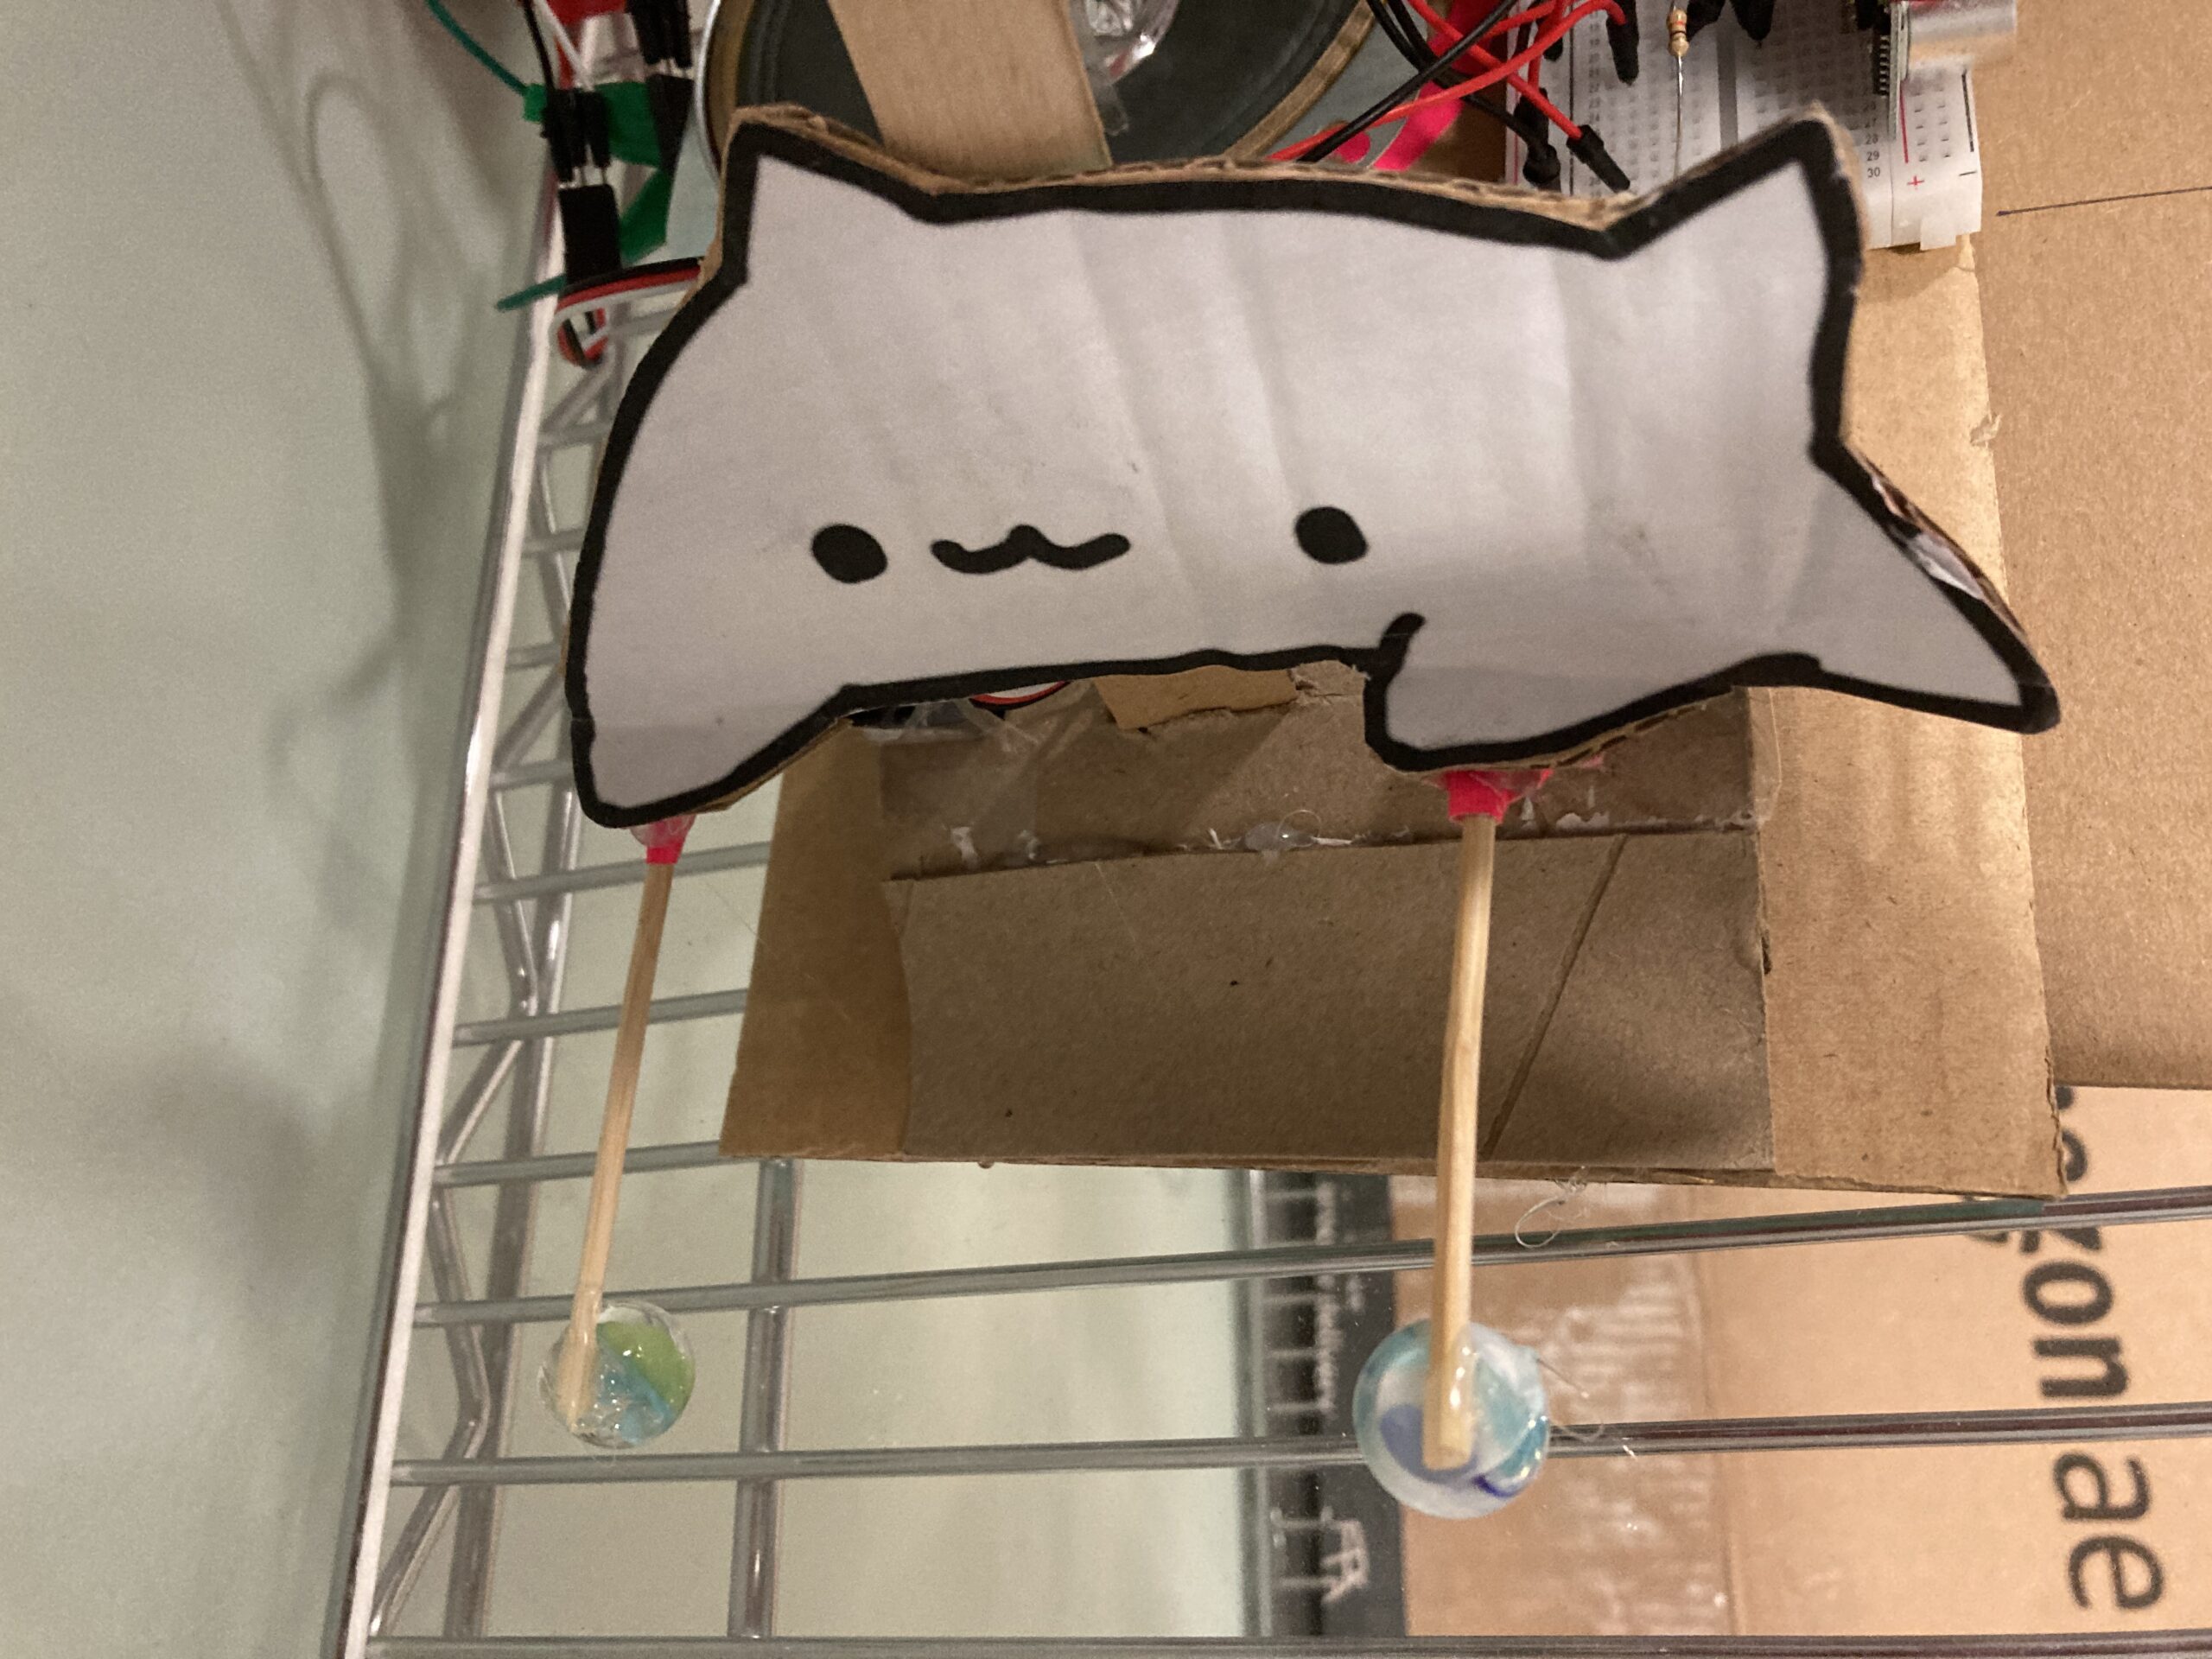
Back home, we usually play the trumpet, but when we came to the UAE, we couldn’t find any trumpets. So, we decided to create our own – an electronic trumpet. It works by using a light sensor for the blowing effect and regular buttons for playing the notes. The sound comes out from a speaker. Simple as that!
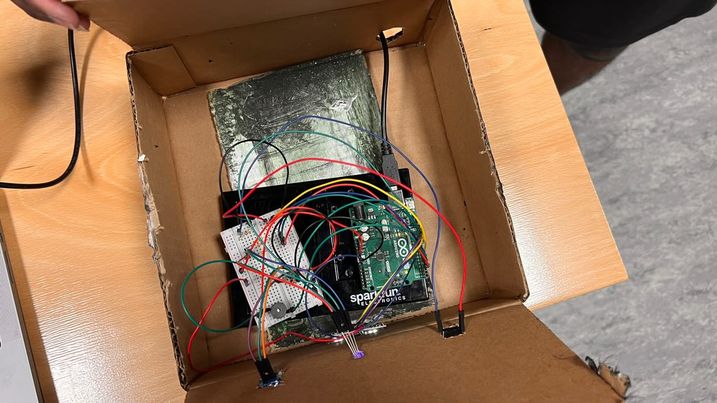
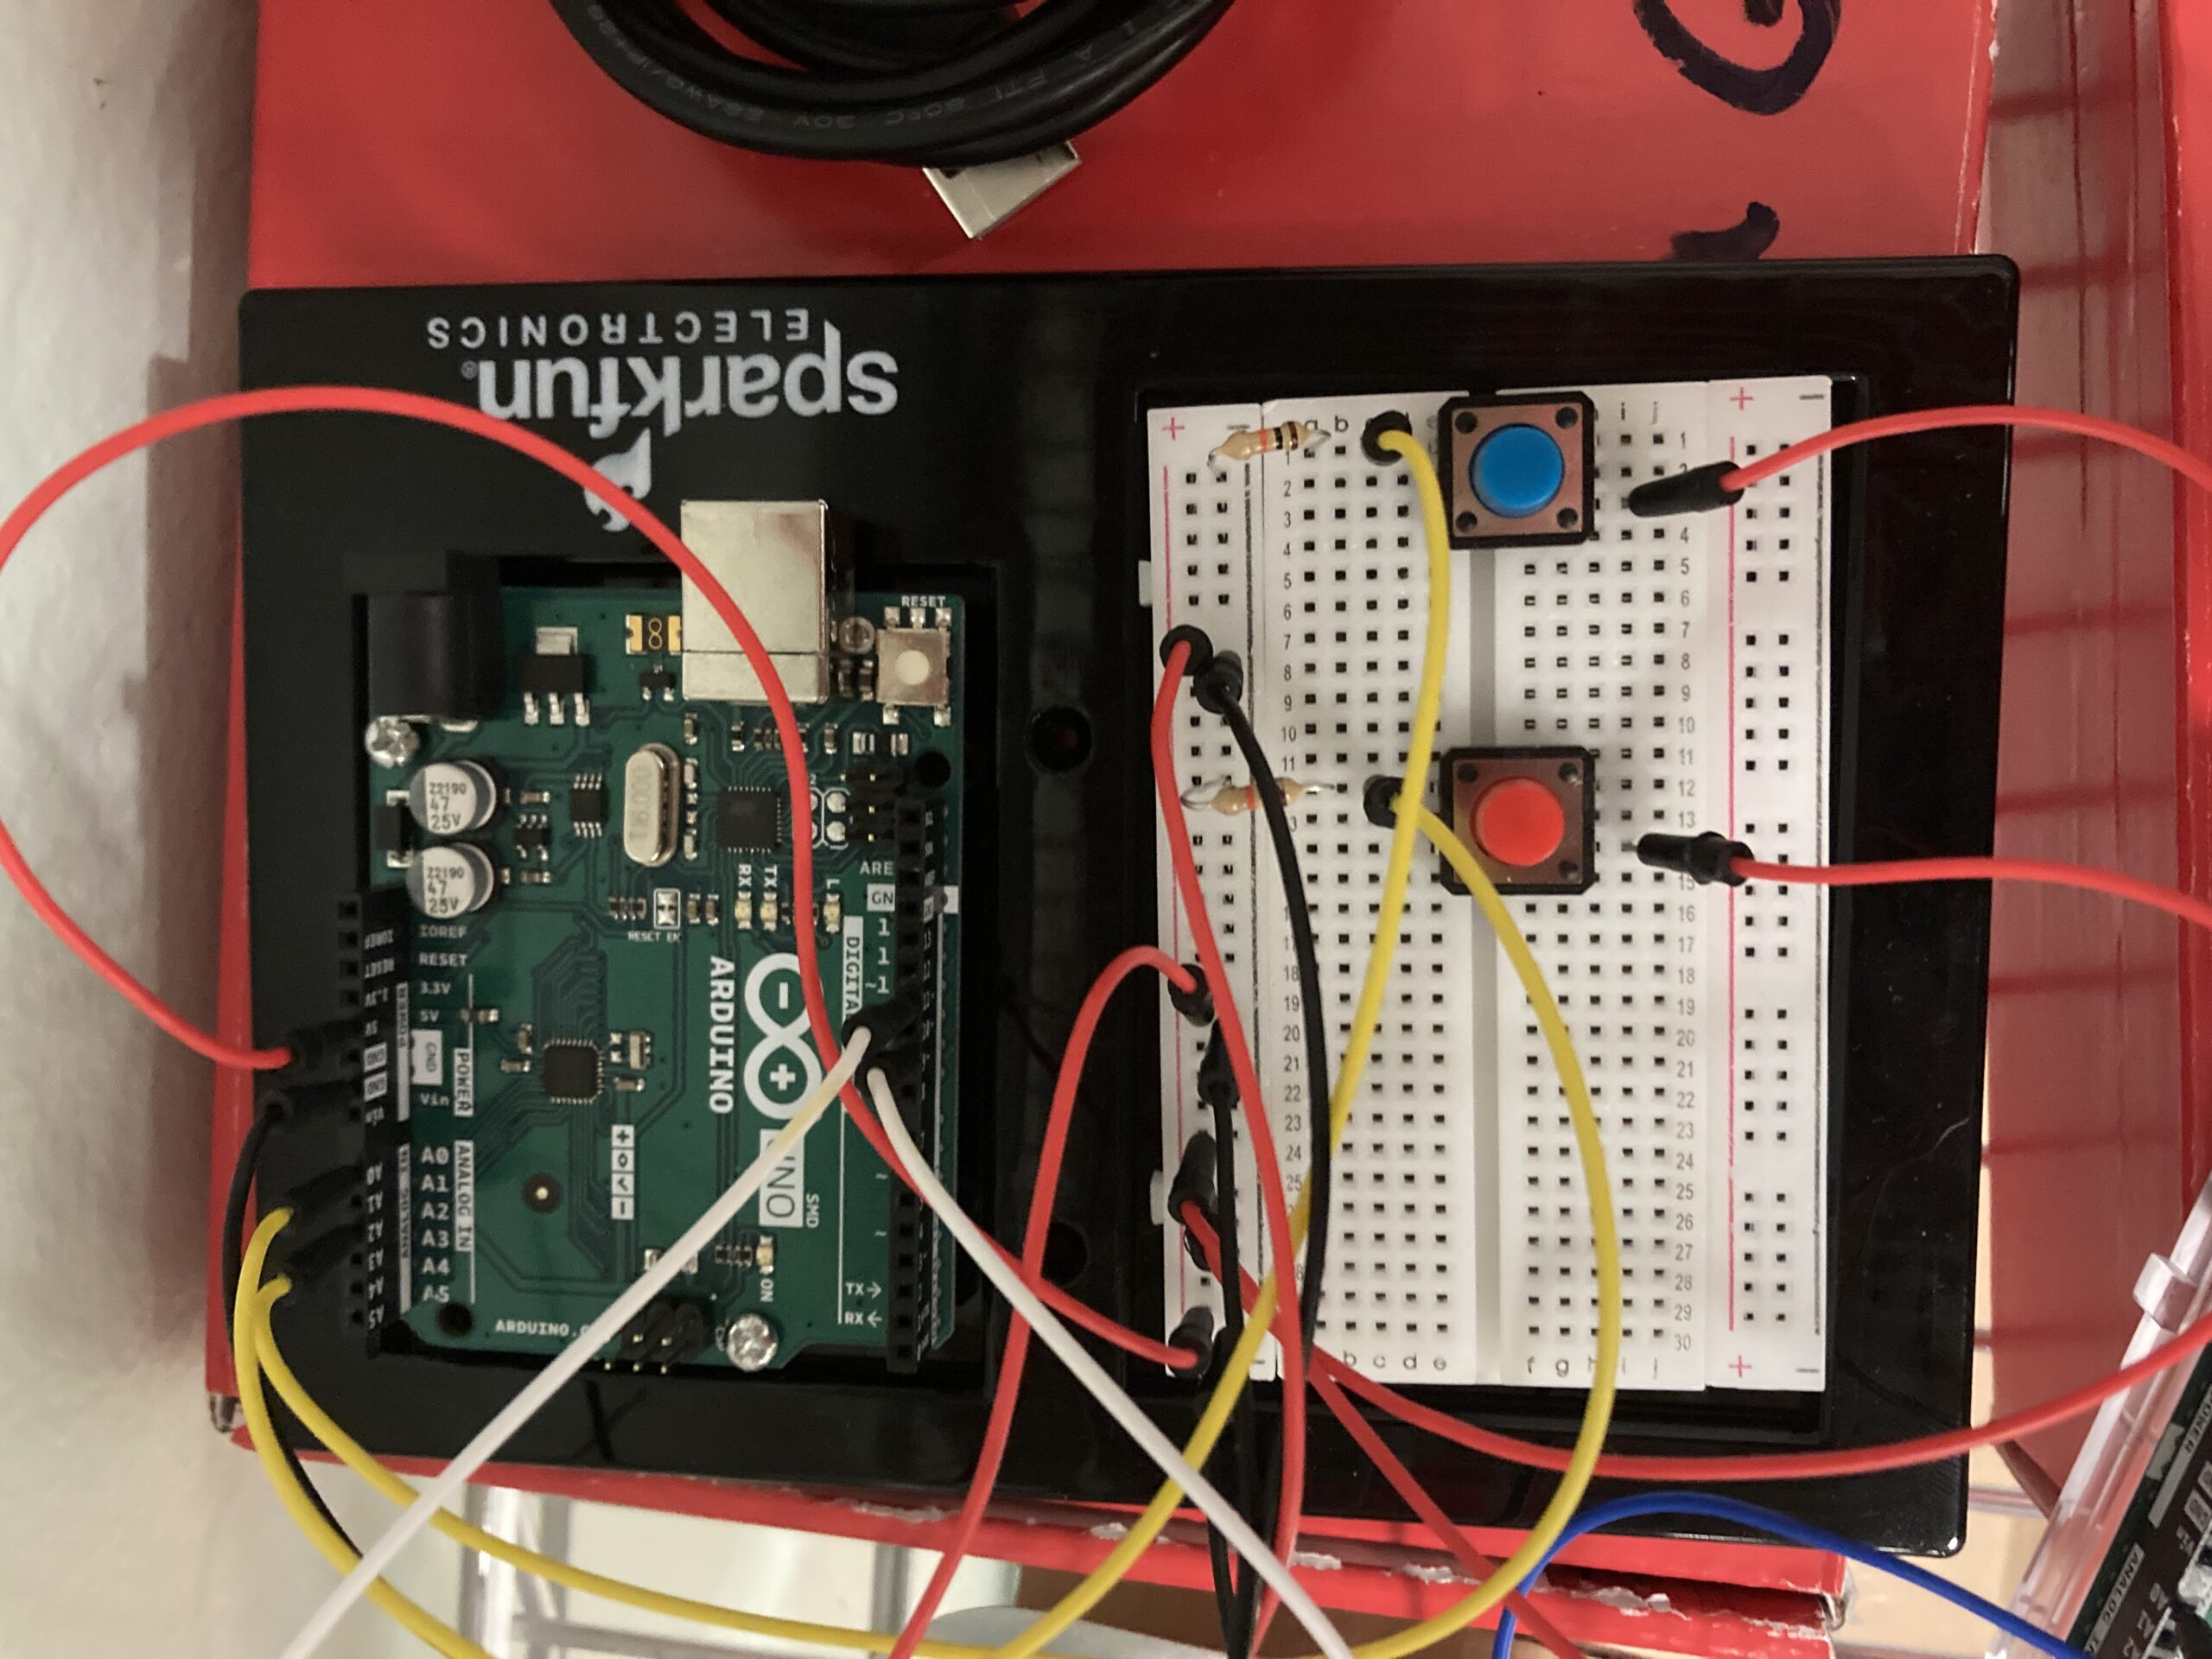
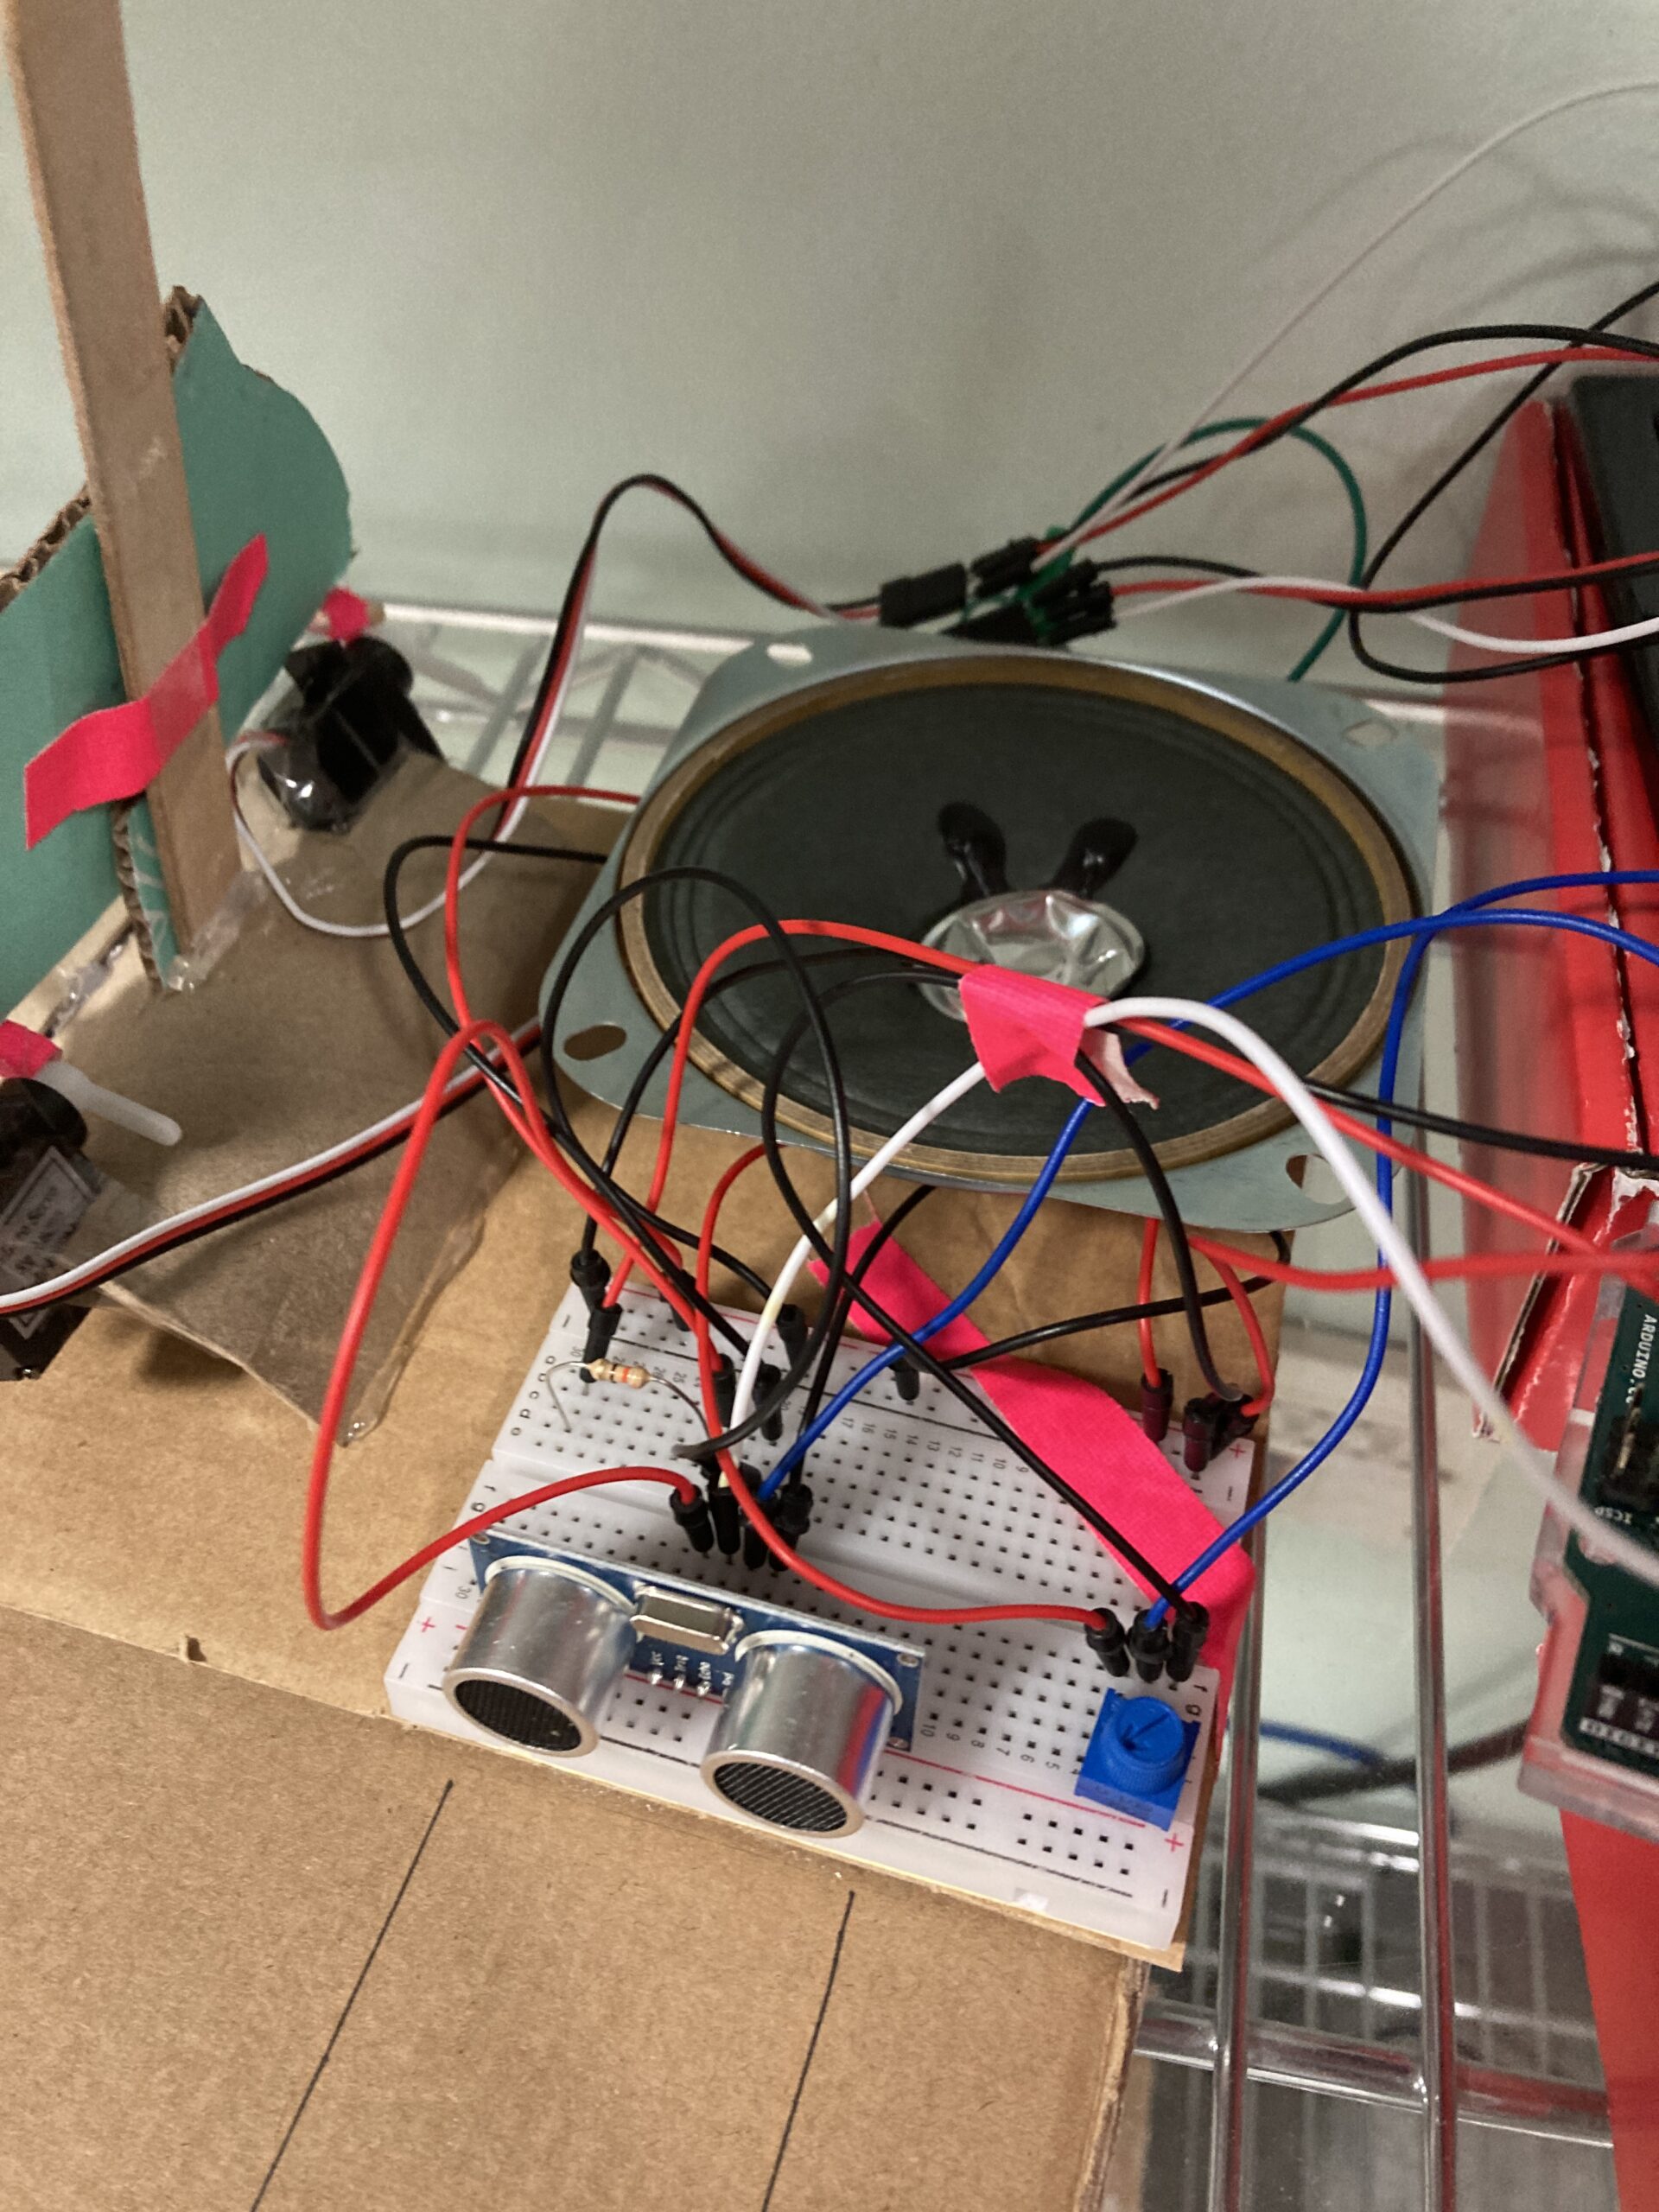
The circuit diagram looks a bit messy but it works 🙂
Circuit Diagram:

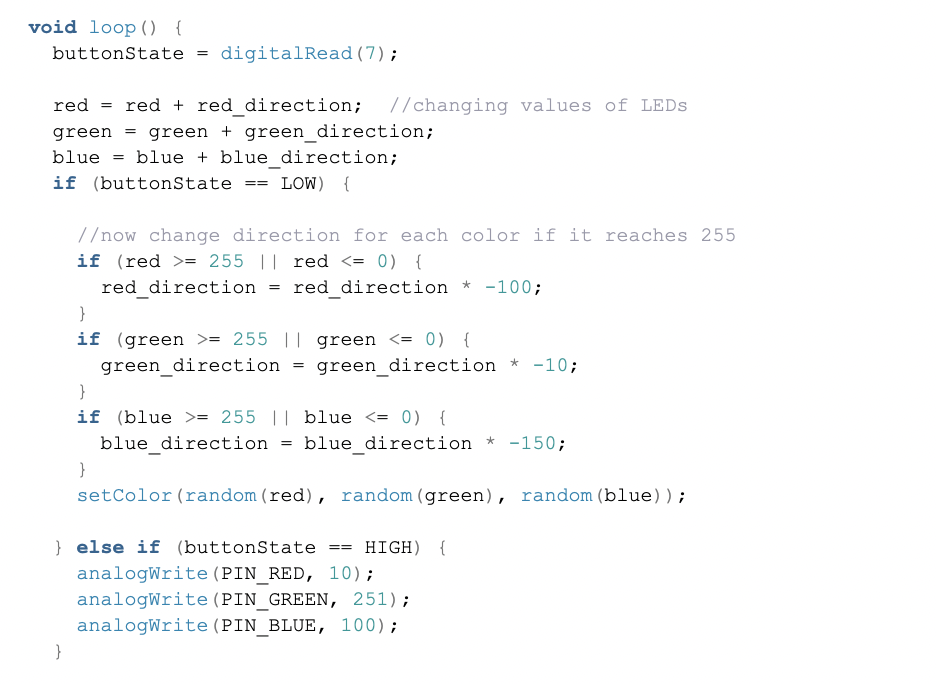
Code:
#include "pitches.h"

//set the pins for the button, buzzer, and photoresistor
int firstKeyPin = 13;
int secondKeyPin = 12;
int thirdKeyPin = 11;
int buzzerPin = 9;
int blow = A2;

// variables regulate when value is read
const long interval = 200;
unsigned long previousMillis = 0;
int blowVal;


void setup() {

  Serial.begin(9600);
  //set the button pins as inputs
  pinMode(firstKeyPin, INPUT_PULLUP);
  pinMode(secondKeyPin, INPUT_PULLUP);
  pinMode(thirdKeyPin, INPUT_PULLUP);

  //set the buzzer pin as an output
  pinMode(buzzerPin, OUTPUT);

  // reads value on setup to avoid later error
  blowVal = analogRead(blow);
}

void loop() {

  // reads current time
  unsigned long currentMillis = millis();

  // checks if specified duration has passed
  if (currentMillis - previousMillis >= interval) {
    // updates time since value was read from sensor
    previousMillis = currentMillis;

    // reads value from sensor
    blowVal = analogRead(blow);
  }

  Serial.println(blowVal);

  // conditions to play specific notes
  if (blowVal <= 350) {
    if ((digitalRead(firstKeyPin) == HIGH) && (digitalRead(secondKeyPin) == HIGH) && (digitalRead(thirdKeyPin) == HIGH)) {
      tone(buzzerPin, NOTE_F3);
    }

    if ((digitalRead(firstKeyPin) == LOW) && (digitalRead(secondKeyPin) == HIGH) && (digitalRead(thirdKeyPin) == LOW)) {
      tone(buzzerPin, NOTE_G3);
    }

    if ((digitalRead(firstKeyPin) == LOW) && (digitalRead(secondKeyPin) == LOW) && (digitalRead(thirdKeyPin) == HIGH)) {
      tone(buzzerPin, NOTE_A3);
    }

    if ((digitalRead(firstKeyPin) == LOW) && (digitalRead(secondKeyPin) == HIGH) && (digitalRead(thirdKeyPin) == HIGH)) {
      tone(buzzerPin, NOTE_AS3);
    }

  }

  if (blowVal > 350) {
    if ((digitalRead(firstKeyPin) == HIGH) && (digitalRead(secondKeyPin) == HIGH) && (digitalRead(thirdKeyPin) == HIGH)) {
      tone(buzzerPin, NOTE_C4);
    }

    if ((digitalRead(firstKeyPin) == LOW) && (digitalRead(secondKeyPin) == LOW) && (digitalRead(thirdKeyPin) == HIGH)) {
      tone(buzzerPin, NOTE_D4);
    }

    if ((digitalRead(firstKeyPin) == HIGH) && (digitalRead(secondKeyPin) == LOW) && (digitalRead(thirdKeyPin) == HIGH)) {
      tone(buzzerPin, NOTE_E4);
    }

    if ((digitalRead(firstKeyPin) == LOW) && (digitalRead(secondKeyPin) == HIGH) && (digitalRead(thirdKeyPin) == HIGH)) {
      tone(buzzerPin, NOTE_AS3);
    }

    if ((digitalRead(firstKeyPin) == HIGH) && (digitalRead(secondKeyPin) == HIGH) && (digitalRead(thirdKeyPin) == LOW)) {
      tone(buzzerPin, NOTE_F4);
    }

  }
}
Highlights:
The light sensor passes value to the blowVal variable which uses either a high blow effect or a low blow effect. The part of the code that was a bit difficult for us was preventing unstable behavior we get in between the low blow and the high blow. To solve this we used millis() to cause a frameRate reduction effect as used in p5 when reading the blow value.
Video:
Thank you!