
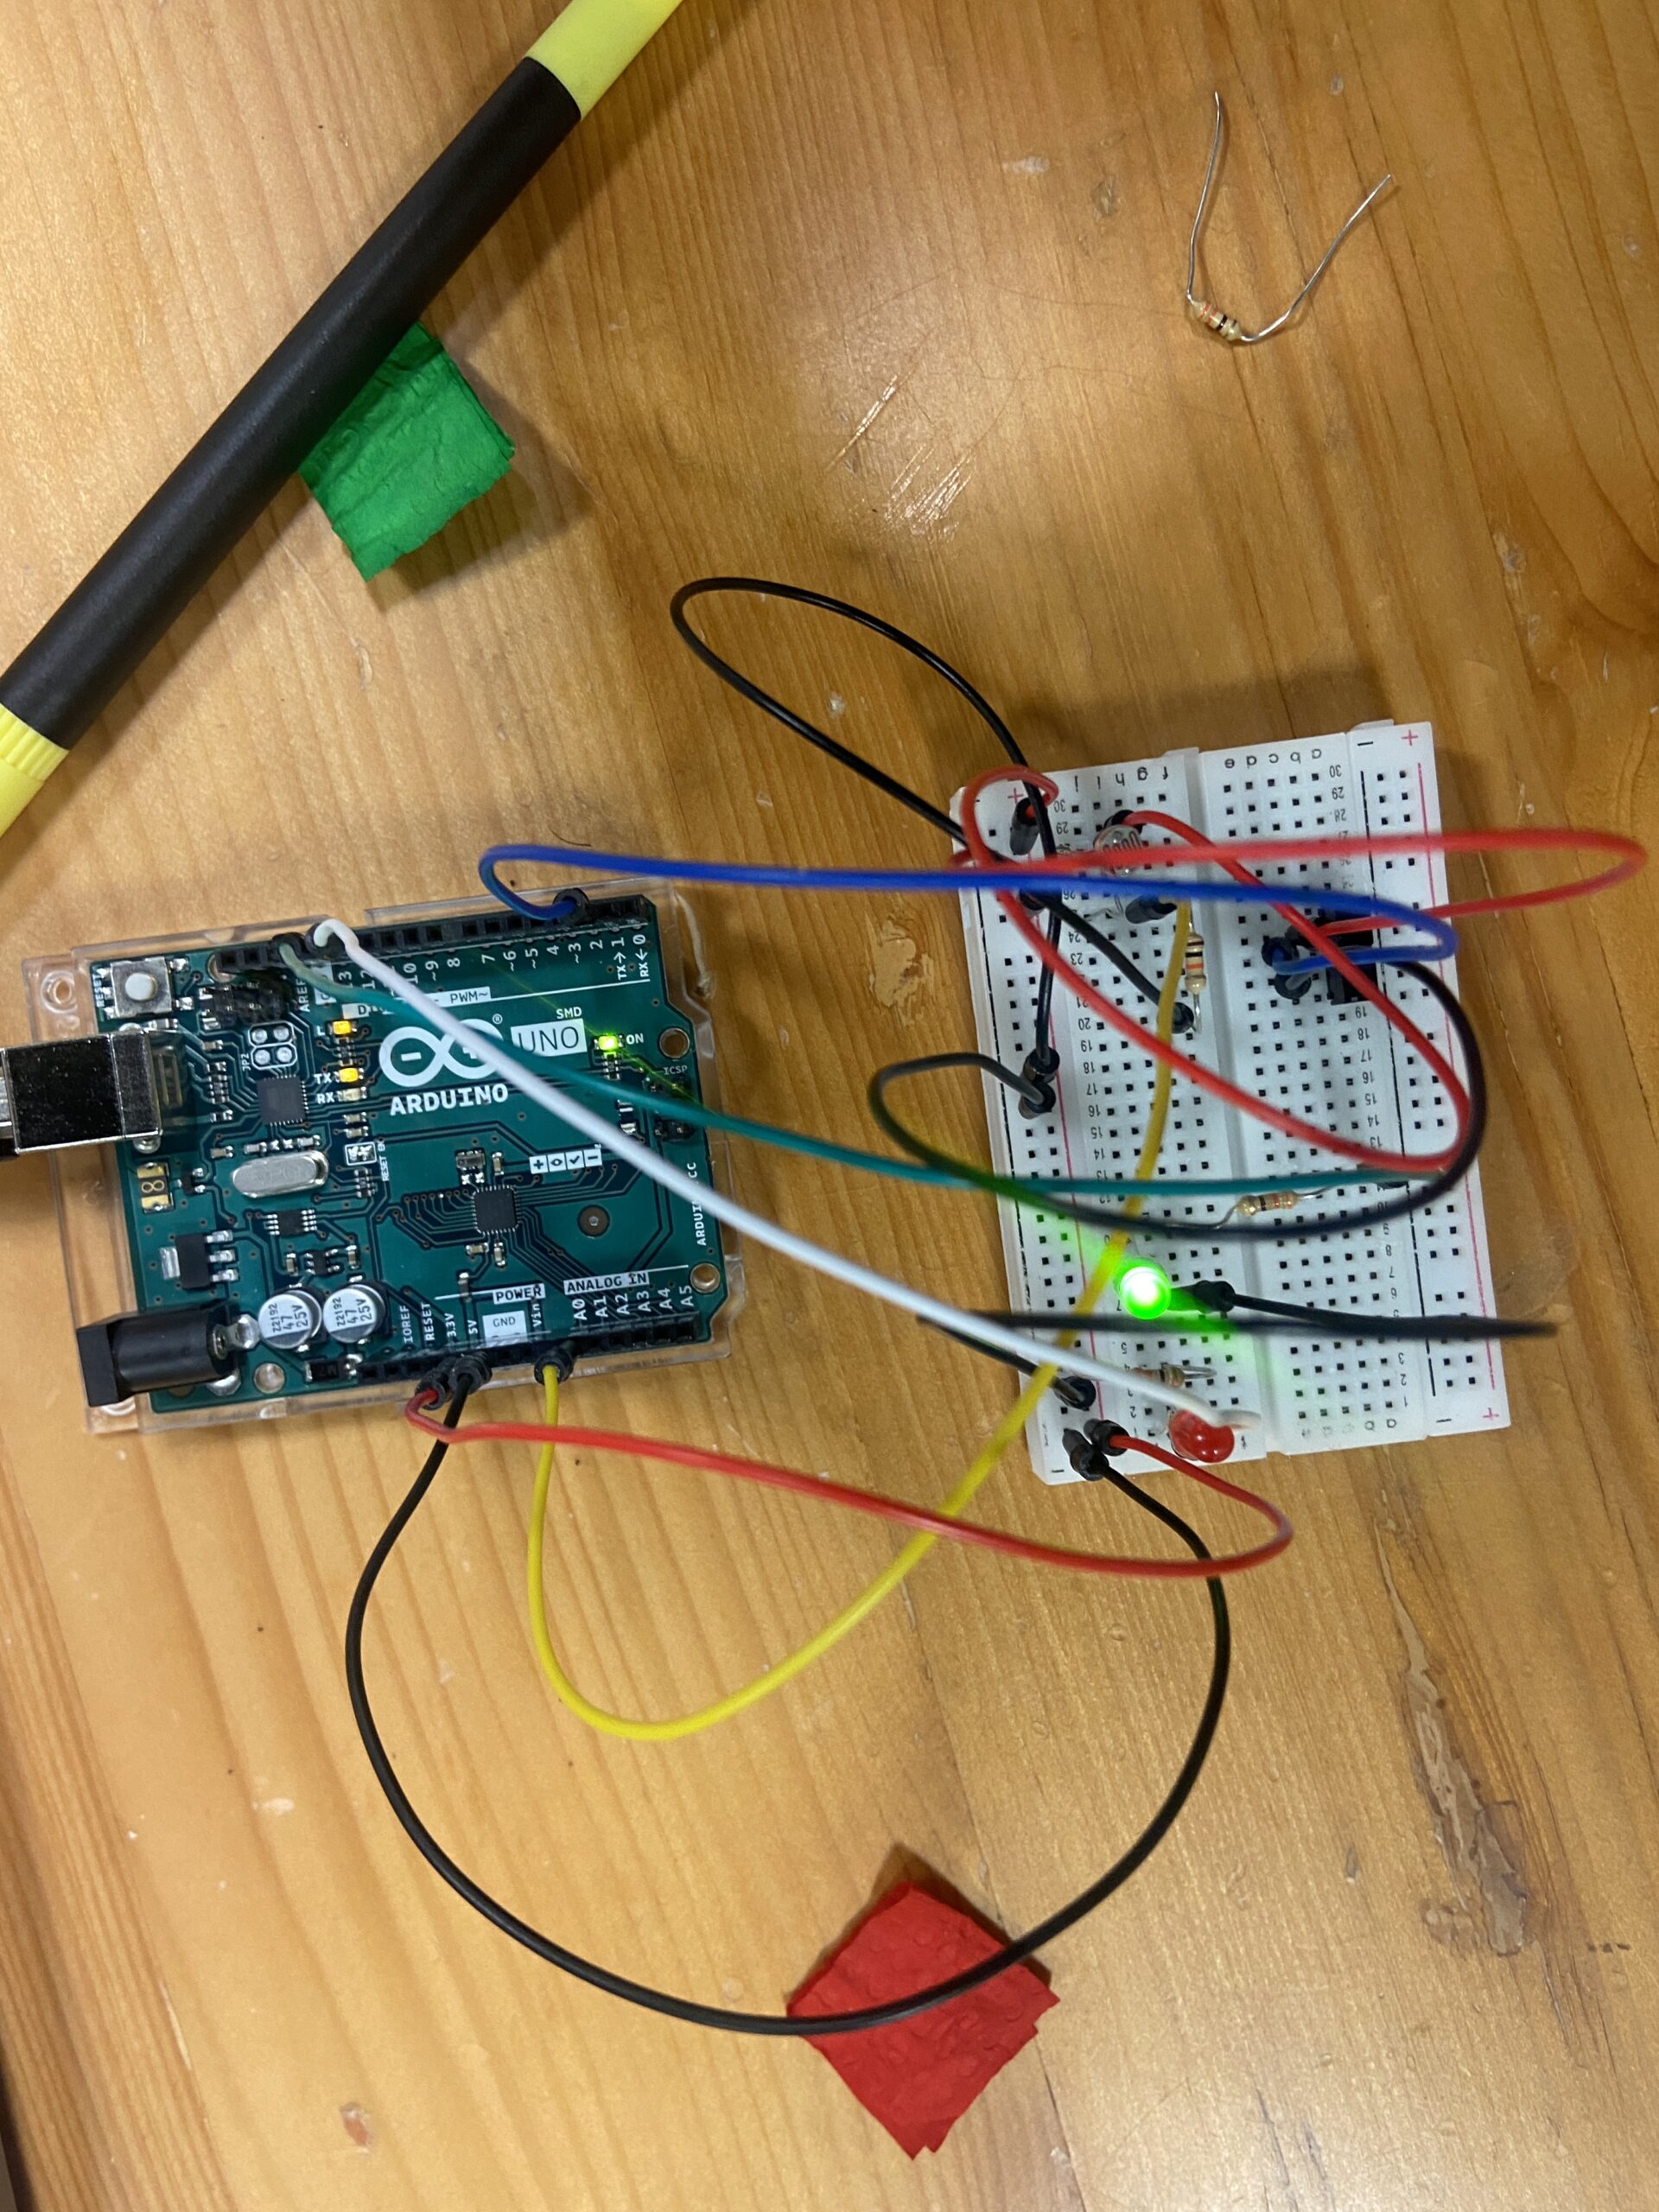
Concept:
For this project, I wanted to re-create a stop light or intersection, where a “car” could be driving when the light is green and a pedestrian could press a button to turn the traffic light red, so that they could walk and cars could not drive forward. I really liked this concept, because it reminded of all the times I would be walking by an intersection and would attempt to press the button to turn the traffic light red and it would never work. With this model, the light actually turn red to let the pedestrians cross.
FUN FACT: I made the car a Tesla, because I really like teslas. (:
// Set pin names
// to keep track of what is connected to which pin, we set global variables that name each pin
// this also allows us to use these names in functions like "pinMode" & "digitalWrite" instead of the pin numbers.
const int switch_Pin = 2;
const int lightSensor_Pin = A0;
const int LED_green = 13;
const int LED_red = 12;
void setup() {

  //Start the serial monitor
 Serial.begin(9600);
 //Set pin modes
 // The LED pins are OUTPUT pins because we are sending information to the LED instead of receiving information from it
 // the information we are sending is in the form of HIGH or LOW
 // this is an alternative to connecting the LED lights straight to the 5V pin, which constantly outputs 5 volts
 // with these pins being used as OUTPUTs we can control wether the LED is recieving power or not.
 pinMode(LED_green, OUTPUT);
 pinMode(LED_red, OUTPUT);

 // The switch pin is an INPUT pin because we are taking in information from the switch about whether it is ON or OFF.
 pinMode(switch_Pin,INPUT);
}

void loop() {
  // Set variables for the input from the light sensor & the switch

  // for the lightValue variable, we want it to be equal to the value coming from the light sensor
  // the data coming form the sensor is analog data so we use the "analogRead()" function and we give it the pin it's supposed to read from
  // here we give it the pin connected to the light sensor (A0)

   int lightValue = analogRead(lightSensor_Pin);

  // for the switchState variable, we want it to be equal to the value coming from the switch
  // the data coming form the switch is digital (either HIGH or LOW) so we use the "digitalRead()" function and we give it the pin it's supposed to read from
  // here we give it the pin connected to the switch (2)

   int switchState = digitalRead(switch_Pin);

   // Prints values from sensor in serial monitor
   // we use the "Serial.print()" function to send information serial monitor (open using bottom on top right) so that we can read it
   Serial.print("Analog reading: ");
   Serial.print(lightValue);
   // "\n" is a line break, makes the serial monitor start on a new line
   Serial.print("\n");

// If statement to check if there is something blocking the light from the light sensor & control the green LED accordingly
// if the value coming form the light sensor is less than 700,
   if (lightValue < 800) {
    // we use the "digitalWrite()" to send data to the green LED, in this case we send "HIGH" so that it turns on
    digitalWrite(LED_green,HIGH);
    // else ; if the light value is not less than 700
   } else {
    // we send a "LOW to the green LED so that it turns off"
    digitalWrite(LED_green,LOW);
   }

  // If statement to check if the switch is ON or OFF & controls the red LED light accordingly
  if (switchState == HIGH){
    digitalWrite(LED_red,HIGH);
    digitalWrite(LED_green,LOW);
  } else if (switchState == LOW){
    digitalWrite(LED_red,LOW);
  }


}