
Description:
Flame Ears is an interactive artwork in which the user can play doctor and disease to patient Grace Benner, by turning on the lights with a push button and then either increasing the brightness of the ear flames (worsening the illness) or decreasing them (healing the patient) through the use of a potentiometer.
Idea:
I had a really hard time deciding what to do for this assignment, but I knew that something fire related would be interesting since in our fist lab, the LED blink reminded me of a fireplace for some strange reason. Inspiration hit me when I read an article about Grace Benner, a young women who was suffering from a mysterious illness. One of the symptoms of the disease was having red ears that were hot to the touch. Her symptoms came and went, which gave me the idea of using a drawing made about her condition and using LEDs to showcase the burning sensation that she had in her ears, allowing the audience to either worsen or better her situation.
Process:
I started by making a sketch of the drawing. 
After I finished the sketch, I went on to ink and color the drawing.
I then proceeded to place the image on the breadboard to see at which position I should locate the LEDs. Unfortunately, I noticed that the drawing was too big for such as small breadboard and even if I managed to light up the ear, the LEDs would be too far apart to create the “fire” effect I wanted. I thus made a smaller version of the drawing. It would fit perfectly, but then I realized that the cables would interfere since most of the drawing would be positioned towards the left (where the wires would fall). I thus decided to make another drawing that was the mirror of the original image and the size of the smaller version.

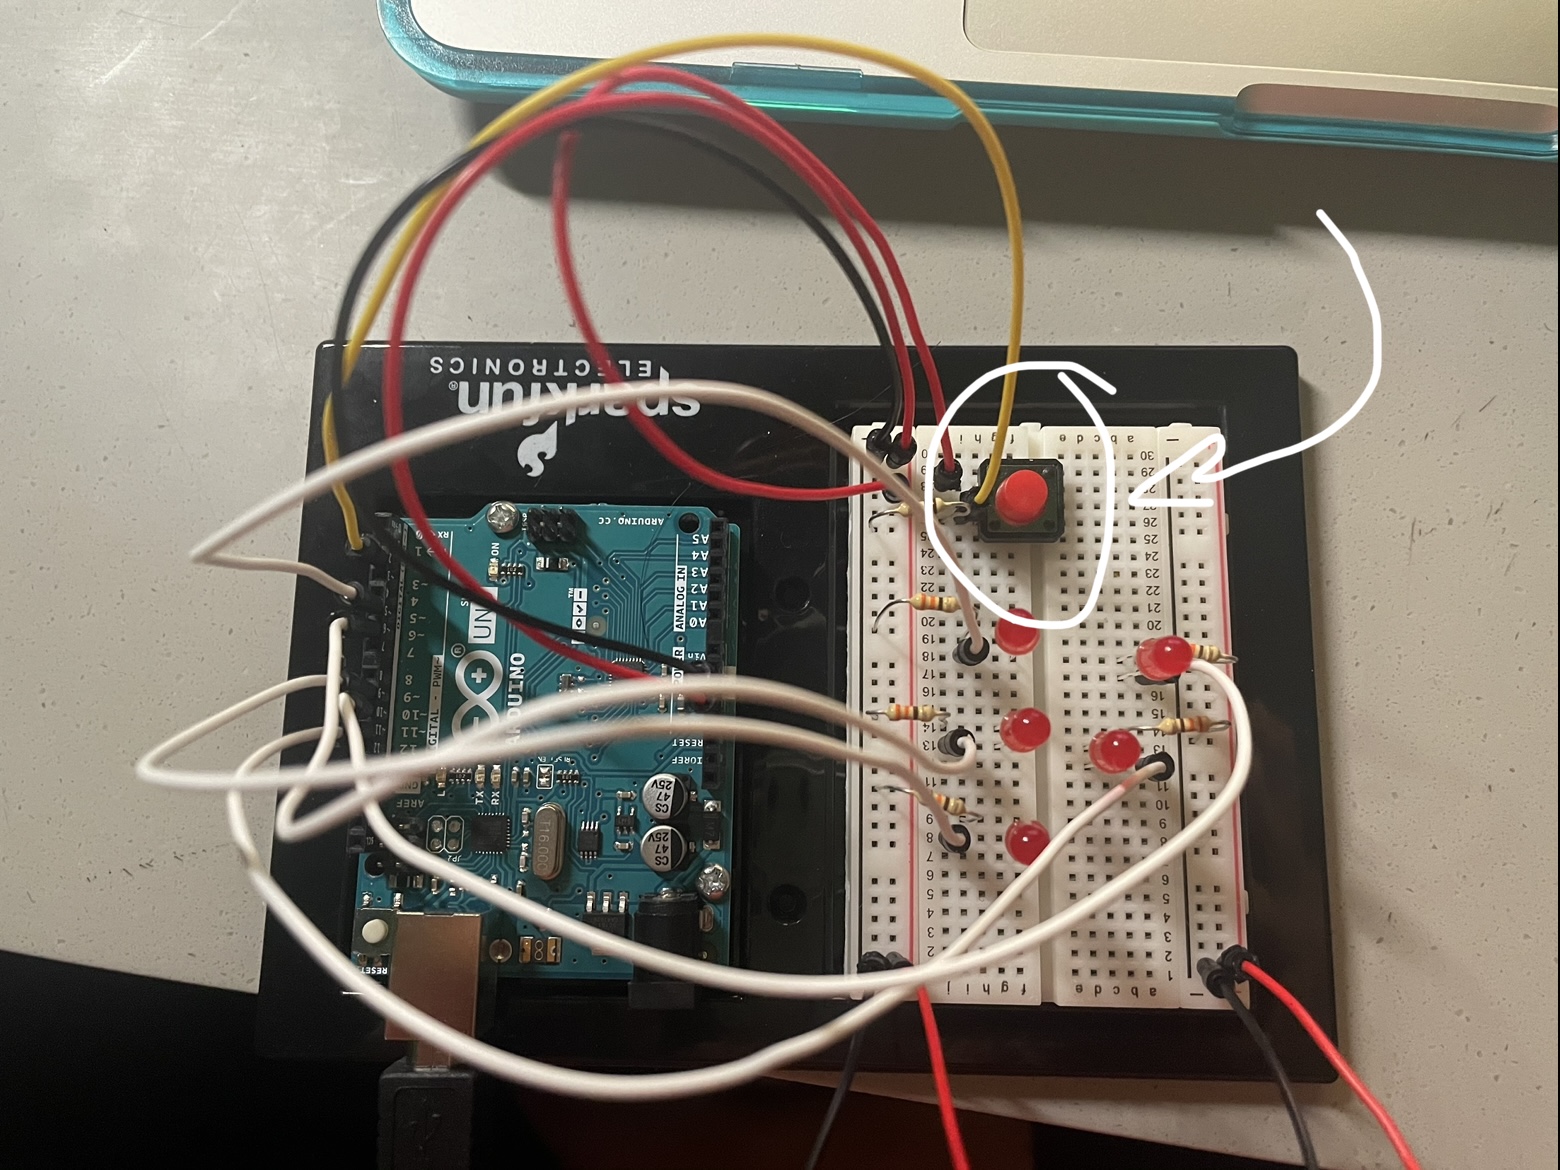
Once this was done, it was time to start the fun part: wiring the whole thing.
I placed the drawing on the breadboard and calculated where each LED had to be to illuminate the ear properly.
I tested the position by lighting up the LEDs.
Afterwards, I added a button and created the code to make the LEDs light up when the button was pressed.
Then I went in with a potentiometer. I tried two versions to use the potentiometer as a way to control the LEDs: the first was by using it to control the delay of the blinking of the LEDs (would create a delay between when one LED turns on and the next). It looked good, but would only work for one LED at a time which didn’t yield the effect I was looking for. I ended up using the potentiometer as a way to control the brightness and the delay so as to create a fire effect. Note: the way I tested the potentiometer was without the button. This is how it looked:
I then merged the code for the potentiometer and the one for the button to be able to turn on and off the circuit and if on, control the brightness of the LEDs.
I then started to think how to position things in the best way possible so as to not make the user experience uncomfortable because of the location of the circuit elements. For instance, I tried to put the button and the potentiometer in a series to reduce the amount of wires. It didn’t work.
I also ended up changing the position of the potentiometer since the original way made it awkward for the person to move the knob. I also clipped the wires together and toss them at the sides to get them out of the way for the drawing to fit.
Since I can’t record without one of my two hands, I made a stand for the painting out of a cup

Challenges:
- Coding the “fire” effect. As you will see in my code, I tried various things to make it work. Also merging the potentiometer and the button required some thought, luckily, I including an analog in my initial trial with the button, so I had an idea of where to place the lines regarding the potentiometer.
- Figuring out where everything should be was also very troublesome and required a lot of trial and error.
- Recording with one hand while moving the know with the other
Circuit:
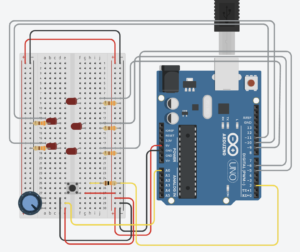
Note: in my actual circuit, I used white jumper wires for the OUTPUT of the LEDs, but that’s not the most visible color on TinkerCad so I assigned it the color gray.
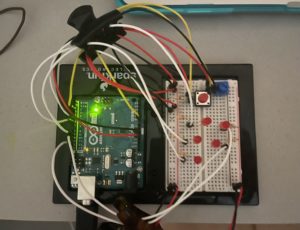
Final Result:
Code:
// write the Arduino pin number of the LED
int ledPins[5] = {5, 6, 9, 10, 11};
int numLeds = 5;

//write the Arduino pin of the button, the state (off)
int buttonPin = 2;
bool onOff = false;
//and set a variable to hold the previous state to off
bool previousButtonState = false;

//write  the Arduino pin of the pontentiometer, its initial value
int potentiometerPin = A0;
int potentiometerValue = 0;

//create a variable for the brightness of the pins
int brightness = 0;

void setup() {

  //set the mode  of the leds to Output
  for (int i = 0; i < numLeds; i++)
  {
    pinMode(ledPins[i], OUTPUT);
  }
  //set the button as Input
  pinMode(buttonPin, INPUT);
}

void loop() {
  //read if the button has been pressed
  int buttonState = digitalRead(buttonPin);

  //change onOff if there is a change in the button state
  if (buttonState == HIGH && previousButtonState == LOW)
  {
    //onOff becomes the opposite of what it currently is
    onOff = !onOff;
  }

  //Serial.println(buttonState);

  //if the circuit is on
  if (onOff)
  {
    //read the value that the potentiometer is giving
    potentiometerValue = analogRead( potentiometerPin);

    //map the input of the potentiometer to values within the LED brightness spectrum
    brightness = map(potentiometerValue, 0, 1023, 0, 255);

    //for all the LEDs in the circuit,
    for (int i = 0; i < numLeds; i++)
    {
      //turn on the led with a certain brightness
      analogWrite(ledPins[i], random(brightness));

      //originally I used random(200), but I found brightness to give me a better effect
      delay(random(brightness)/2);
      //this is what gives the lights the "fire" effect

      //Original Version of the fire effect
      //I used analog but without the input of the potentiometer to test if the "fire effect" works
      //analogWrite(ledPins[i], random(130) + 125);
      //delay(random(100));
    }
  }
  //if the circuit is off
  else
  {
    //for all the LEDs
    for (int i = 0; i < numLeds; i++)
    {
      digitalWrite(ledPins[i], onOff);
    }
  }

  //assign the current button state as the previous before repeating the loop
  previousButtonState = buttonState;


  //Serial.println("onOff = " + onOff);
  //Serial.println("button State = " + buttonState);
  //Serial.println("previous  = " +  previousButtonState);


  //potentiometerValue = analogRead( potentiometerPin);
 // brightness = map(potentiometerValue, 0, 1023, 0, 255);

  //Trying Delay to give the 'treating' effect
  /*
    for (int i = 0; i < numLeds; i++)
    {
      digitalWrite(ledPins[i], onOff);

      digitalWrite(ledPins[i], HIGH);
      // stop the program for <sensorValue> milliseconds:
      delay(potentiometerValue);
      // turn the ledPin off:
      digitalWrite(ledPins[i], LOW);
      // stop the program for for <sensorValue> milliseconds:
      delay(potentiometerValue);


      analogWrite(ledPins[i], random(brightness));
      //originally I used random(200), but I found brightness to give me a better effect
      delay(random(brightness));

    }
  */
}
this is SO cooooool
Thank you so much