
(Disclaimer – Please read my previous post on Midterm Progress – Almost a Card Game before as this one builds upon that.)
Yes, I finally made a card game that I can play by my rules!
For my Intro to IM midterm project, I decided to make a 2 player card game – Cards Royale. It is inspired by many card games I have played all these years with my family and friends. I must admit that I was very skeptical about this idea initially and thought of changing it multiple times, but there was something in me which did not let me chose any other game to build. My motivation for a card game came about when I was ardently searching for my favorite card game – Judgement – online, so that I could play with my family from afar. Playing cards together has been my family’s little tradition since childhood and I have learned over some 15 trick-making card games till now. Thus, not having been able to find my favorite game online, it felt like the perfect opportunity to try making a computer version of it myself! Hence, I started in this journey – yes, I would call it a journey because it really was one.
Why I was skeptical about this game was because there are many things to keep in mind in a card game and I am a person who does a task with utmost perfection and details; I cannot leave it unfinished in between – especially not a card game. Hence, I wasn’t sure if I could do justice to the card game keeping all the game rules, table rules, strategy, visual appearance to make it seem realistic, in mind. Nevertheless, this was not an excuse. I decided to take on this challenge and make a card game as true as the original card games I have played since childhood. This motivation of mine guided a majority of the design choice decisions, rules, user experience, interactivity, etc. which I describe in this documentation.
DESIGN CHOICE
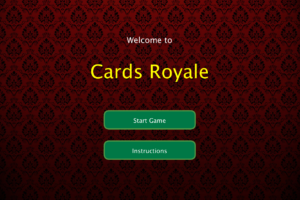
My game consists basically of 3 screens – a home screen, an instructions screen, and a game screen. I first started with the game screen because that is the main part and, honestly, I had planned to go ahead with this idea only if I felt feasible and good about it after having tried my hands on trying to code the game screen for a considerable amount of time and effort.
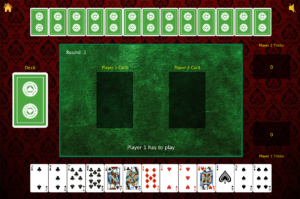
I first sketched out a basic layout of how my objects of the game should be placed on the screen (see the previous document for visuals). The placement was very important as I designed it in accordance with table rules – players seated opposite each other, the deck of cards on one side and tricks on the other, close to the person who made it, and cards played in the center of the table.
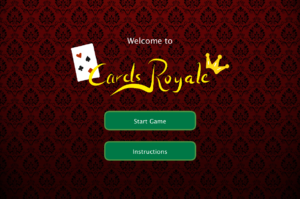
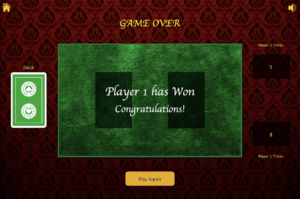
Next, I had to decide the theme and color scheme. I want to keep it royal and posh, something of a luxury to capture our annual festivity spirit of Diwali. Plus, if you go to any card playing area, this is a common theme you find. So, I decided to go with a royal maroon patterned background with textured green table cloth (which is a screenshot of a snooker table image by the way), complemented with the colors yellow and red.
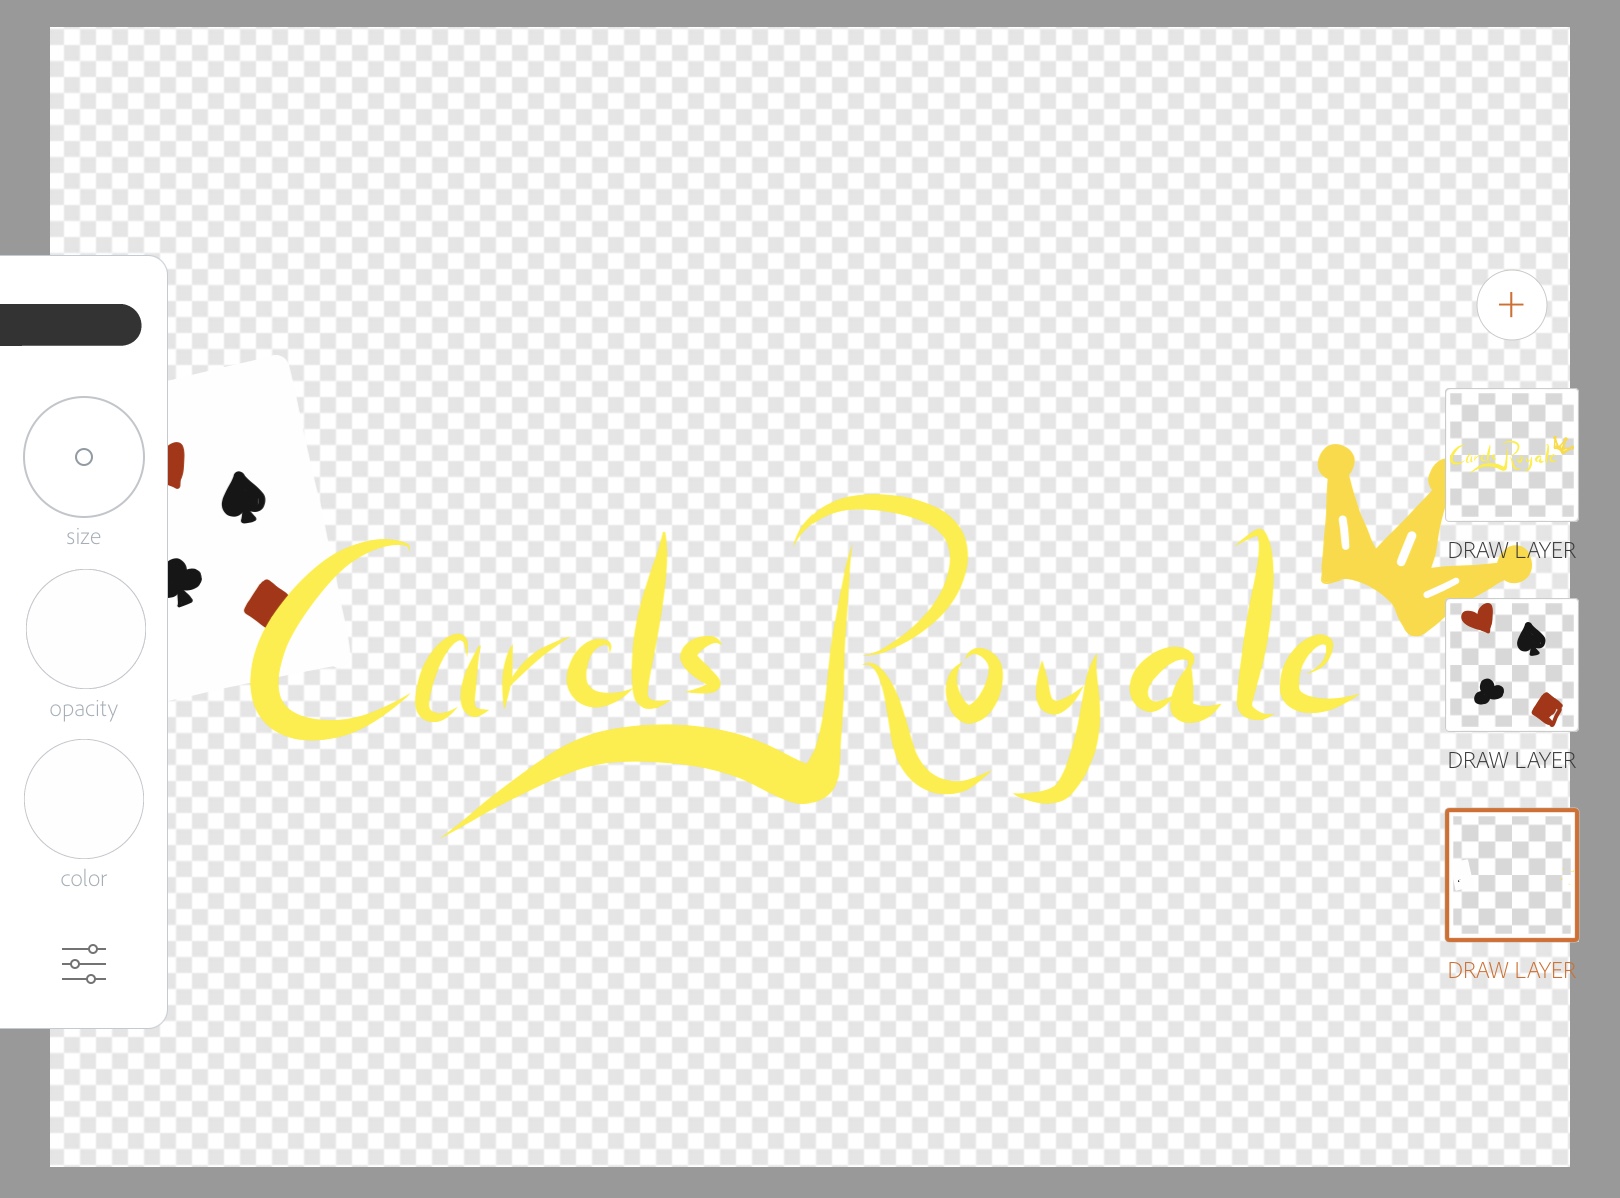
When I was first designing my home screen, I wasn’t very satisfied with how it looked. It seemed fine but it didn’t quite catch the vibe I was going for. It felt like I needed the heading to be creative. Hence, I decided to create my own logo in Adobe Draw which would be just perfect for my game (the text is also handwritten and not a font – some of my friends thought otherwise 🙂 ).
MINUTE DETAILS
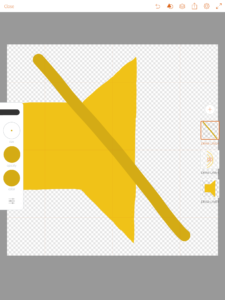
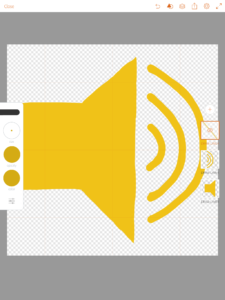
My drawing endeavor didn’t just finish here. Once I started adding sounds, I felt the need to add a mute button (I personally was a little fed up hearing the sounds over and over again every time I made an edit and ran the code again, plus it was essential for user experience – giving them more flexibility and control). While working on the mute button, I couldn’t find a similar mute and unmute button in yellow color which would compliment my home button. I saw many designs online but they just didn’t fit in. So, I decided to sketch that as well (see below). This was simplistic; fitting just fine and not overcrowding my screen.
I also faced some challenges initially with my mute button as I was using mousePressed with a toggle boolean variable which made the mute button switch rapidly again and again if the button was pressed for a long time (see video below). I was able to fix this by replacing it with mouseClicked() function.
This actually brought me to consider another interactivity choice. Often in card games, undo is not allowed (a table rule which states that once a card has been taken out of the hand – irrespective of whether it has played on the table or not – it cannot be put back in hand and must be played). So, while playing a card game online, it often requires you to press hard enough on the trackpad to play a card. This is done to avoid a card being played by an unintentional tap on the trackpad (I believe this is specific only to laptops). Hence, to implement this idea in my game, I changed my mousePressed keyword for menu option buttons, mute/unmute button, home button, etc. to a mouseClick so that they would work on just a tap, while I kept the playing cards action as mousePressed so that the user would have to press on the trackpad to actually play – distinguishing it from other actions and requiring careful thought.
Another detail I focused on was arranging the cards in hand in sorted order. The first thing you do after picking up cards in your hand is arrange them by suit and number. This makes it easier to track your cards and keep a count to play efficiently. I used bubble sort to arrange them in order.
I also decided to have the cards in hand flip depending on whose turn it is. Initially, cards for both the players were open. This was okay since both of them would be playing on the same screen so it is quite likely that they see each other’s cards (so it wouldn’t really. ake sense ti hide them). However, in an actual game, you are not supposed to see the other person’s cards. Hence, to give that feeling, I decide to close the cards for the player whose turn it wasn’t, to avoid this as much as possible and also motivate them to not see by maybe closing their eyes or turning the laptop. I also closed the cards for both players when each had played and it was time to see who made the trick. This allows both of them to see what card has been played and take a note of it before it is taken off-screen, without having a glimpse of each other’s cards.
THE HOME BUTTON
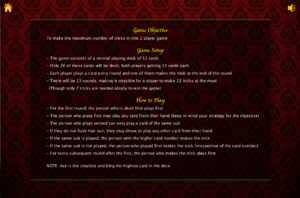
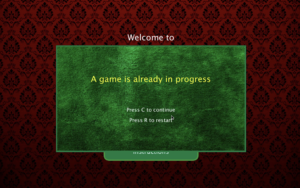
Keeping user experience in mind, I felt the need to add a home button in case a user wanted to go back to see instructions in between the game or restart the game. There were a few things to consider here –
- If the user clicked the home button in between the game to see the instructions screen maybe, then they should be able to go back and resume their game from there. Or if they misunderstood some instructions and wanted to restart, they should have that option too. Hence this called for a need to have a pop-up screen to provide this choice menu.
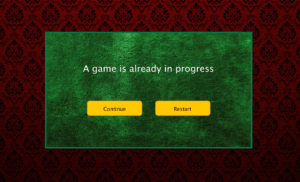
- This option should not be provided when the start game is clicked for the first time.
- Neither should it be provided if the user clicked home button instead of the ‘play again’ button once the game was over. So it called for special if conditions to implement this.
The started boolean variable I created for this purpose proved to be useful in other parts of my code as well.
ANIMATION
Now, to make the game look more realistic and seem like it was actually being played on a table, I decided to add a physical dealing of cards effect along with collecting a trick and keeping it aside effect. This animation proved harder than I imagined (more details can be found about the dealing effect in the previous post).
The trick collecting effect was added to solve 2 purposes. One is mentioned above and the other was to fix the error I was getting last time (as mentioned in the previous blog post). What was happening is that if one played a card which was lower in rank than their previous one, it would not show on the table because I display the cards in sequential order, so the higher-ranked card would be displayed on top of the lower-ranked card.
As it can be seen in the video above, as you play cards from left to right, each new card is played on top of the other. However, if you go back and play a card from the left of the previously played card (the 10 of clubs or 5 of diamonds in the above video for example), they are not visible on the screen when played.
To fix this problem, it was necessary to make the cards disappear before the next one is played. However, it wasn’t that easy. If I made a card invisible after it is played, it would become invisible as soon as it was played and it wouldn’t be possible to see what card was played (see below).
Hence, to fix this, I decided it would be a nice touch to have the cards go sideways into the trick pile and then make them disappear. However, it still didn’t quite fix the problem. I still felt the need to have the 2 cards be displayed on the table for a while before they are collected into a trick. (See below – trick one being made without any pause). I decided to add a delay after the cards are being played to fix this problem. However, using the delay() function didn’t quite work because it was pausing at the wrong moment – before the second card is played instead of after the second card is played. (See below – trick 2 being made with a delay at the wrong time).
I used the millis() function instead of delay() to fix this as I got to know that delay() cannot be used to delay something inside a draw() loop, rather it is used after a draw() loop is finished and before the next one starts. It took some time for me to be able to understand millis() and implement the pause at the correct time. Once I got it, it proved to be very useful and I also used it to add a pause at the beginning of a deal so that the deal isn’t started immediately once a user clicks start game. However, it takes some 0.5 seconds to start so that the user can adjust to the new screen setting of a playing table. (This delay does not occur if you continue a game, only comes when you start a new game or restart the previous game.)
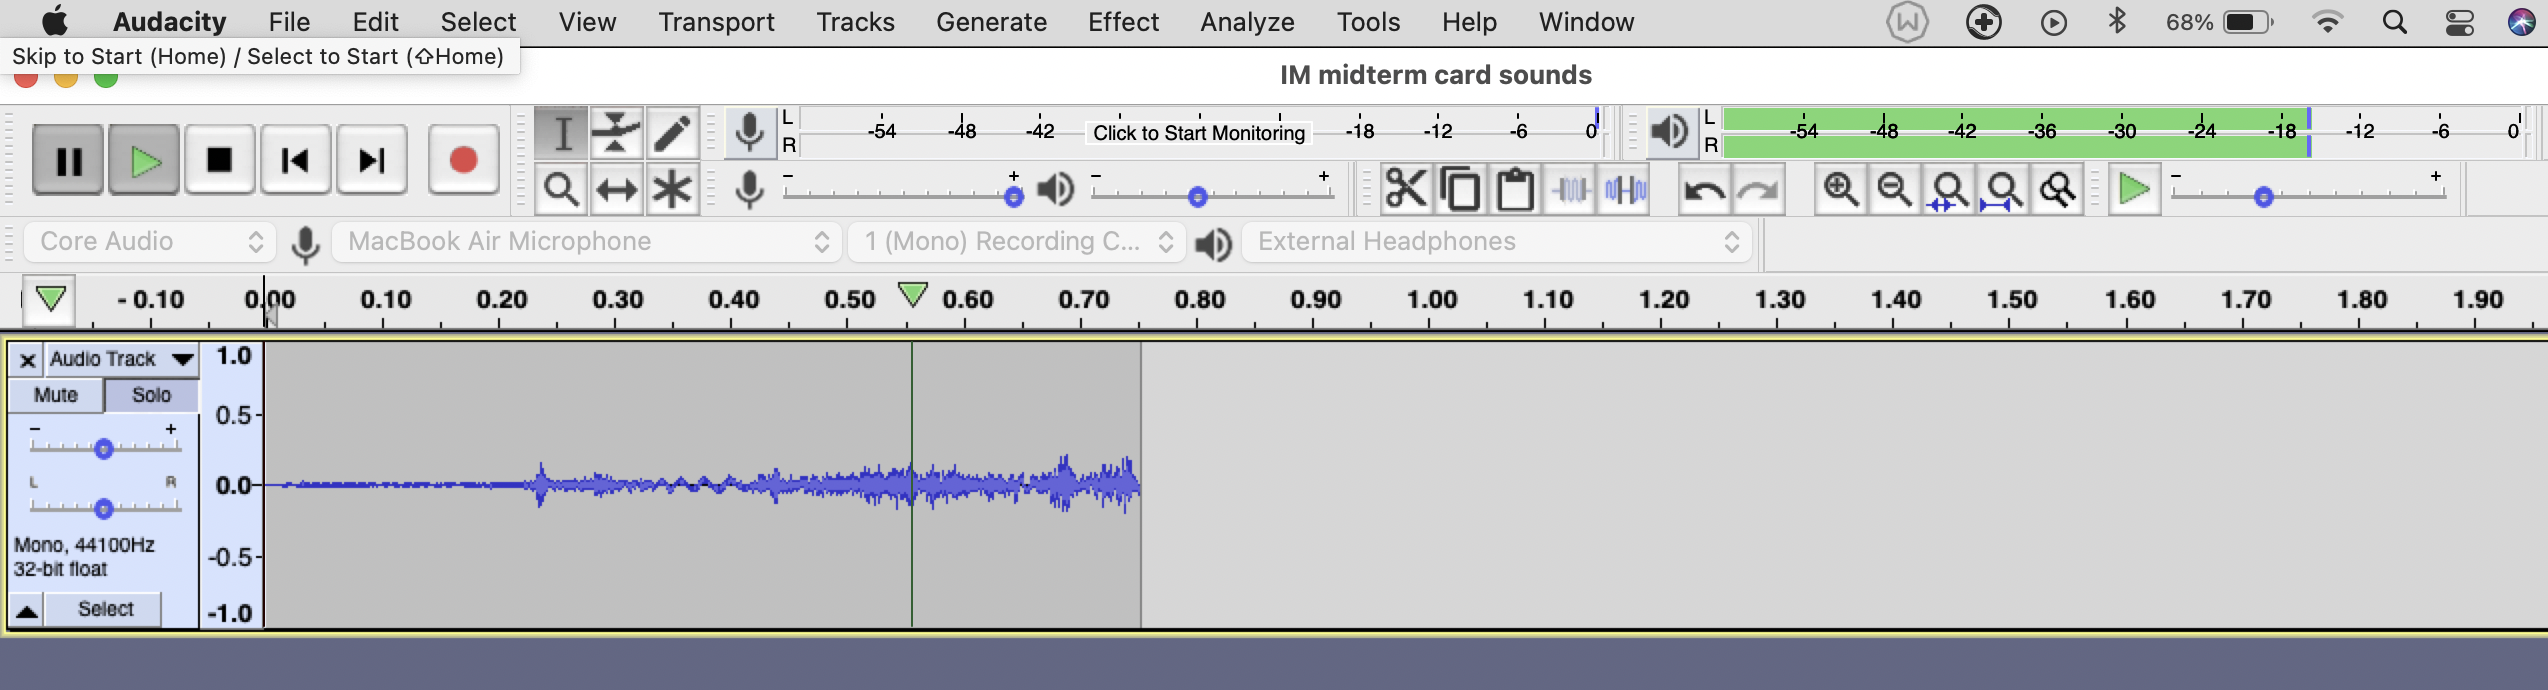
SOUND EFFECTS
Now adding sound effects was crucial to make it a more realistic experience. I wanted to add sounds of dealing cards, flipping cards, collecting tricks, etc. However, I didn’t get any free good quality playing cards sound on the internet. So, I decided to record them on my own. I used audacity to record sounds while I dealt, flipped, or played cards, and made tricks. I edited each of those, extracting the best single sound I could get. I used the noise reduction feature to remove some of the background noise and some other effects like pitch, speed to make it sound comfortable and not very shrieky.
The sound of flipping cards was important for another reason. Since I decided to hide the cards of players when it was not their turn, it was important to indicate somehow that a player has played a card and now it’s the other person’s turn. So, I decided to add the flip sound which would indicate that a player has played their card and the cards have been flipped (closing the previous player’s cards and opening the other player’s) so that the next person can now play.
I also found a piece of good background music (a casino jazz piece) to add to my game which would make it more lively. I also added cheering in the end which I again found online.
TEST RUN
So, testing my game by making people play was very important for the development of my game at various stages. I have made more than 21 people play this game till now and got great insights on how people understood my game, use the interface and navigate the playing arena. This helped me improve my user interactivity and design.
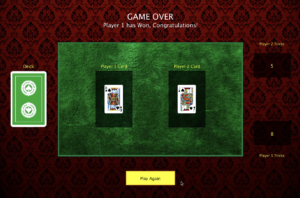
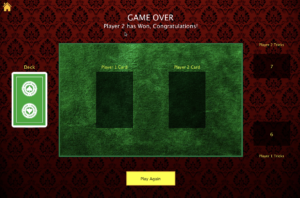
My instructions page changed a couple of times based on what experience people have had playing cards and it helped me break it down to very simple words so that a person who has never played cards before is still able to understand, play and enjoy the game. My end screen also saw many stages of development based on the feedback I got from various people. I decided to go with the most popular one. I even focused on small details like increasing the size of the text indicating whose turn it is to play and changing the volume of the sound effects so that none overpowers the other.

Once the logic of the game was coded, I made more and more people play which helped me become aware of many bugs and glitches in my code which I was able to fix in time.
This was also a great confidence booster. The entire weekend went by me building this game and playing it with my friends (and family on zoom). It was a great success! People really enjoyed it and wanted to play more (which is great for me!) and I was happy to see that those who never played cards before could also understand and play it, thoroughly enjoying it, while those who have had experience with cards, appreciated the tiny details I incorporated to make it as realistic to an actual game as possible.
THE FINAL WORKING VERSION
Here is a tutorial of my game –
I am really happy with what I have built and now am confident that I can expand it to more players, add more variations, and maybe put it online so that many can play virtually!
CODE
The complete code can be found here: Shreya-IM-Midterm-Final