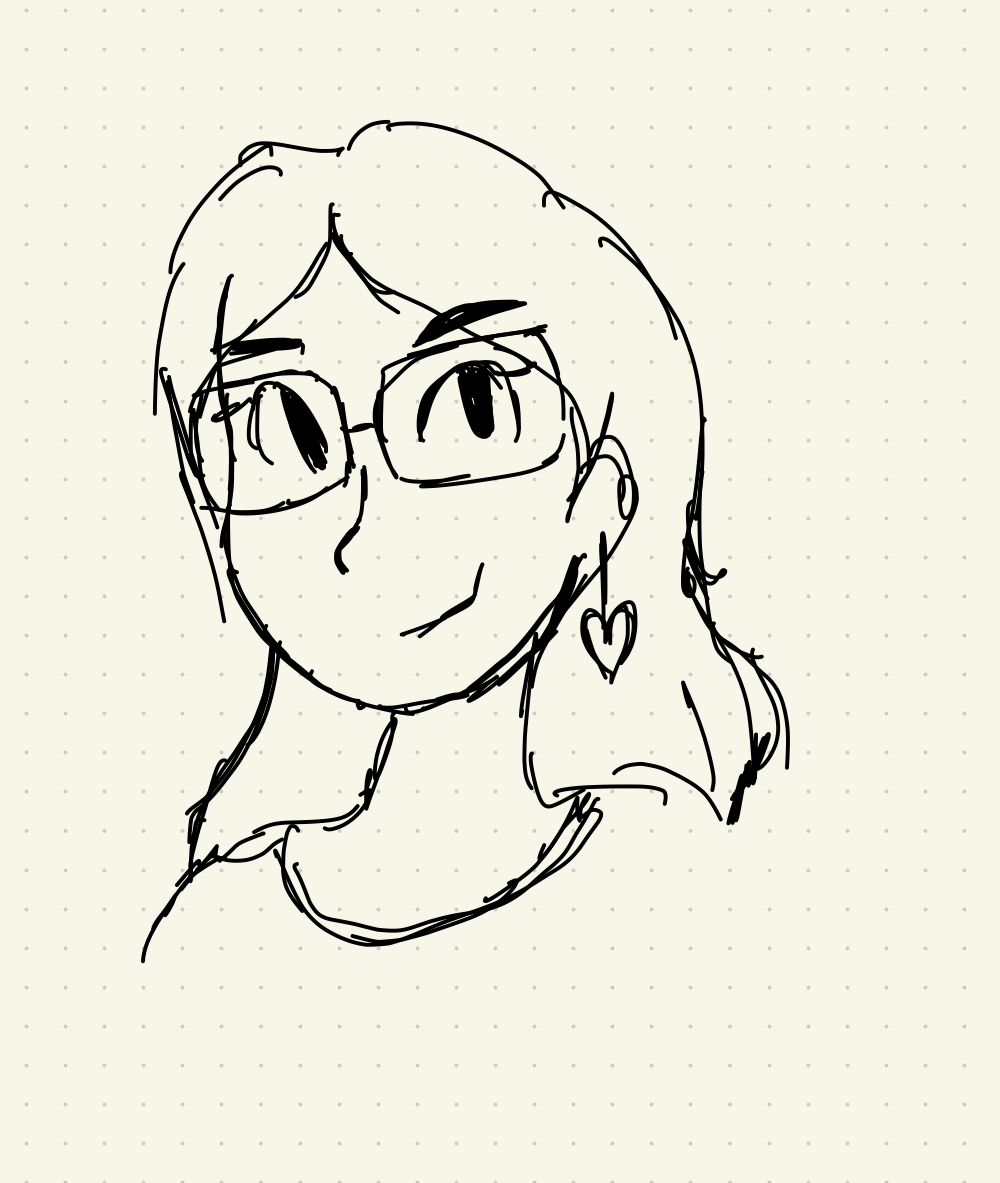
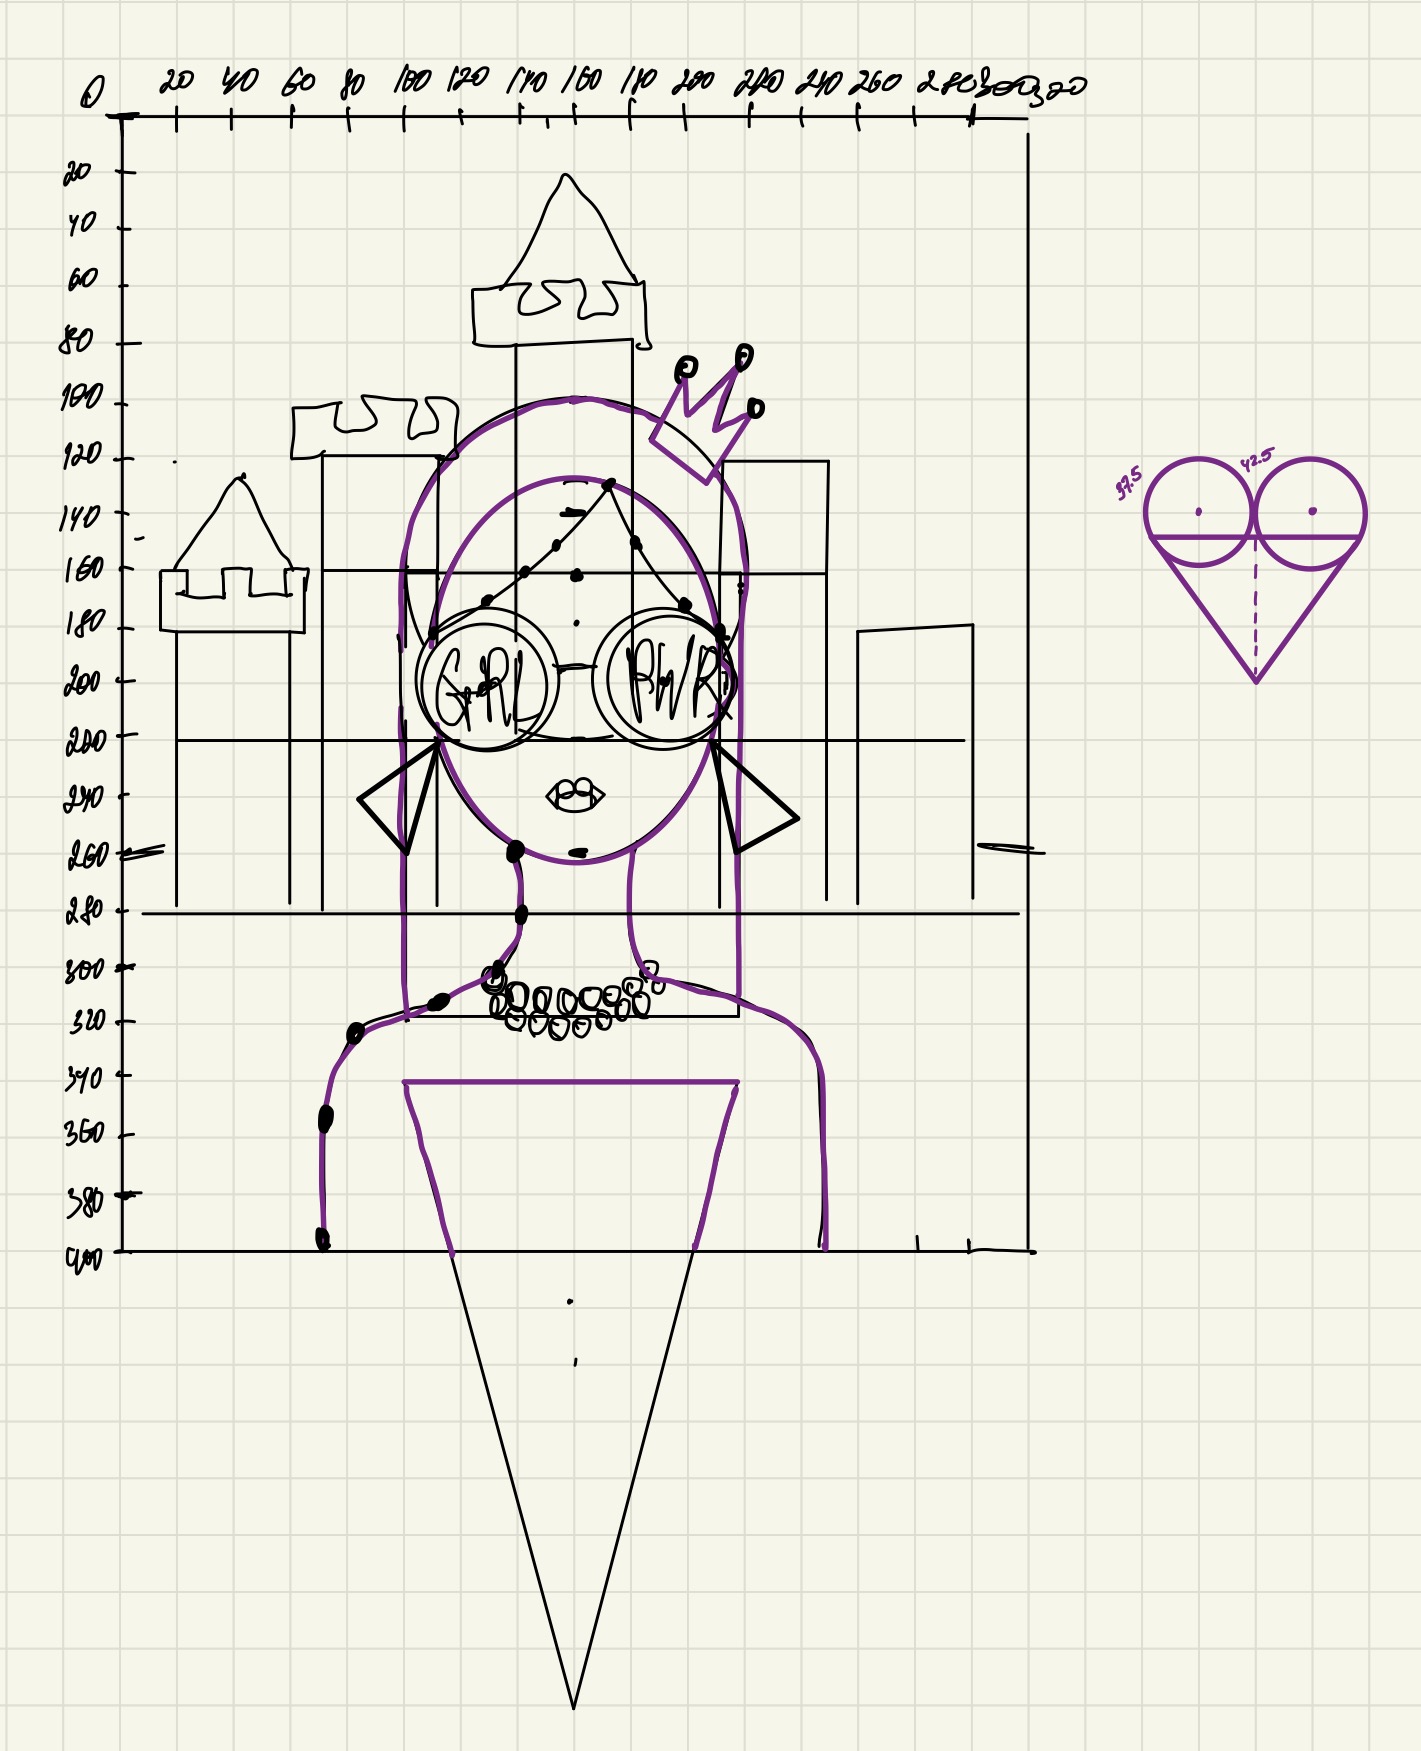
Assignment 1 – Self Portrait!

As I started working on this assignment, I wanted to explore colors and see how far I can go with basic shapes. Having a background in coding but little experience in creative pursuits, this was both exciting and challenging.

I began with a sketch on paper, a humble attempt to visualize the shapes I needed before trying it on p5.js. However, the transition from paper to screen was not as easy. The positioning of shapes was difficult so I displayed the X & Y coordinates using MouseX, MouseY and text. 

So here’s me! And a dog! Anyone who knows me, knows how much I love dogs and hence I decided to add a fur friend that can move and jump alongside me for the assignment. I thought I was content with what I had until I noticed the fairy lights in my dorm room and was curious to try adding a similar lively and vibrant vibe to the canvas. A nested list with RGB color codes, reduced frame count and ellipses filled with these colors resulted in the twinkling fairy lights – like effect. It took me quite a few tries until I was completely satisfied with the shapes and details of the girl I was trying to create.

This was the one I almost settled on, using basic rectangles, lines and ellipses but then I discovered the life saving functions! The bezier(), curve() and the beginShape() endShape() functions that I think were so much more efficient to create the self portrait. The final outcome:

There’s not much about the code or the idea that I’m particularly proud of but the things that I like about what I tried to make are,

  1. The motion of the dog – the dog moves with the mouse (as the X coordinates change) & jumps when mouse is pressed!
  2. My (the girl’s) smile slightly widens when the dog moves closer to her symbolizing how I feel every time I spot a puppy and run to play with it
  3. The fairy lights for the color pop and liveliness.

Here’s a snippet of the code that makes the dog jump! 

//dog jumping
if (isJumping) 
{dogY-=5;
  if (dogY <= height-100){isJumping=false;}
} 
else if(dogY < height/2+180)
{dogY+=5;} //anywhere above the ground, gravity when not jumping

// Prevent the dog from going below the ground
// if (dogY < 0){dogY = 0;} 
// else if(dogY > height/2 + 180){dogY = height/2 + 180;}
dogY = constrain(dogY, 0, height/2+180);
function mousePressed()
{
  if (!isJumping) {isJumping = true;} //if mouseclicked and dog not jumping already
}

I saw a few reference links and tried to understand the basic concept of a jump but then simplified it as much as I could since I felt I needed a very basic application of it to make the dog jump for this assignment. Initially I used if-else statements but then found the constrain() function to do the same.

References : Simple jump, Jump 

Reflections & Possible improvements

 I really enjoyed this assignment and actually found it addictive as I wanted to keep making changes and try new things. For scopes of improvement, I think I could try to make the girl look more realistic with shadows and movements and lesser hardcoding of coordinates. I also tried various colors for the background but then found out there are functions that I can use to create gradients – a feature I’d love to explore next time. Overall, I’m very grateful for the assignment, help and looking forward to more in the upcoming classes.

Week 1: Self Portrait – hello kitty

Your concept

My concept was this meme/image of a crying Hello Kitty with the caption “*sniff* I’m sorry for being stupid”. I love how cute this image is and I’ve been using it in my messages to friends a lot, so I’ve been associated with it in the past few days. I thought it would be fun to make an interactive version of this for my self-portrait.

As it needed to somewhat look like me, and I don’t look like Hello Kitty, I added a pair of round sunglasses that I’ve been wearing in class because of my eye infection.

A highlight of some code that you’re particularly proud of

There isn’t anything functionality-wise that I was too proud of, but the most difficult part about this sketch was drawing Hello Kitty’s face. Using boxes/lines would lose the cuteness appeal of it, so I learned how to draw using bezier curves. It reminded me of Photoshop’s Pen tool, except with written coordinates instead of being able to smoothly adjust the control points.

I’m really proud of how clean and polished the final product looks, as bezier curves look much better over simple geometric shapes. Though it took way more time to draw each curve to my liking.

// face
fill(255)
// bezier(x1, y1, cpx1, cpy1, cpx2, cpy2, x2, y2);
beginShape()
vertex(118, 75)
bezierVertex(65, 45, 55, 55, 65, 114); // left ear
bezierVertex(13, 262, 136, 262, 200, 263); // left face
bezierVertex(264, 262, 387, 262, 335, 114); // right face
bezierVertex(345, 55, 335, 45, 282, 75); // right ear
bezierVertex(225, 63, 175, 63, 118, 75); // top head

Curves needed to draw Hello Kitty’s face

Embedded sketch

Click to make her cry! 🙁

Reflection and ideas for future work or improvements

I could’ve possibly added more animations, such as waving hands during the crying animation state, but I wrote my draw() functions in a bad way so to add animations to certain elements would take a lot of rewriting. My lesson learnt is to plan out the details of what I want to make ( final outcome ), so I don’t have to rewrite code when I later think of new features later on.

Week 1 – Self-portrait

Concept


Code snippet

// Declare in the global scope
// All functions will have access to this variable
let myRandomNumber;


function setup() {
  createCanvas(300, 400);
  
  myRandomNumber = random(255); // How can we find out what a variable's value is? print()

  let myRoundedNumber = round(myRandomNumber); 
  
  print('myRandomNumber = ' + myRandomNumber);
  print('myRoundedNumber = ' + myRoundedNumber);

  
}


Assignment 1: Self Portrait

When I received this assignment, I did not give it much thought initially. However, I had a concept of adding my favorite, which I believe would reflect myself and create a self-portrait of a girl. Initially, I was uncertain about where to begin this illustration.

From the concepts learned from the class, I knew how to develop shapes but I could not think about a complete self portrait. I started by coding the background and slowly each parts of the body. One of the most engaging aspects of the process was determining the coordinates for each body part. It felt like solving a puzzle.

One of the highlights of my code was the decision to use ellipses for the body and hair instead of rectangles which turned out to be a successful choice.

Looking ahead, I am eager to explore more interactive projects with meaning backgrounds. This assignment has provided me with a strong foundation and inspiration for my future works.

Self-Portrait: On the Run

Project Concept

My concept for this project is to portray a guy (supposedly) running on the road. Then I started to think about the elements I could add because just a static picture is boring. I figured the two elements I could improve are the background and the figure. I decided to add some animation to the figure and some interactivity with the user’s mouse so that it would chase the user’s mouse along the X-axis. For the background at first, I only wanted to implement a sky featuring a sunrise, that is to use a gradient color for the background. But it still seemed boring so I decided to add a moon and alternate them over time. Naturally, that comes with stars and different sky colors so I implemented that also. I already have the cycle for a day, why not extend it to a month? Therefore I also added phases of the moon. Then the project finally seemed complete, and it is shown below.

Code I am Proud of

I am not very proud of anything in particular actually, because it is all simple code, and not many calculations were needed. If I have to mention something then it would be the implementation of the Sky. It involved calculations based on deltaTime,  relative positions of the sun and the moon, integrated loops with the looping nature of the draw() function to ensure the coherency of sky color changes, and used a wide variety of shapes and curves. The code goes on like this, and the comments should be enough to explain the code.

class Star{
  constructor(){
    // Random position of stars
    this.x = random(400);
    this.y = random(400);
    this.speed = 1;
  }
  
  display(t){
    this.y -= this.speed * deltaTime / 20; // Star movement
    if(this.y <= 0){
      this.y = 400 - this.y % 400;
    }
    // Transparency control
    fill("rgba(255,255,255,"+t+")");
    stroke("rgba(255,255,255,"+t+")");
    let starBody = rect(this.x,this.y,2,2);
  }
}

class CrescentMoon{
  constructor(y){
    this.phase = 0;
    this.moonY = y;
  }
  
  display(){
    this.phase = this.phase % 16;
    fill("white");
    
    // Moon shape
    beginShape();
    vertex(200,this.moonY-75);
    if(this.phase <= 9){
      bezierVertex(200-(100-25*(this.phase)),this.moonY-75,200-(100-25*(this.phase)),this.moonY+75,200,this.moonY+75);
      bezierVertex(200+100,this.moonY+75,200+100,this.moonY-75,200,this.moonY-75);
    }
    else{
      bezierVertex(200-100,this.moonY-75,200-100,this.moonY+75,200,this.moonY+75);
      bezierVertex(200+(100-25*(16-this.phase)),this.moonY+75,200+(100-25*(16-this.phase)),this.moonY-75,200,this.moonY-75);
    }
    endShape();
  }
}

class Sky{
  constructor(){
    this.sunY = 400;
    this.speed = 1;
    this.moonPhase = 0;
    this.timer = 0;
  }
  
  display(){//10sec/round
    // Timer sync
    this.timer = this.timer % 20;
    this.sunY = -this.timer * 50 + 400;
    
    // Moon phase add
    if(this.sunY + 500 <= -125){
      this.moonPhase++;
    }
    
    // Create colors for gradient
    let topColor;
    let botColor;
    
    // Transparency control
    let displayVar;
    
    // Frames 0-300 back to sunrise
    if(this.timer < 3){
      topColor = lerpColor(color("rgb(23,23,197)"),color("rgb(135,206,235)"),this.timer/3);
      botColor = lerpColor(color("rgb(23,23,197)"),color("rgb(255,77,00)"),this.timer/3);
      displayVar = 1-(this.timer/3);
    }    
    // Frames 300-1000
    else if(this.timer >= 3 && this.timer < 10){
      // Frames 300-650 sunrise
      if(this.timer<6.5){
        botColor=lerpColor(color("rgb(255,77,00)"),color("rgb(135,206,235)"),(this.timer-3)/3.5);
      }
      // Frames 650-1000 day
      else{
        botColor = color("rgb(135,206,235)");
      }
      topColor = color("rgb(135,206,235)");
      displayVar = 0; // Transparent
    }
    // Frames 1000-1300 dawn
    else if(this.timer >= 10 && this.timer < 13){
      topColor = lerpColor(color("rgb(135,206,235)"),color("rgb(23,23,197)"),(this.timer-10)/3);
      botColor = lerpColor(color("rgb(135,206,235)"),color("rgb(23,23,197)"),(this.timer-10)/3);
      displayVar = (this.timer-10)/3;
    }
    // Frames 1300-2000 night
    else if(this.timer >= 13 && this.timer < 20){
      topColor = color("rgb(23,23,197)");
      botColor = color("rgb(23,23,197)");
      displayVar = 1; // Solid
    }
    
    // For loop used to create gradient
    for(let y = 0; y < 250; y++){
      let lineColor = lerpColor(topColor,botColor,y/250);
      stroke(lineColor);
      line(0,y,400,y);
    }
    
    // Display stars
    for(let i = 0; i < 120; i++){
        starlist[i].display(displayVar);
    }
    
    // Display sun and moon
    noStroke();
    fill("#FFC107");
    ellipse(200,this.sunY,150,150);
    moon = new CrescentMoon(this.sunY + 500);    
    moon.phase = this.moonPhase;
    moon.display();  
  }
}

Possible Improvements

As I said, I am not particularly proud of the project. It has lots of room for improvement in many aspects. To begin with, the code itself is sloppy and unorganized. It is stitched with different coding styles and practices, and it is unoptimized in aspects such as (but not limited to) time and methodology. This can be improved with more advanced coding techniques and better planning in code structure. The figure’s animation is also unsatisfying. Because p5js doesn’t support rigging, therefore it was extremely difficult to animate the figure. It was impossible to accurately illustrate each of the keyframes of the figure running because the figure is fundamentally just a set of shapes combined together. Each approximate keyframe takes a huge amount of time to finish. It also doesn’t support interpolating the keyframes so the intended fluctuations in the Y-axis to make the character more lively turned out to seem mechanical and shaky. I could try to smoothly interpolate the keyframes using algorithms, but I don’t have enough mathematical knowledge to support me in achieving this. This can be improved by using careful calculations to accurately orient the keyframes and adding a lot more frames to the animation, then using linear interpolation to connect the keyframes together. However, this method will still feel unnatural because linear interpolation will result in mechanical movements with sharp turns. I tried a few third-party libraries but none could really achieve this. For instance, I tried using Toxiclibsjs’ modules to create a skeleton, but it focuses more on physics instead of animation, therefore it still cannot be used for creating a perfect animation, unless I can find mathematical equations that could represent the movements of every joint, which I tried to do but failed dramatically.

assignment 1: self portrait

I wanted to create something simple but with some interactivity, so I made a portrait of summer in Abu Dhabi. In the drawing I’m holding up a sign that says “click to make me go inside/outside”, and the user can click anywhere really, and the background toggles between an indoor and outdoor scene. The highlight here is my glasses: they fog up when I’m outside, which is a never ending nuisance, and they clear up again when I’m inside.

The full code is on the p5.js editor and can be seen here, but this is what the final result looks like:

I’m particularly proud of this line:

isInside ? "click to make me go outside" : "click to make me go inside",

I could’ve gone the if/else way, which I always do, but using the conditional operator today made me feel like I had achieved a feat in code optimization.

Certainly, a few small tweaks could make this drawing look much more polished. I wanted to draw some beads of sweat rolling down my face when I’m outdoors. But I would need to think a little more about randomization/motion, so for now I’ll leave this project as is.