
Concept
For this week’s assignment , we were required to take an analog and a digital input from two sensors to control two LEDs . I decided to use a slide switch for the digital input and the ultrasonic sensor for the analog input (distance of an object from the sensor). The slide switch is used to switch between the two LEDs that are of different colors . The ultrasonics sensor is used to detect the distance of an object from it. As an object gets closer and closer, the LED gets brighter and brighter. This could be as some kind of an alert switch that grows bright when an object gets closed to it . It could be used for automatic proximity lighting or in security systems.
Schematics
I used tinkerCAD to simulate my project and generate the schematics below:
 Schematic Diagram
 View on TinkerCAD
 List of Components
Code
I am using a library called newPing that handles input from the sensor HC-SR04 (ultrasonic distance sensor). The code is given below:
#include <NewPing.h> // Include the NewPing library

//Created by Aadil Chasmawala

const int LEDPin1 = 3; // Define LEDPin1 as a constant integer
const int LEDPin2 = 5; // Define LEDPin2 as a constant integer
const int switch_PIN= 10; //switch PIN
int brightness1;
int brightness2;
NewPing Mysensor(8, 7, 200); // Trigger pin = 8, echo pin = 7, max_distance = 200cm

void setup() {
  pinMode(LEDPin1, OUTPUT); // Set LEDPin1 pin mode to output
  pinMode(LEDPin2, OUTPUT); // Set LEDPin2 pin mode to output
  pinMode(switch_PIN,INPUT);
  Serial.begin(9600); // Initialize serial communication
}

void loop() {
  int distance = Mysensor.ping_cm(); // Get the distance in centimeters
  Serial.println(distance); // Print the distance to the serial monitor
  if(distance > 50){ //if distance is more than 50 , switch the LED off
    brightness1=0;
    brightness2=0;
  }
  else{
  // Map the distance to the brightness of the LEDs
  brightness1 = map(distance, 0, 50, 255,0); // Adjust the range as needed
  brightness2 = map(distance, 0, 50, 255,0); // Adjust the range as needed
  }

  // Set the brightness of the LEDs
  bool state = digitalRead(switch_PIN);
  Serial.println(state);

  if(state == HIGH){ // if switch is in one state (towards 5V)
  analogWrite(LEDPin1, brightness1);
  analogWrite(LEDPin2,0);
  }
  else if (state == LOW){ //if the slide switch is towards ground
  analogWrite(LEDPin2, brightness2);
   analogWrite(LEDPin1,0);
  }

  delay(100); // Wait for a short time before taking another measurement
}
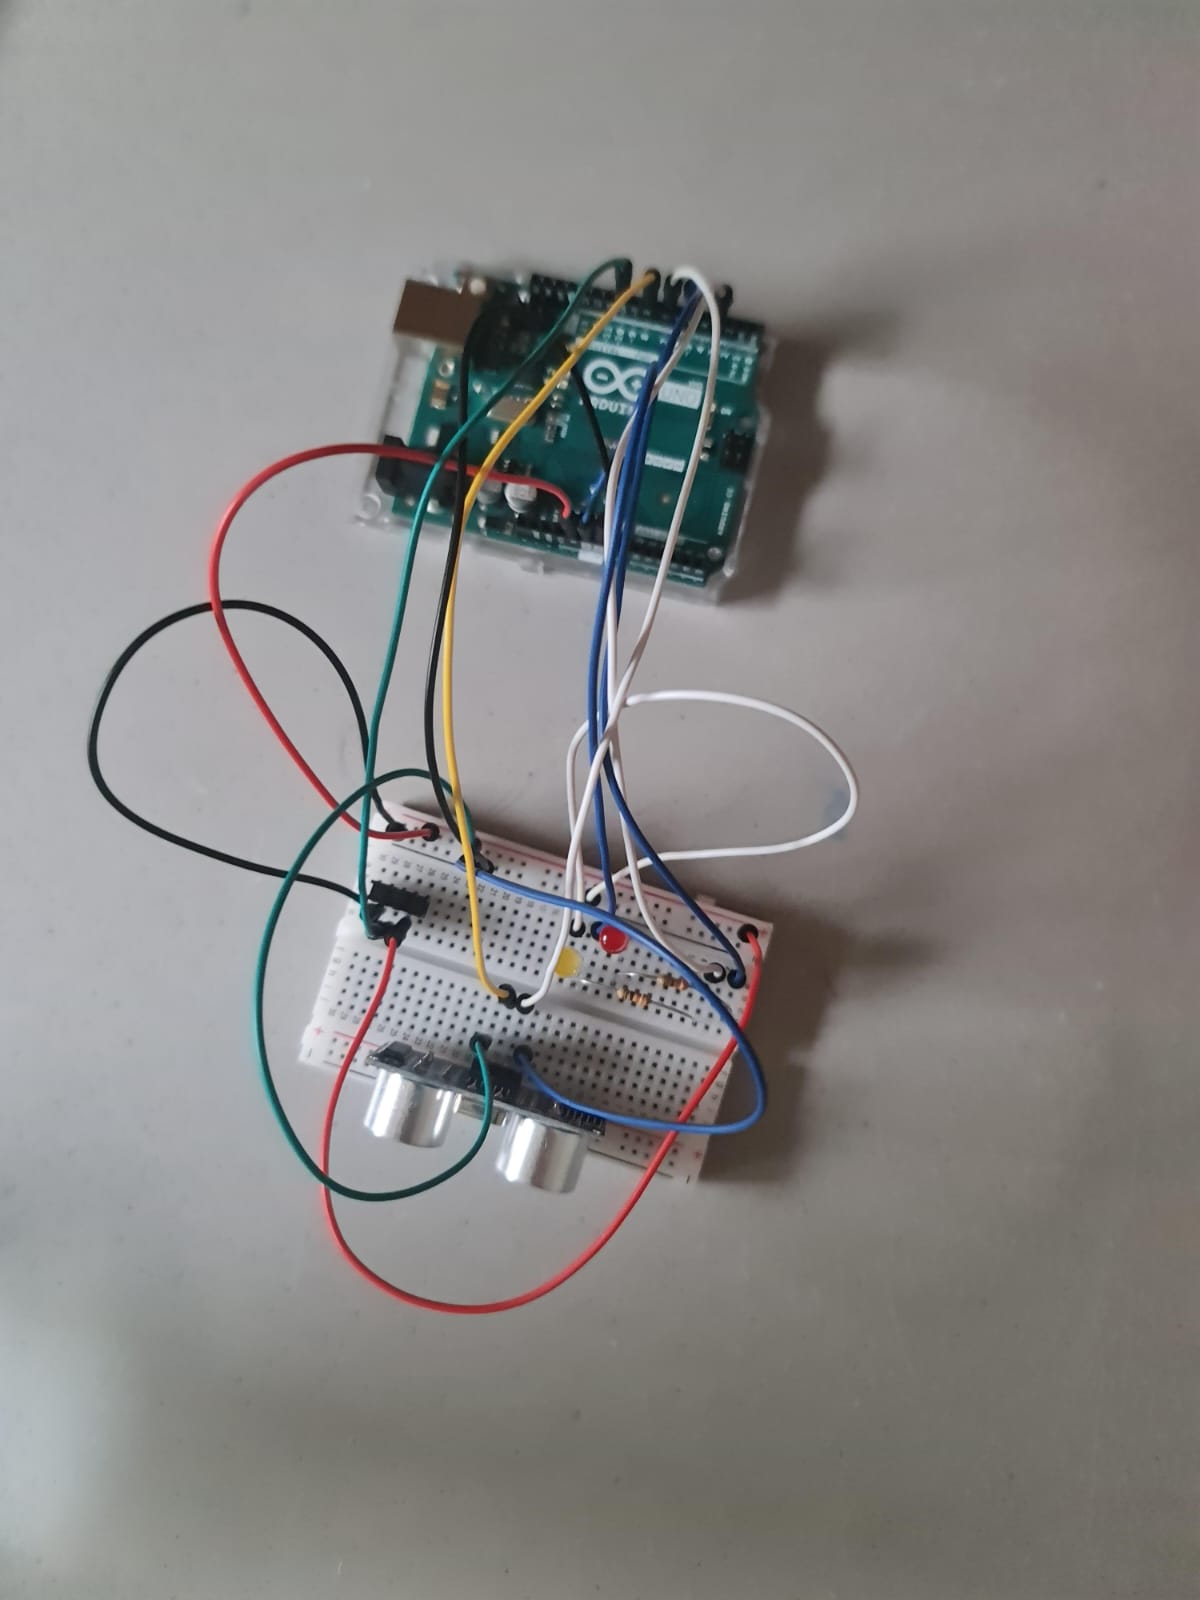
Video Demonstration/ Images
Link to the video- https://youtu.be/Unpllzq1EK8
Challenges and Reflections
I had some issues in using push buttons for the digital input as there would be a noticeable delay between when the button was released and the detection of that release. However, this was resolved by using a slide switch instead of a button switch.
Since I am using a library called <newPING.h>, I don’t have to worry about sending and receiving pulses from the trigger and echo pins respectively. The ping_cm handles it . At some point, the sensor was not working as expected so I printed the value of distance in the serial monitor for debugging and was able to resolve the issue.
Overall, I am happy with the way the brightness of LED changes with the distance and the quick switching of LED using a slide switch. For future projects, I hope to continue experimenting with different inputs and use them in creative ways.