
Concept
Driving in Abu Dhabi is pretty smooth with the traffic conditions, however, the constant fear of speeding fines keeps me on my toes whenever I am out on the UAE roads. This is what exactly I thought of exploring, as soon as I found out about the presence of an Ultrasonic Sensor in our Introduction to Interactive Media kits. If it can measure distance, we can measure the time between the change in distance and it will give us speed. This speed can indicate us whether we are going too fast, borderline fast, or in the normal range.
Being inspired from this, I decided to use the newly learnt Adruino and Circuit building skills to explore this complex possibility, which seemed very simple in theory!
Overview
To give a very brief overview, the goal of this project was to use an analog and a digital to sensor the control at least two LEDs, creating various effects that can be programmed. The LDR is used as an analog sensor to control the brightness of all LEDs, while an Ultrasonic Sensor is used to calculate the speed of moving objects, which then appropriately triggers an LED – depending on the speed of the object.
Project Demonstration
Here is a brief video that shows the Speed-o-Meter in action!
As a guide, when the speed is in a decently slow range, the Green light gets switched on. As we increase it, the Yellow Light gets switched on, and when we are moving too fast, the Red Light gets switched on. The colors of these lights can intuitively indicate their intended meaning, however the exact value of speed, while not necessary to know, is beyond 40cm/s for Yellow and beyond 90 cm/s for Red.
Moreover, something that is difficult to demonstrate with the camera, is the usage of the LDR. The analog values, read in the range of 0 to 1023, from the Light Sensor, are mapped between 255 to 0, inversely! The reason for this is for a brighter light to be displayed when there is light because it is difficult to see a dim bulb during the day. This is particularly difficult to demonstrate in my circuit because of the momentarily opening nature of the lights with the speed.
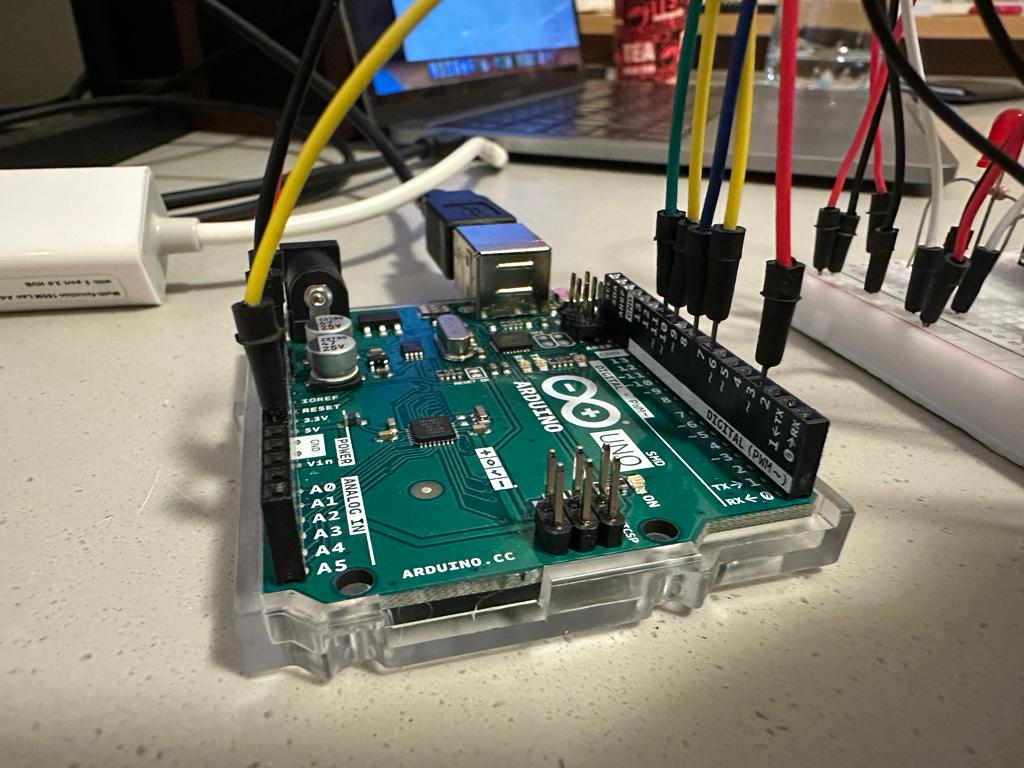
Circuit Pictures
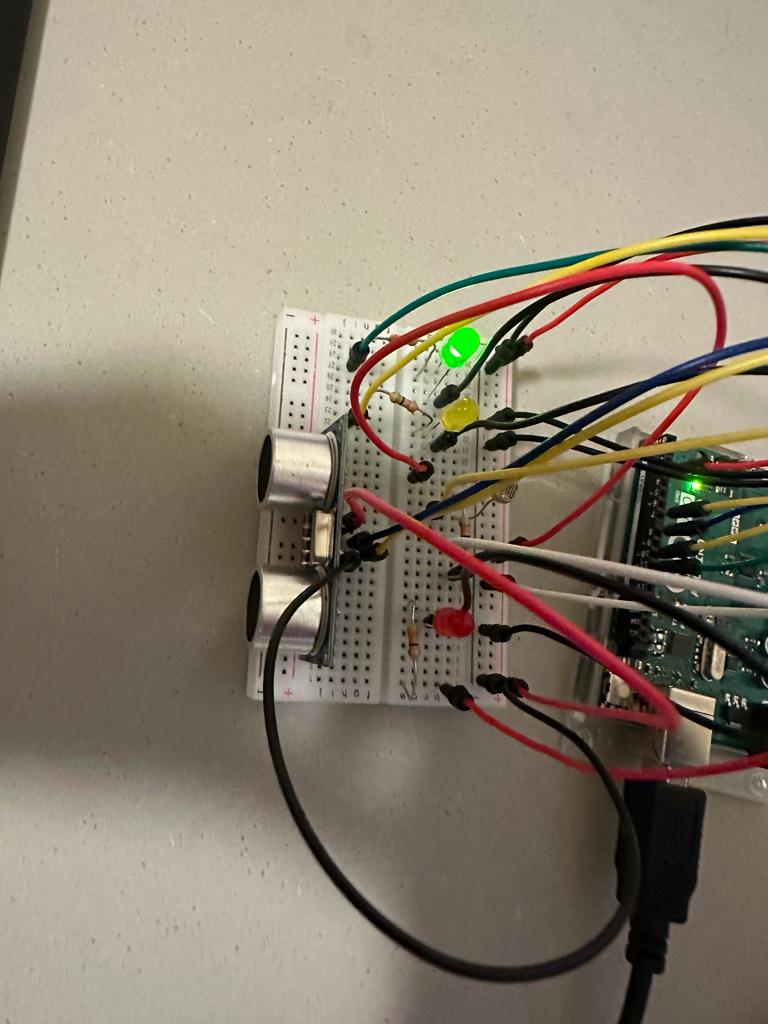
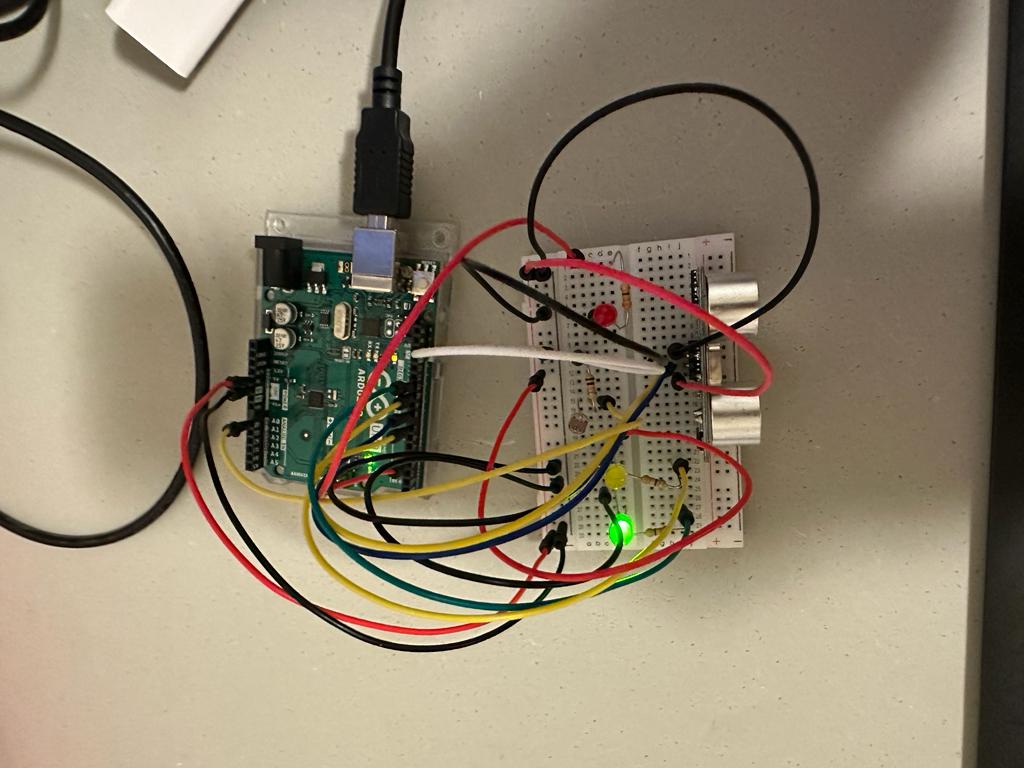
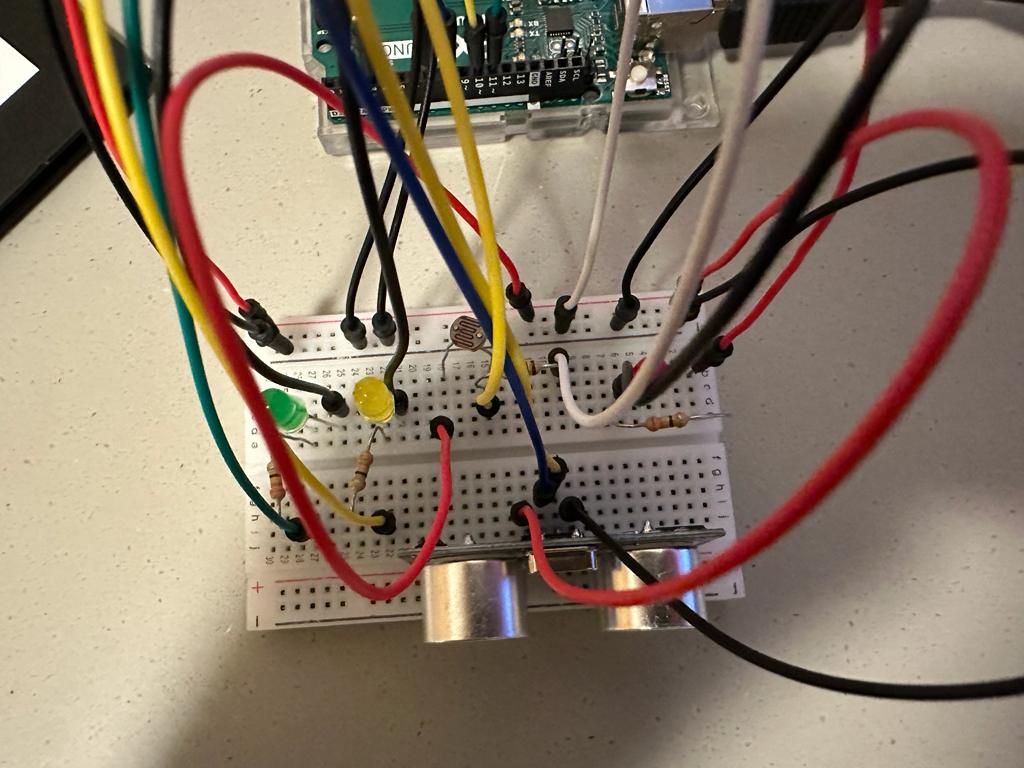
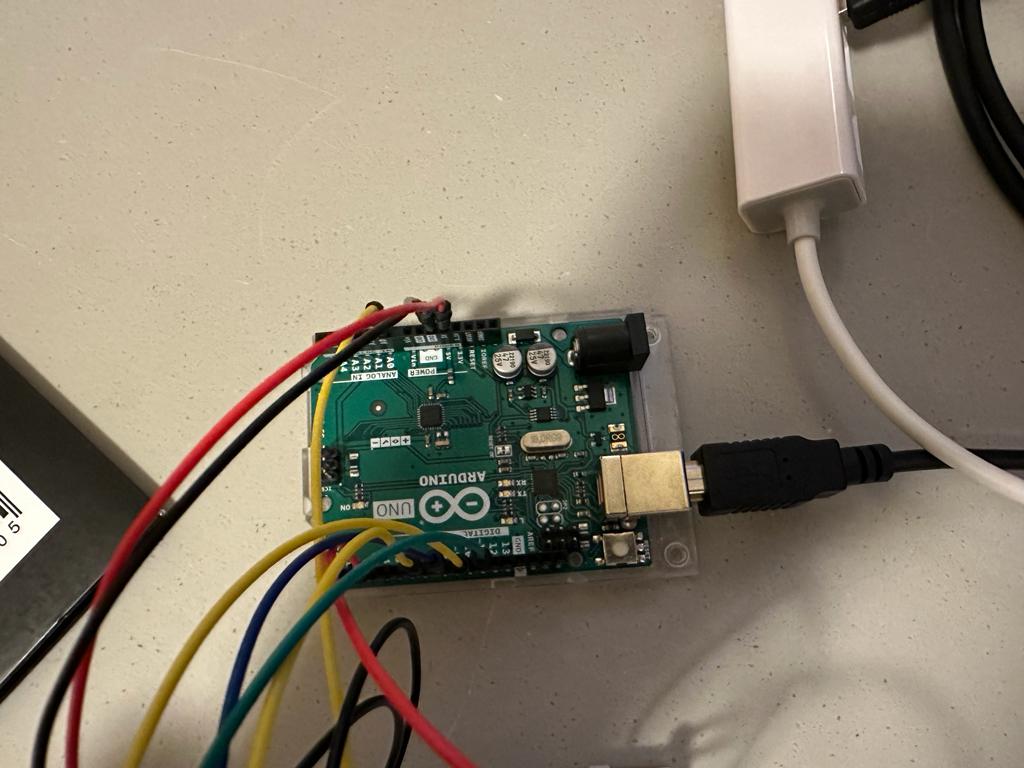

How it Works
While I have touched upon it previously, the logic was slightly complex to implement. To explain in simple terms, our Ultrasonic Sensor sends a signal and then waits for it to bounce back and then return – measuring the distance of a round trip from an object. Now let’s say, the object was moved very quickly. We send another signal, in the span of a very minute time, and then measure the distance again. This will allow us to calculate the distance that was changed, over time. Essentially, this gives us the distance travelled by an object, over a specific time. While this is not perfect, it is definitely an interesting way to calculate the speed of an object, and satisfies our use case.
This logic can be demonstrated with the following piece of code:
// Sends a Signal and waits for it to be received back by the Ultrasonic Sensor
digitalWrite(trigPin, LOW);  // Set trig pin low
delayMicroseconds(2);        // Wait for 2 microseconds
digitalWrite(trigPin, HIGH); // Set trig pin high
delayMicroseconds(10);       // Wait for 10 microseconds
digitalWrite(trigPin, LOW);  // Set trig pin low

float duration = pulseIn(echoPin, HIGH); // Measure the duration of the echo pulse
float distance = duration * 0.034 / 2;   // Calculate the distance in centimeters

float speed = 0.0;
if (distance > 0.0) {
  // Stores the Previous Distance
  prevDistance = distance;
  delay(500); // Wait for 500 milliseconds to measure the distance again

  // Then goes for measuring the distance again!
  digitalWrite(trigPin, LOW);  // Set trig pin low
  delayMicroseconds(2);        // Wait for 2 microseconds
  digitalWrite(trigPin, HIGH); // Set trig pin high
  delayMicroseconds(10);       // Wait for 10 microseconds
  digitalWrite(trigPin, LOW);  // Set trig pin low
  duration = pulseIn(echoPin, HIGH); // Measure the duration of the echo pulse again
  distance = duration * 0.034 / 2;   // Calculate the distance in centimeters again

  // Just for debugging
  Serial.print("Previous Distance: ");
  Serial.print(prevDistance);
  Serial.print(".  New Distance:  ");
  Serial.println(distance);

  // Then measures the change in distance, over time.
  speed = (prevDistance - distance) / 0.1; // Calculate the speed in centimeters per second
Following this, once we have the speed, I used somewhat of a State Machine to trigger the different LEDs depending on the speed. I reached the optimum speed values in the condition through trial and error, and not by some particular calculation in mind:
  Serial.print("Object Moving at Speed: ");
  Serial.print(speed);
  Serial.println(" cm/s");

if((abs(speed)<40) && abs(speed)>=5){
  analogWrite(PIN_GREEN, brightness);
  analogWrite(PIN_YELLOW, 0);
  analogWrite(PIN_RED, 0);
}
else if (abs(speed)>=40 && abs(speed)<90){
  analogWrite(PIN_YELLOW, brightness);
  analogWrite(PIN_GREEN, 0);
  analogWrite(PIN_RED, 0);
}
else if (abs(speed)>=90){
  analogWrite(PIN_RED, brightness);
  analogWrite(PIN_YELLOW, 0);
  analogWrite(PIN_GREEN, 0);
}
else{
  analogWrite(PIN_YELLOW, 0);
  analogWrite(PIN_GREEN, 0);
  analogWrite(PIN_RED, 0);
}
The LDR is incorporated by obtaining the Analog Value, and mapping it to the range of possible brightness. This brightness is then stored in a variable and has been used appropriately to trigger our LEDs (as seen in the above code).
ldrValue = analogRead(LDR_PIN); // read the input on analog pin
brightness = map(ldrValue, 0,1023, 0, 255);
Serial.print("Brightness: ");
Serial.println(brightness);
Difficulties
Being new to circuits, this was definitely a struggle. While the flow seems simple, if I look at it now, but the process threw multiple problems at me to cater to. The one to start off is the impossible measuring of the Distance, or more like the change in distance, from the Ultrasonic Sensor. This was because I had not added a delay, and spending some time and thinking through, alongside some trial and error helped with that.
Moreover, one particular challenge, which was a dumb mistake from my end, was using the pins 13,12, and 2 for the Green, Yellow, and Red LEDs. The issue with this was nothing other than not being able to vary the brightness in correspondence with the LDR values. It was only going through online resources, and reading the notes taken in class, which helped me figure out that I should instead use pins that have ~ (like 11~, 10~, and 3~) if I want to vary the brightness.
Full Code
Though I have explained sections of code above, I am adding the entire code to this documentation since, unlike p5JS, we do not have a link to it. I’m sure this will give a good overview of how everything was put together!
const int trigPin = 8;  // Trig pin of the ultrasonic sensor
const int echoPin = 7; // Echo pin of the ultrasonic sensor
const int PIN_GREEN = 11; //Green LED connected on pin 13
const int PIN_YELLOW = 10; //Yellow LED connected on pin 12
const int PIN_RED = 3; //Yellow LED connected on pin 12
const int LDR_PIN = A0;
float prevDistance;
int ldrValue;
int brightness = 255;;

void setup() {
  Serial.begin(9600);   // Initialize serial communication
  pinMode(trigPin, OUTPUT); // Set trig pin as output
  pinMode(echoPin, INPUT);  // Set echo pin as input
  pinMode(PIN_GREEN, OUTPUT);
  pinMode(PIN_YELLOW, OUTPUT);
  pinMode(PIN_RED, OUTPUT);
}

void loop() {
  // Gets the Analog Value from the LDR Sensor
  ldrValue = analogRead(LDR_PIN); // read the input on analog pin
  brightness = map(ldrValue, 0,1023, 0, 255);
  Serial.print("Brightness: ");
  Serial.println(brightness);

  // Sends a Signal and waits for it to be received back by the Ultrasonic Sensor
  digitalWrite(trigPin, LOW);  // Set trig pin low
  delayMicroseconds(2);        // Wait for 2 microseconds
  digitalWrite(trigPin, HIGH); // Set trig pin high
  delayMicroseconds(10);       // Wait for 10 microseconds
  digitalWrite(trigPin, LOW);  // Set trig pin low

  float duration = pulseIn(echoPin, HIGH); // Measure the duration of the echo pulse
  float distance = duration * 0.034 / 2;   // Calculate the distance in centimeters

  float speed = 0.0;
  if (distance > 0.0) {
    // Stores the Previous Distance
    prevDistance = distance;
    delay(500); // Wait for 100 milliseconds to measure the distance again

    // Then goes for measuring the distance again!
    digitalWrite(trigPin, LOW);  // Set trig pin low
    delayMicroseconds(2);        // Wait for 2 microseconds
    digitalWrite(trigPin, HIGH); // Set trig pin high
    delayMicroseconds(10);       // Wait for 10 microseconds
    digitalWrite(trigPin, LOW);  // Set trig pin low
    duration = pulseIn(echoPin, HIGH); // Measure the duration of the echo pulse again
    distance = duration * 0.034 / 2;   // Calculate the distance in centimeters again

    // Just for debugging
    Serial.print("Previous Distance: ");
    Serial.print(prevDistance);
    Serial.print(".  New Distance:  ");
    Serial.println(distance);

    // Then measures the change in distance, over time.
    speed = (prevDistance - distance) / 0.1; // Calculate the speed in centimeters per second
  }

    Serial.print("Object Moving at Speed: ");
    Serial.print(speed);
    Serial.println(" cm/s");

  if((abs(speed)<40) && abs(speed)>=5){
    analogWrite(PIN_GREEN, brightness);
    analogWrite(PIN_YELLOW, 0);
    analogWrite(PIN_RED, 0);
  }
  else if (abs(speed)>=40 && abs(speed)<90){
    analogWrite(PIN_YELLOW, brightness);
    analogWrite(PIN_GREEN, 0);
    analogWrite(PIN_RED, 0);
  }
  else if (abs(speed)>=90){
    analogWrite(PIN_RED, brightness);
    analogWrite(PIN_YELLOW, 0);
    analogWrite(PIN_GREEN, 0);
  }
  else{
    analogWrite(PIN_YELLOW, 0);
    analogWrite(PIN_GREEN, 0);
    analogWrite(PIN_RED, 0);
  }

  prevDistance = 0;
  speed=0;
  distance = 0;

  delay(500); // Wait for 500 milliseconds before measuring again
}