
Concept
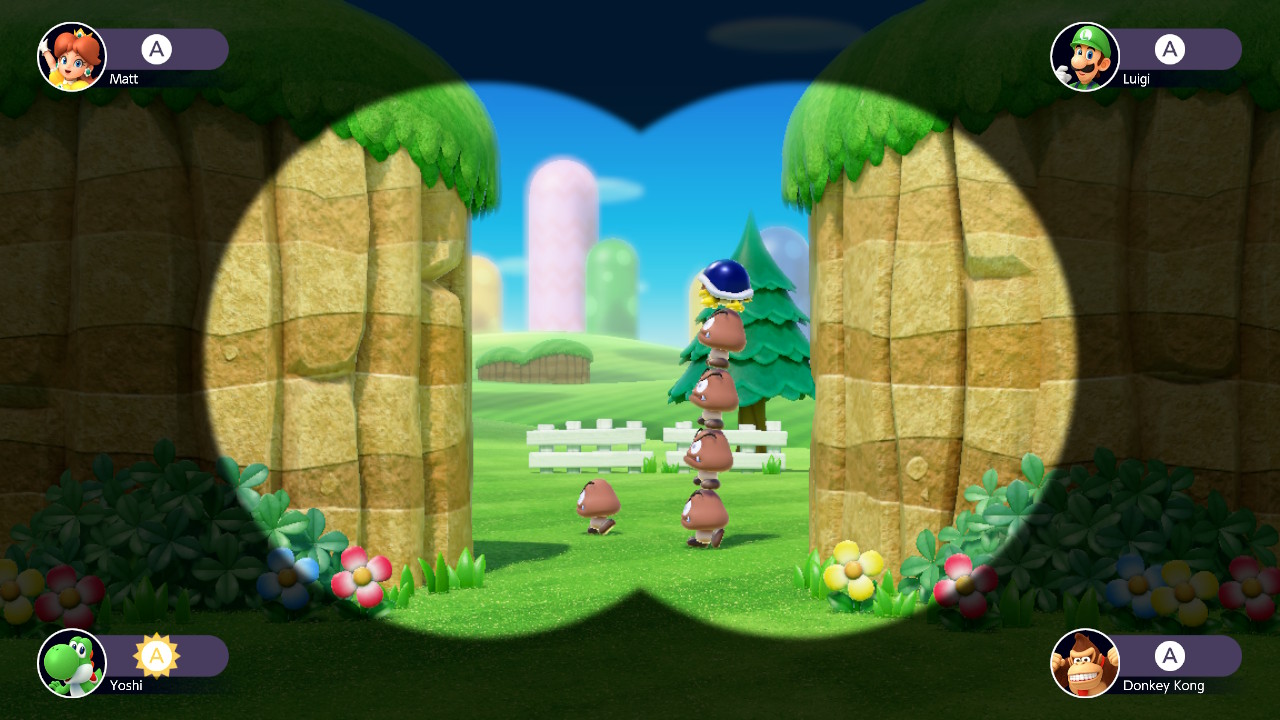
While playing Mario Party earlier this month, I was struck with the idea to recreate one of the game’s many minigames. After some thought, I settled on one named Goomba Spotting, in which players attempt to accurately tally the number of Goombas—a species of mushroom-like beings from the Mario series—that run across the screen. This is what it looks like:
While it would certainly be a massive challenge unlike anything I had done before, it was one I felt I could tackle at my current level. After mentally dissecting the game into a number of key components, I set out to work.
Challenges and Highlights
I first prepared the images that would be used in the game: one for the background and one for the Goombas. One decision I had made from the start was to have NYUAD be the setting for the game: the premise would be that a Goomba invasion had happened in our beloved institute, and that the two players were “Goomba Spotters” tasked with tallying the Goombas. I edited an image of NYUAD as seen from its entrance into two separate images, a foreground and a background—the Goombas would pass in between. For the Goomba itself, I selected a sprite online and edited the background away.
With the stage now in place, I decided to immediately take on the biggest challenge of coding the Goombas. How would they move? How many should there be? With questions brewing in my head, I created a class specifically for the Goombas and their movement. By adding new functions and adjusting values as needed, I was able to settle on a comprehensive block of code that worked.
One particular highlight from this process was figuring out a way to “stall” the Goombas so that they would come out one by one, instead of all at once. This is the function used to achieve this:
//Create Class for Goombas
class Goomba {
  constructor(){
    this.xPos = 0;
    this.yPos = 492;
    this.xSpeed = random(5, 10);
    this.ySpeed = 0;
    this.check = false;
  }
  //Used to "Stall" Each Goomba to Make Them Come Out in Order
  stall(order){
    if((frameCount - frameCheck) / (25 * (order)) == 1){
      this.check = true;
    }
  }
  //Changes Goomba's Position Based on Speed
  move(){
    if(this.check == true){
      this.xPos += this.xSpeed;
      this.yPos += this.ySpeed;
    }
  }
  //Draws Goomba
  draw(){
    image(photo, this.xPos, this.yPos, 60, 70);
  }
  //There is more code in the class, but it is truncated here to keep things short.
}
This function effectively staggers the Goombas’ initial movement speeds by 25 frames each; in other words, the next Goomba in line will start moving 25 frames after the one before it has started moving.
(frameCount – frameCheck) is used to calculate the number of frames that have passed since the actual game has started (frameCheck is a variable that I made—it is defined as the frameCount at the time the gameState is set to ‘playing‘); said number is then divided by (25 * order), in which order is a parameter that corresponds to the “order” of the Goomba (calculated as i + 1).
The result of this division is then checked if it is equal to 1—and if so, this.check is set to true. As seen in the move() function, this.check has to be true in order for the Goomba to be able to move. A small self-congratulatory round of applause was in order.
Another major part of the code is a separate class I created for calculating tallies and results. Each click of a player’s assigned key (A for Player 1 and L for Player 2) is one tally, and this is kept track through this block of code:
//Create a Class for Tally
class Tally {
  constructor(){
    this.p1Number = 0;
    this.p2Number = 0;
  }
  //Keeps Track of Each Press; One Press = One Tally
  checkP1Click(){
    this.p1Number ++;
  }
  checkP2Click(){
    this.p2Number ++;
  }
  //There is more code in the class, but it is truncated here to keep things short.
}

//Function for Checking Key Presses
function keyPressed() {
  //Player 1: A Key
  if (keyCode === 65) {
    tally.checkP1Click();
  }
  //Player 2: L Key
  if (keyCode === 76) {
    tally.checkP2Click();
  }
}
65 and 76 are respective key codes for the A and L keys—so when pressed, the functions checkP1Click() and checkP2Click() are activated. This respectively adds 1 to this.p1Number and this.p2Number, which are the variables used to track the players’ tallies. These tallies are then compared to the actual number of Goombas at the end of the game to calculate the results (these are done through functions that are part of the truncated code mentioned above).
These two classes of Goomba() and Tally() are central to the game, which is in itself brought forth using a function named gameScreen(), which is called when gameState == ‘playing.’ On that note, it must be mentioned that the variable gameState is pivotal to this project, as it is used to transition between the start screen, game screen, and end screen. These three scenes are represented by three separate functions: startScreen(), gameScreen(), and endScreen(), which contain the code needed to bring each screen to life. These functions work in tandem with gameState, which has three values it alternates between: ‘start,’ ‘playing,’ and ‘end.’ The value of gameState is continually checked in the draw() function, and either startScreen(), gameScreen(), or endScreen() is called depending on the respective value. The code for this looks like:
//Draw Function: Displays Different Screen Based on gameState
function draw() {
  //For Start
  if (gameState == 'start') {
    startScreen();
  } //For Playing
  else if (gameState == 'playing') {
    gameScreen();
  } //For End
  else if (gameState == 'end') {
    endScreen();
  }
}
//Code has been abridged for convenience.
The start screen and end screen share an identical template (the same background and gray box is used) with different text. Another coding highlight is present within the background, a gradient made with an interesting function called lerpColor() that I learned anew for this specific task. lerpColor() blends two colors and finds a third color between the two, and the coder can also control how close the interpolated color is to either of the two colors. Using lerpColor() within a for() loop, I painted in thin rectangles that start near the first color (orange) and grow closer to the second color (light blue) with each iteration of the loop, giving off the impression of a gradient:
//Make Gradient Background
  let from = color(255, 135, 0);
  let to = color(0, 240, 255);
  noStroke();
  for (let i = 0; i < 664; i = i + 6.64){
    fill(lerpColor(from, to, 0 + i * 0.0015))
    rect(0, i, 820, 7);
  }
Other highlights include figuring out ways to 1) vary the dialogue in the end screen based on the results (by using variables that functions in Tally() can alter to contain different text depending on the results), 2) change the number of Goombas in each game (by using a variable named randI, the value of which is reset every time the game is played), 3) make the Finish button appear after the game has actually ended (by tying the button to a variable named gameEnd that relies on the position of the last Goomba), and more.
Finally, here is the completed game:
Reflections
Whoa, what a project. Undoubtedly the biggest and toughest one yet—but I made it through! I feel pride in how I was able to achieve what I set out to do without making any major compromises. I admittedly felt incredibly stuck and confused at many points, unable to pull off certain effects I was aiming to implement (successfully stalling the movement of Goombas was especially challenging). Despite said difficulties, I was ultimately able to find a solution through each and every one of the major challenges I set out to tackle.
It’s been quite the journey! I started the class with a nearly blank slate, having only minimal coding experience (none with Javascript). Looking back, I’ve come quite far; it was a magical experience to be able to make something of my own that I personally envisioned and designed. And this will certainly not be the last.